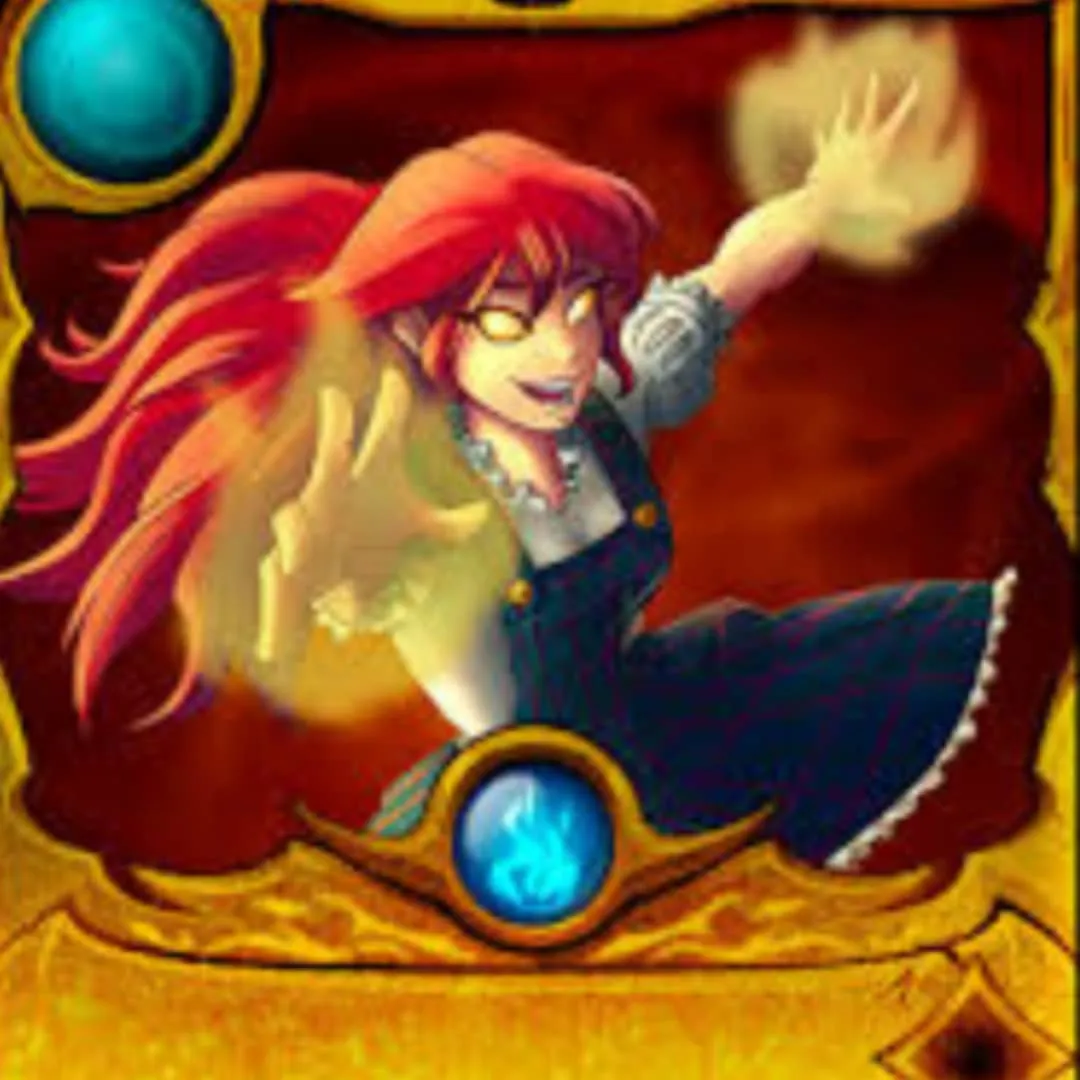
Hola amigos de HIVE. Les traigo mi participación semanal en el concurso de arte de splinterland con el personaje de TARSA en un dibujo realizado en la aplicación autodesk sketchbook. Espero lo disfrutes.
Hello friends of HIVE. I bring you my weekly participation in the splinterland art contest with the character of TARSA in a drawing made in the autodesk sketchbook application. I hope you enjoy.
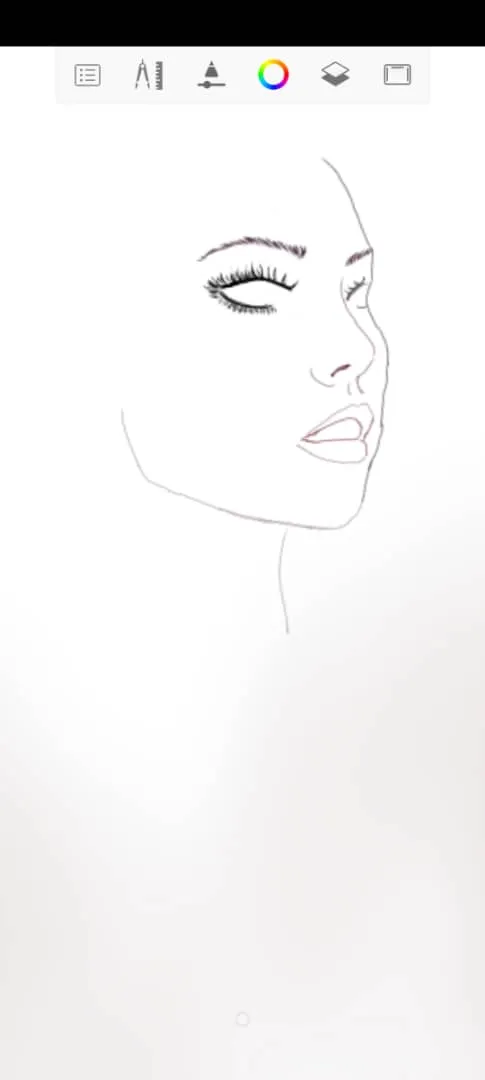
Dibujo base.
Basic drawing.
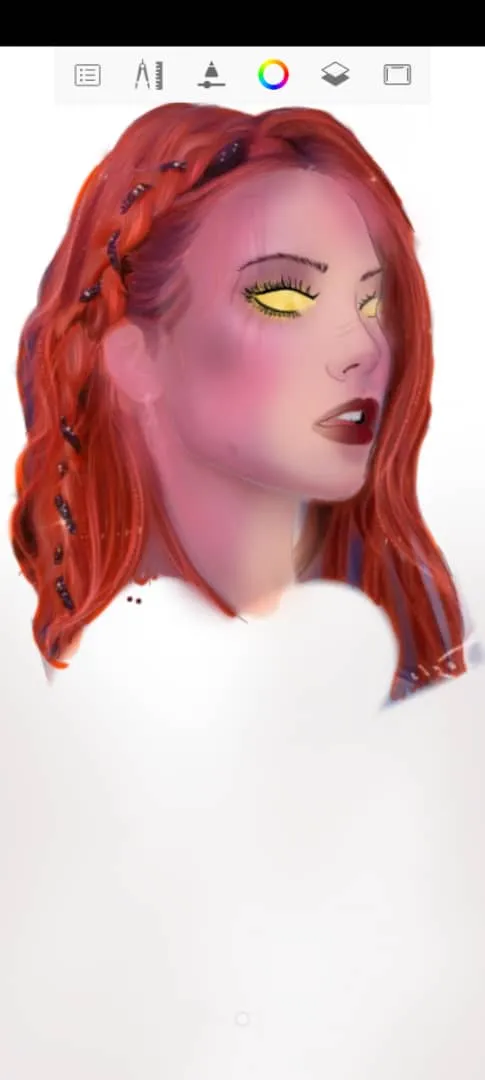
Primero que todo, para la realización del dibujo empezamos con las líneas bases de la figura, la cara, que va hacer en esta ocasión de perfil; los ojos, la boca y la nariz.
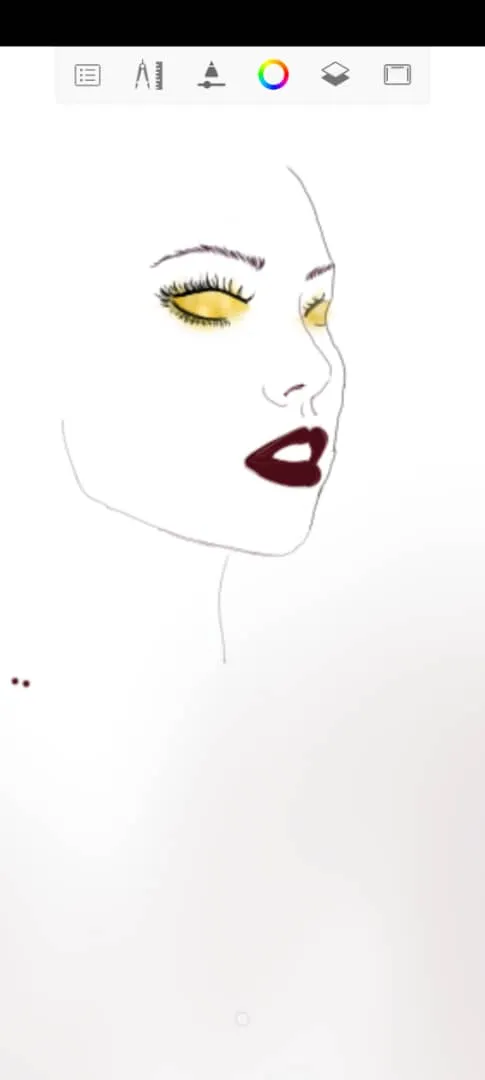
Luego le ponemos el relleno con el pincel los labios de color rojo y sus ojos característicos amarillos.
First of all, to make the drawing we start with the base lines of the figure, the face, which is going to be done this time in profile; the eyes, the mouth and the nose.
Then we put the filler with the brush, the red lips and his characteristic yellow eyes.
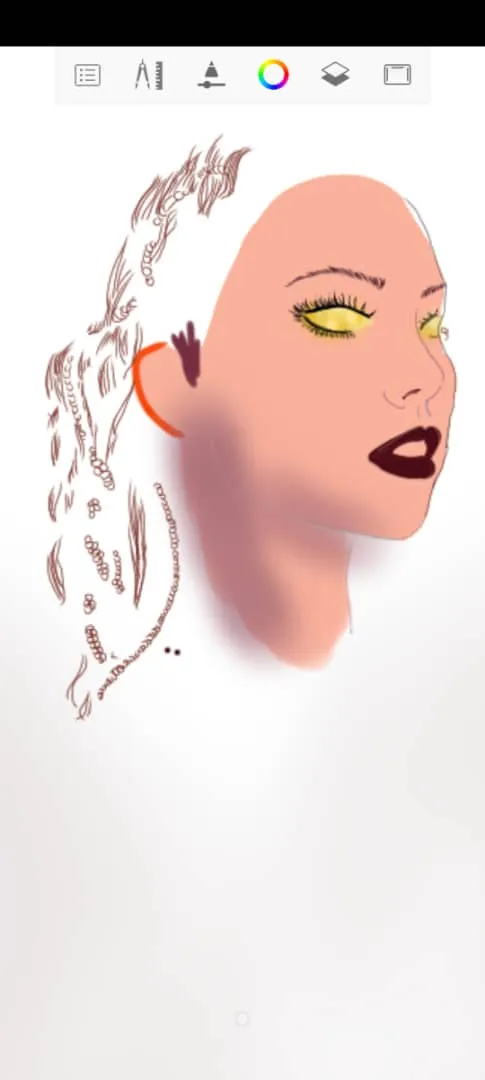
La piel que será de una tonalidad carne con sombras de color morado.
El cabello lo empiezo con las líneas más oscuras y realizo la forma en sí del cabello, haciéndolo de manera ondulado, y los círculos que se encuentran en ciertos espacios del cabello son parte de unas especies de clinejas que lo voy a poner como decoración al cabello.
The skin that will be a flesh tone with shades of purple.
I start the hair with the darkest lines and I make the shape of the hair itself, making it wavy, and the circles that are in certain spaces of the hair are part of some kind of clinejas that I am going to put as a decoration on the hair .
Y así es cómo vamos dibujando en el cabello, de diferentes tonalidades de naranja.
And this is how we are drawing on the hair, different shades of orange.
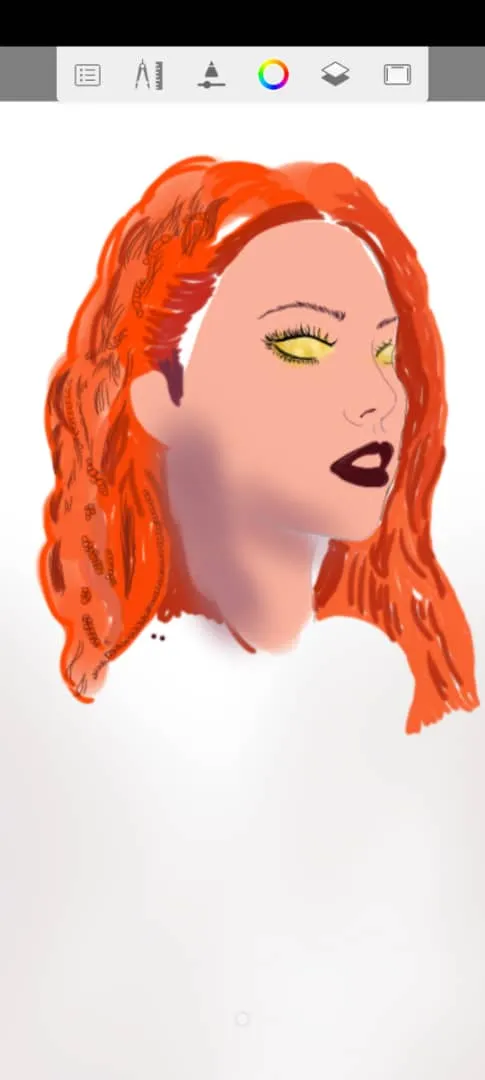
La primera capa del cabello consta de simplemente rellenar todos los espacios en blancos con color, en este caso tres tonalidades de naranja y algunas zonas rojas. Luego de eso con una pluma mucho más delgada empezamos a hacer las hebras o mechas en el cabello, en este caso con tonalidades que pueden llegar a ser rojizos o marrones oscuros primeramente.
The first layer of hair consists of simply filling in all the blank spaces with color, in this case three shades of orange and some red areas. After that, with a much thinner pen, we begin to make the strands or highlights in the hair, in this case with shades that can be reddish or dark brown first.

En la cara agregamos más sombras para dar una forma más realista, ya no solo está el morado, sino que tiene varios tonos de rosa, y morados unos oscuros y otros extremadamente claros que casi llegan al blanco ( en las zonas de las mejillas y la nariz) se va notando poco a poco que el dibujo va agarrando cierta profundidad.
In the face we add more shadows to give a more realistic shape, there is not only purple, but there are various shades of pink, and purples, some dark and others extremely light that almost reach white (in the areas of the cheeks and the nose) little by little you can see that the drawing is taking on a certain depth.

Con el cabello hacemos lo mismo, con una pluma muy fina y tonos de vino tinto, naranja, negros, seguimos haciendo las mechas del cabello. De aquí está finalizada la cara del personaje.
With the hair we do the same, with a very fine feather and shades of red wine, orange, black, we continue making the highlights of the hair. From here the face of the character is finished.
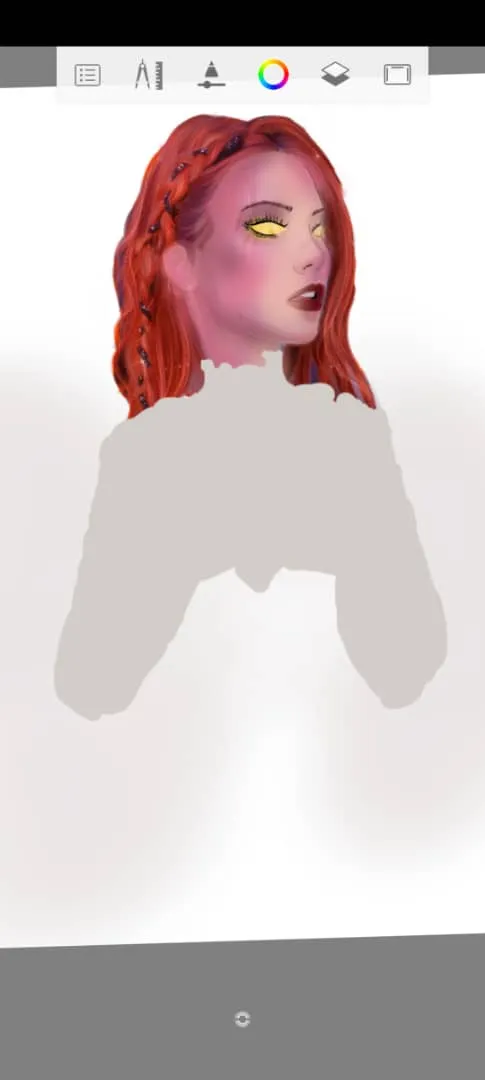
Ahora continuamos con el cuerpo, empezamos con la camisa, que la de personaje es blanca. En este caso decidí poner como tono base un blanco con una tonalidad un poco gris para poder luego jugar un poco con las sombras y las luces.
Luego con la pluma y unos tonos de morado y gris coloreo dónde quiero que hayan relieves o "bolsas o arrugas" en la camisa, se ve un poco extraño en primer momento ya que el tono es un poco fuerte para nuestra meta, que es una camisa blanca, pero luego podemos jugar con la opacidad de estos tonos para poder hacer nuestro objetivo, el objetivo es que ellos forman parte de la forma de la camisa como sombras y luces y no como color.
Now we continue with the body, we start with the shirt, which is white for the character. In this case I decided to use a white with a slightly gray hue as the base tone to be able to later play a little with the shadows and the lights.
Then with the pen and a few shades of purple and gray I color where I want there to be bumps or "pockets or wrinkles" on the shirt, it looks a bit strange at first as the tone is a bit strong for our goal which is a white shirt, but then we can play with the opacity of these tones to be able to do our goal, the goal is that they are part of the shape of the shirt as shadows and lights and not as color.

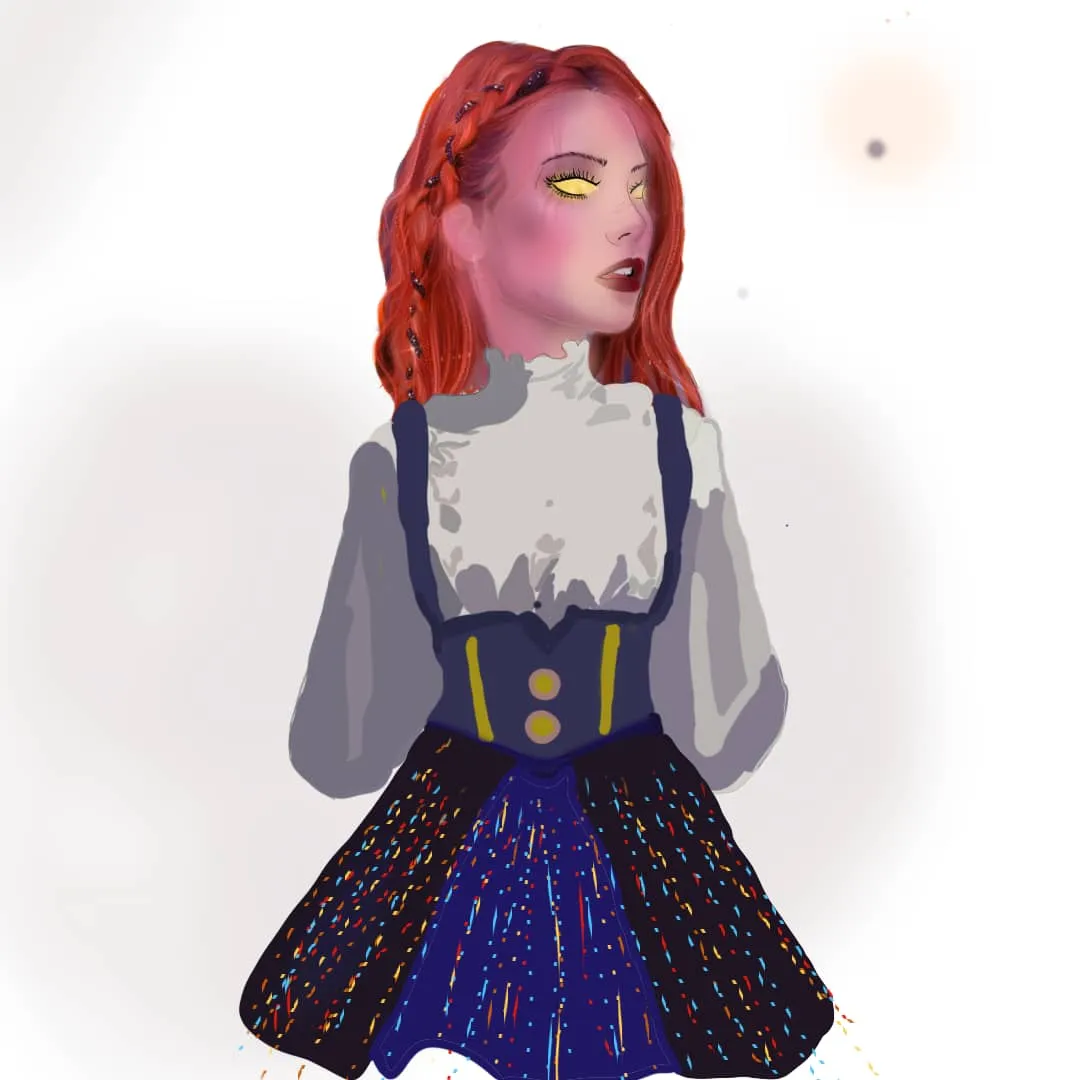
El vestido del personaje lleva una especie de falda azul que se coloca como tirantes desde los hombros hasta conformar el conjunto completo del vestido con su falda. Primero se colocan los colores bases que se ven oscuros y luego jugamos con la opacidad de lo que queremos lograr.
The character's dress has a kind of blue skirt that is placed as straps from the shoulders to form the complete set of the dress with its skirt. First the base colors that look dark are placed and then we play with the opacity of what we want to achieve.
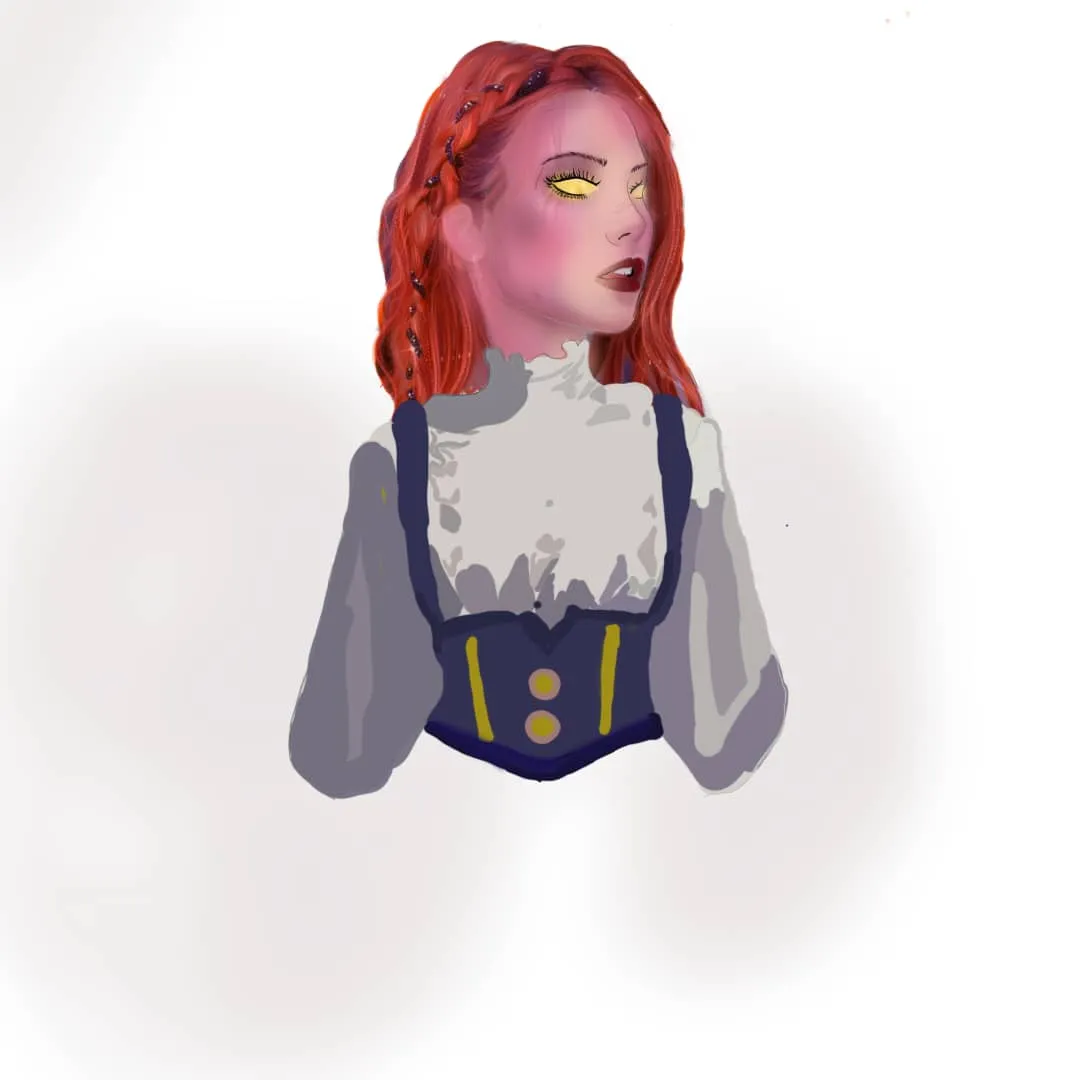
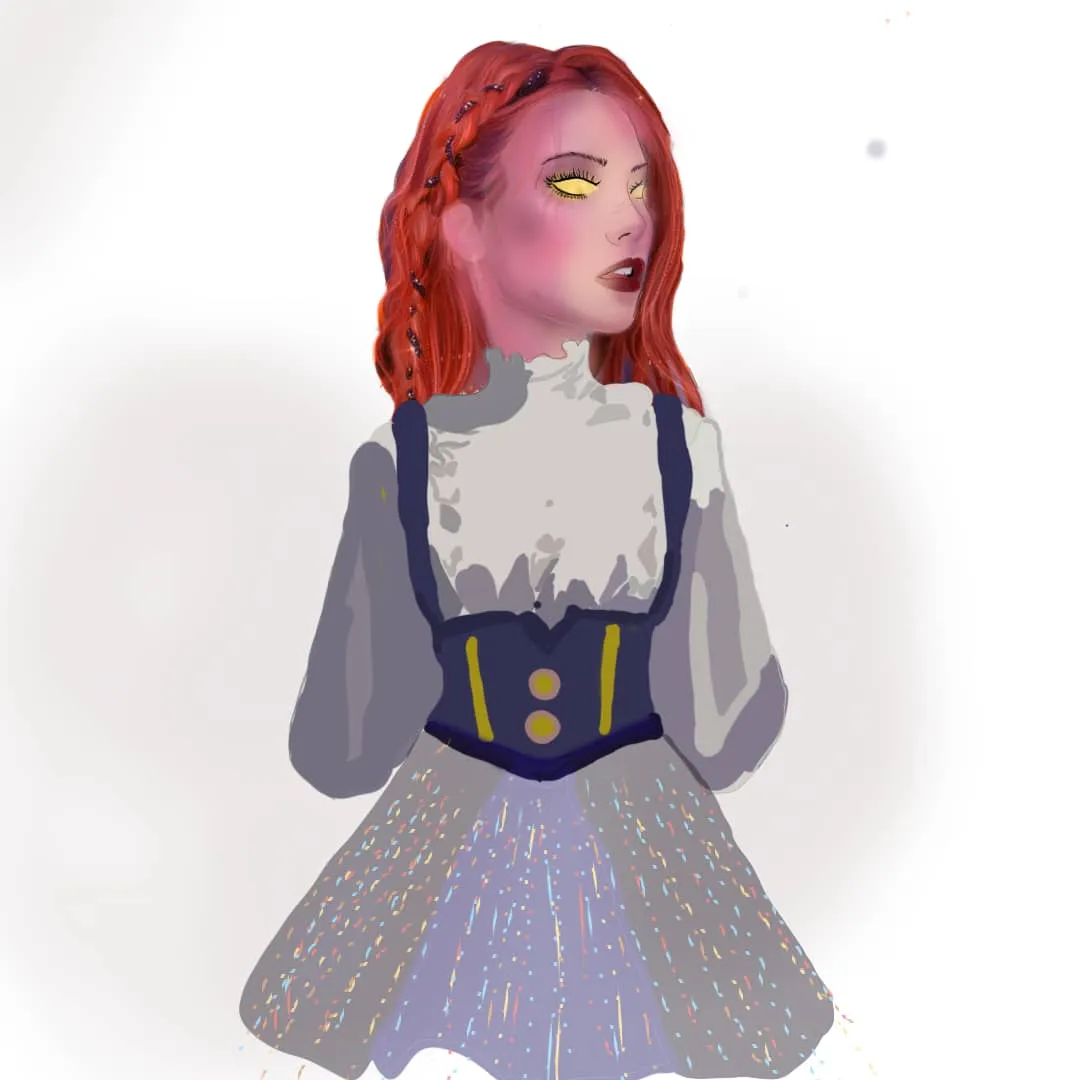
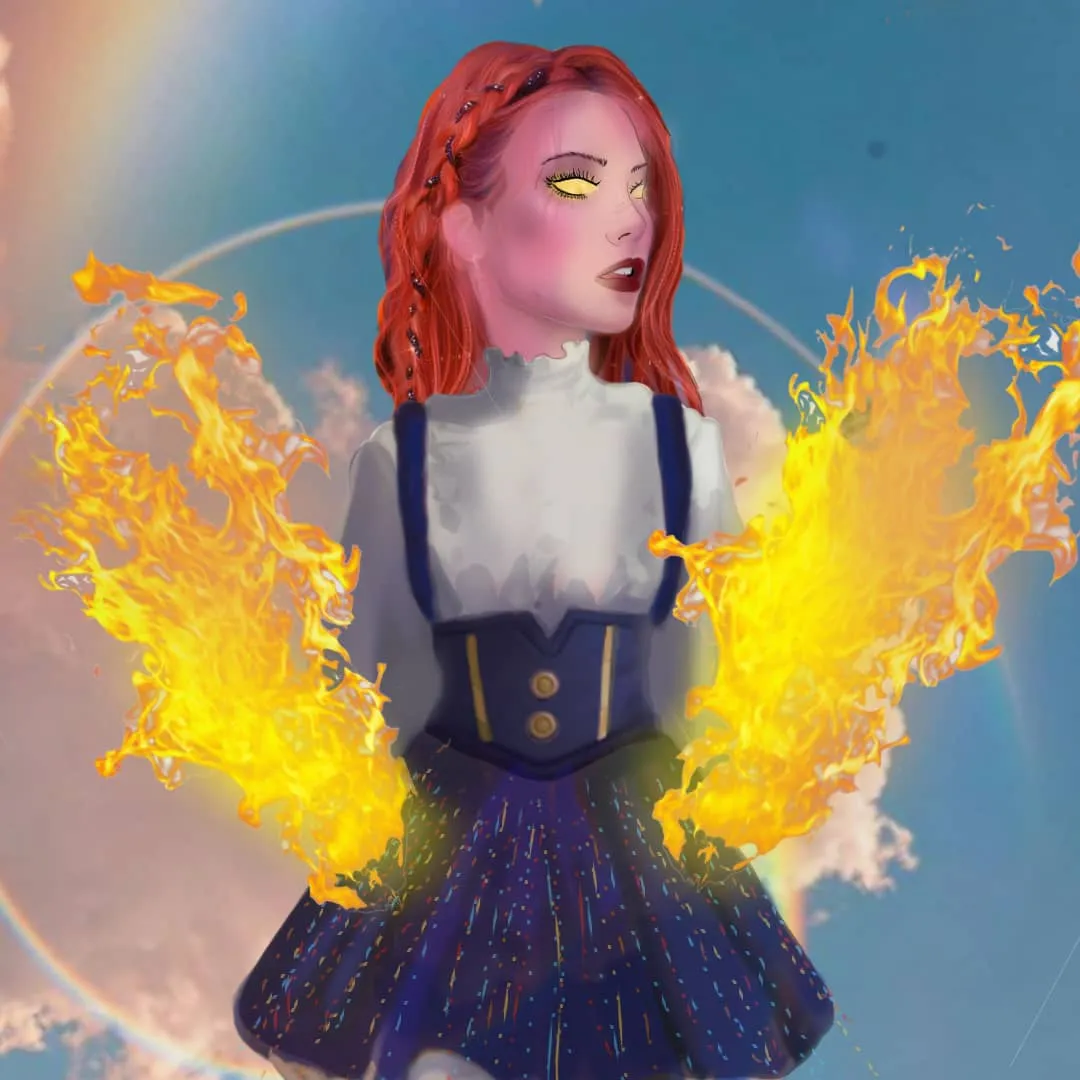
Aquí ya se encuentra el traje completo del personaje donde le disminuimos la opacidad tanto de la camisa como el vestido y con el aerógrafo con una tonalidad de color similar al tono base inicial, de la misma ropa coloreamos en las zonas dónde está la sombra, para que la sombra se vea mucho más difuminada pero con ayuda del tono base (que antes era oscura y le disminuimos la opacidad) permite que el dibujo se vea como una camisa blanca con sombras y varios relieves de color.
Here is the complete costume of the character where we reduce the opacity of both the shirt and the dress and with the airbrush with a color tone similar to the initial base tone, from the same clothes we color in the areas where the shadow is, to that the shadow looks much more blurred but with the help of the base tone (which was previously dark and we lowered its opacity) allows the drawing to look like a white shirt with shadows and various color reliefs.
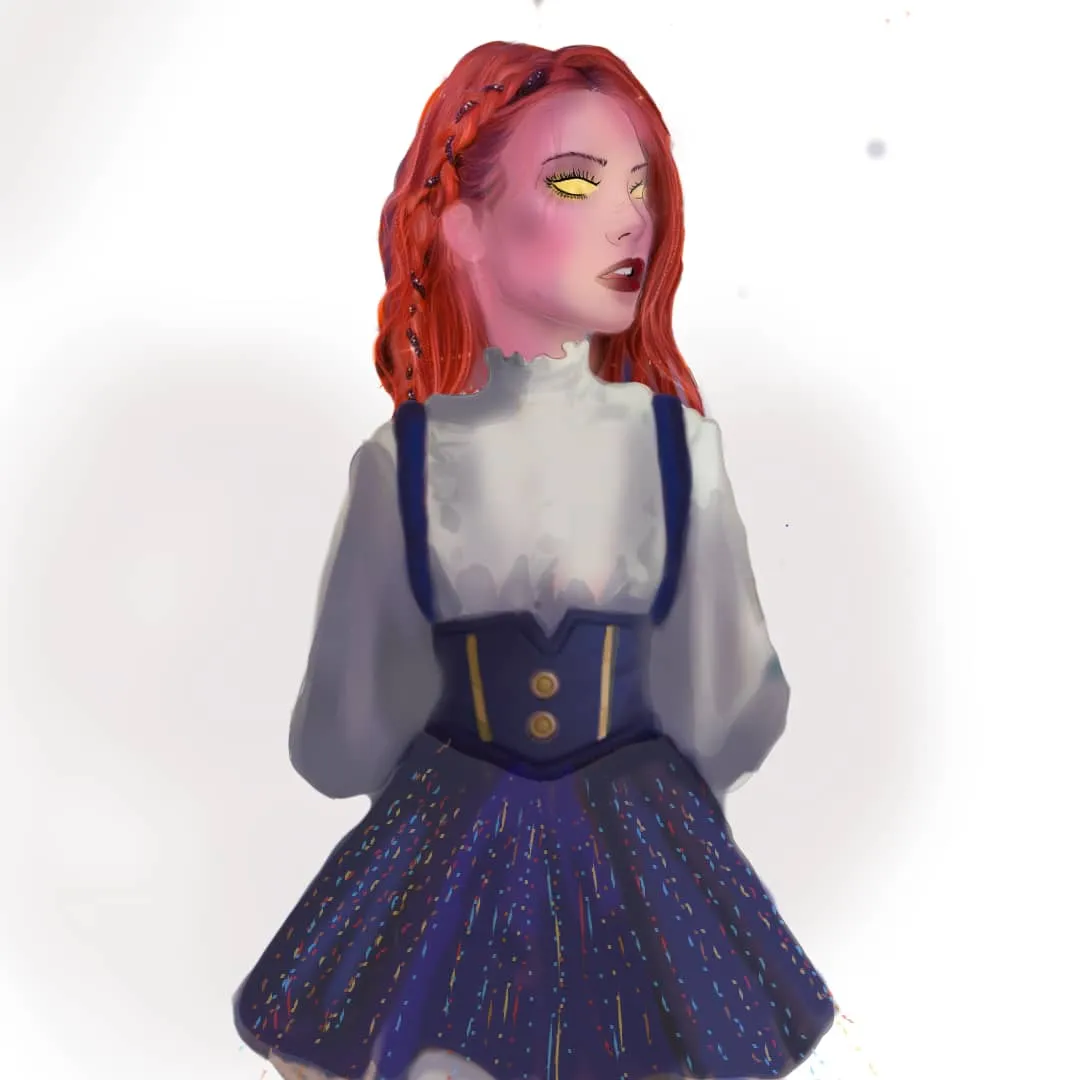
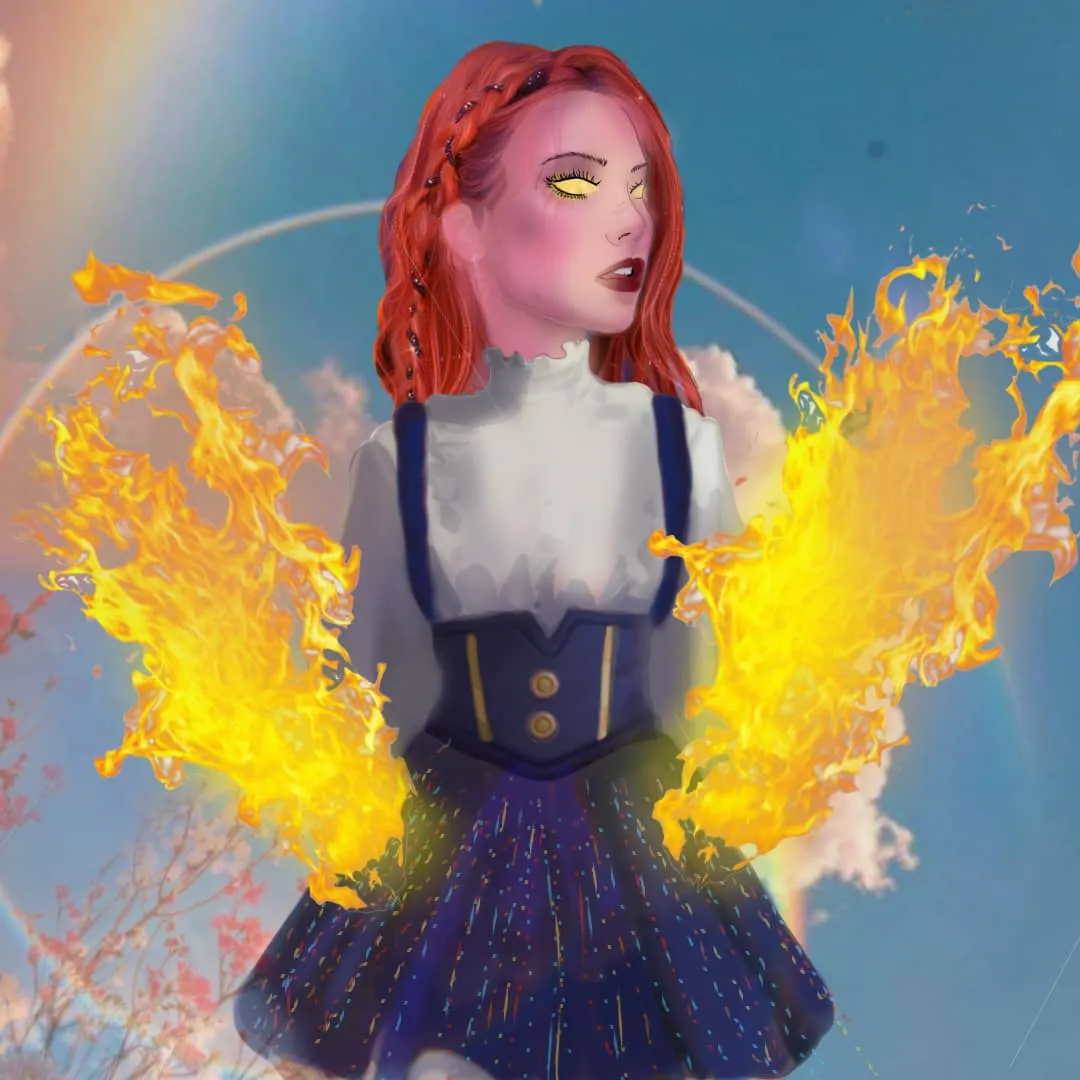
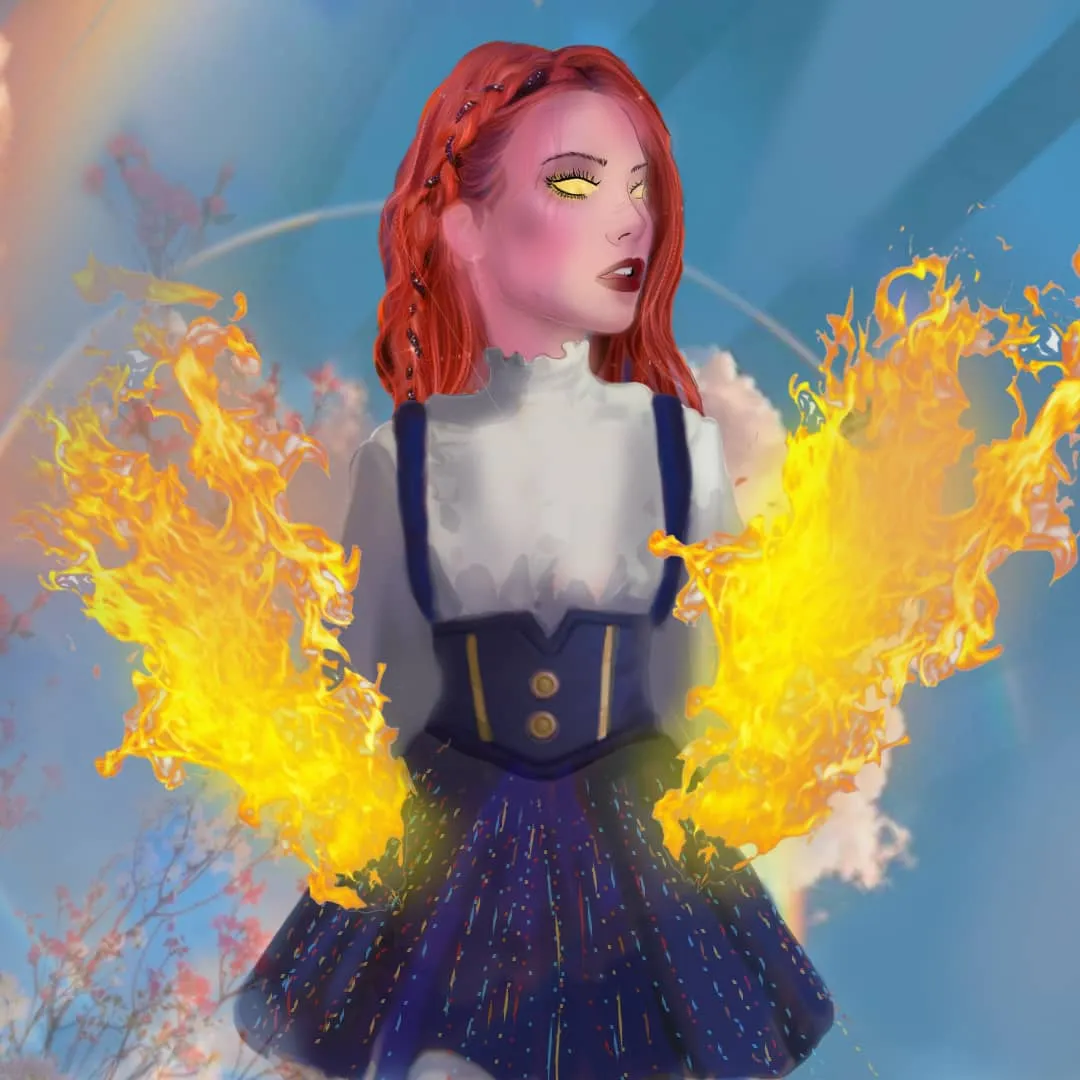
Le ponemos su poder de llamas amarillas y de fondo de usamos un cielo azul, y como una especie de nubes de tonalidades rojas y un arcoiris que lo rodea. Le colocamos unas pequeñas flores de pétalos rojos y blancos y con unos reflejos de luz culminamos nuestro dibujo.
We put its power of yellow flames and in the background we use a blue sky, and as a kind of clouds of red tones and a rainbow that surrounds it. We put some small flowers with red and white petals and with some reflections of light we finish our drawing.