Saludos, y abrazos muy fraternales a todos los integrantes de esta comunidad, confío de que se encuentren bien gozando de buena salud.
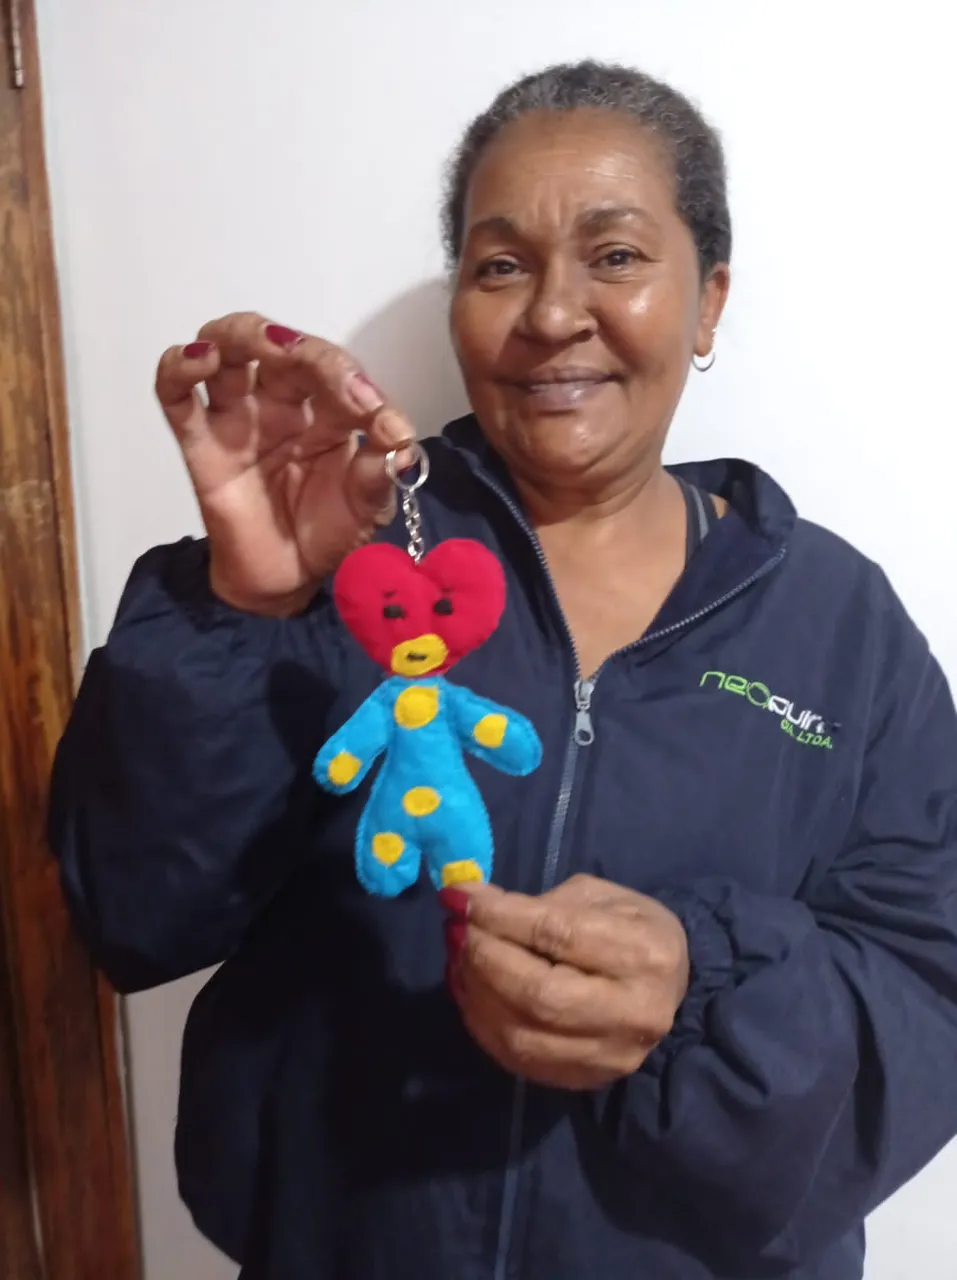
Hoy estoy aquí para compartirles la elaboración de un colorido y personalizado llavero
Greetings and fraternal hugs to all the members of this community, I hope you are well and in good health.
Today I am here to share with you the making of a colorful and personalized keychain
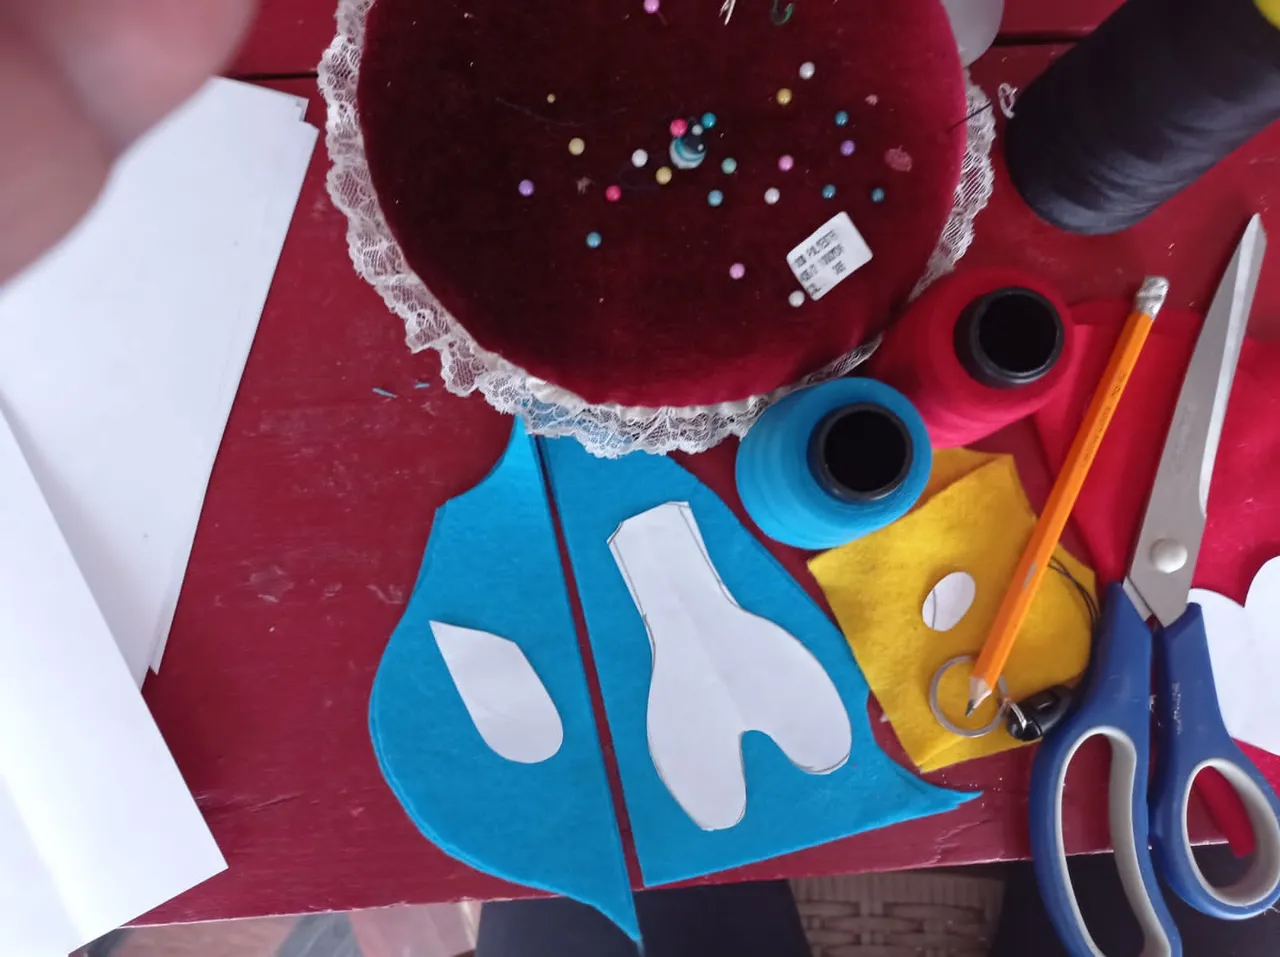
Materiales:
• Fieltro de color amarillo, azul verde.
• Relleno.
• Tijeras.
• Moldes.
• hilo de color azul, rojo y negro.
• Agujas.
• Lápiz.
Materials:
• Felt yellow, blue green.
• Filling.
• Scissors.
• Molds.
• Blue, red and black thread.
• Needles.
• Pencil.
I hope you enjoy the procedure as much as I do
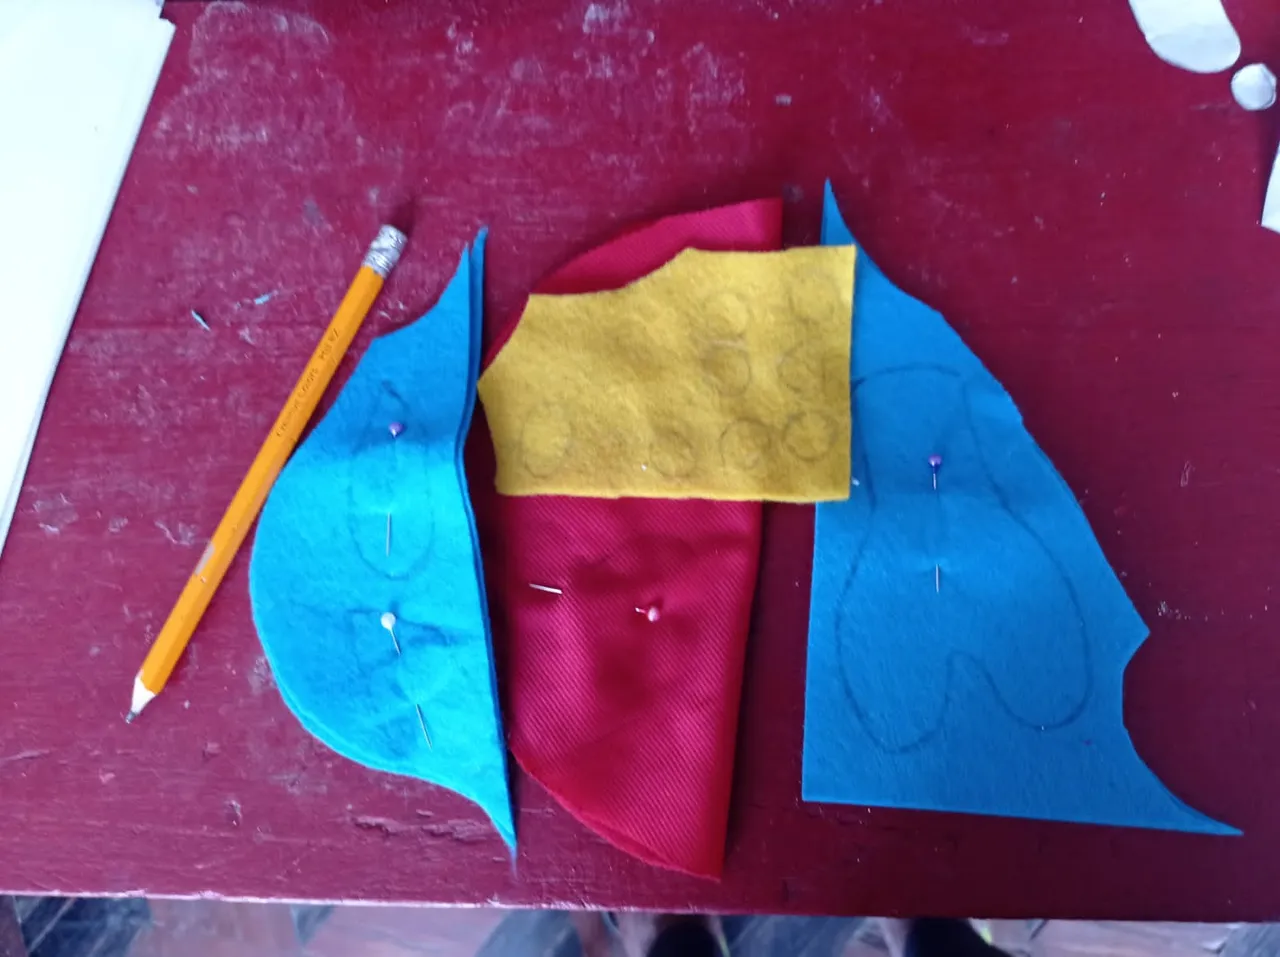
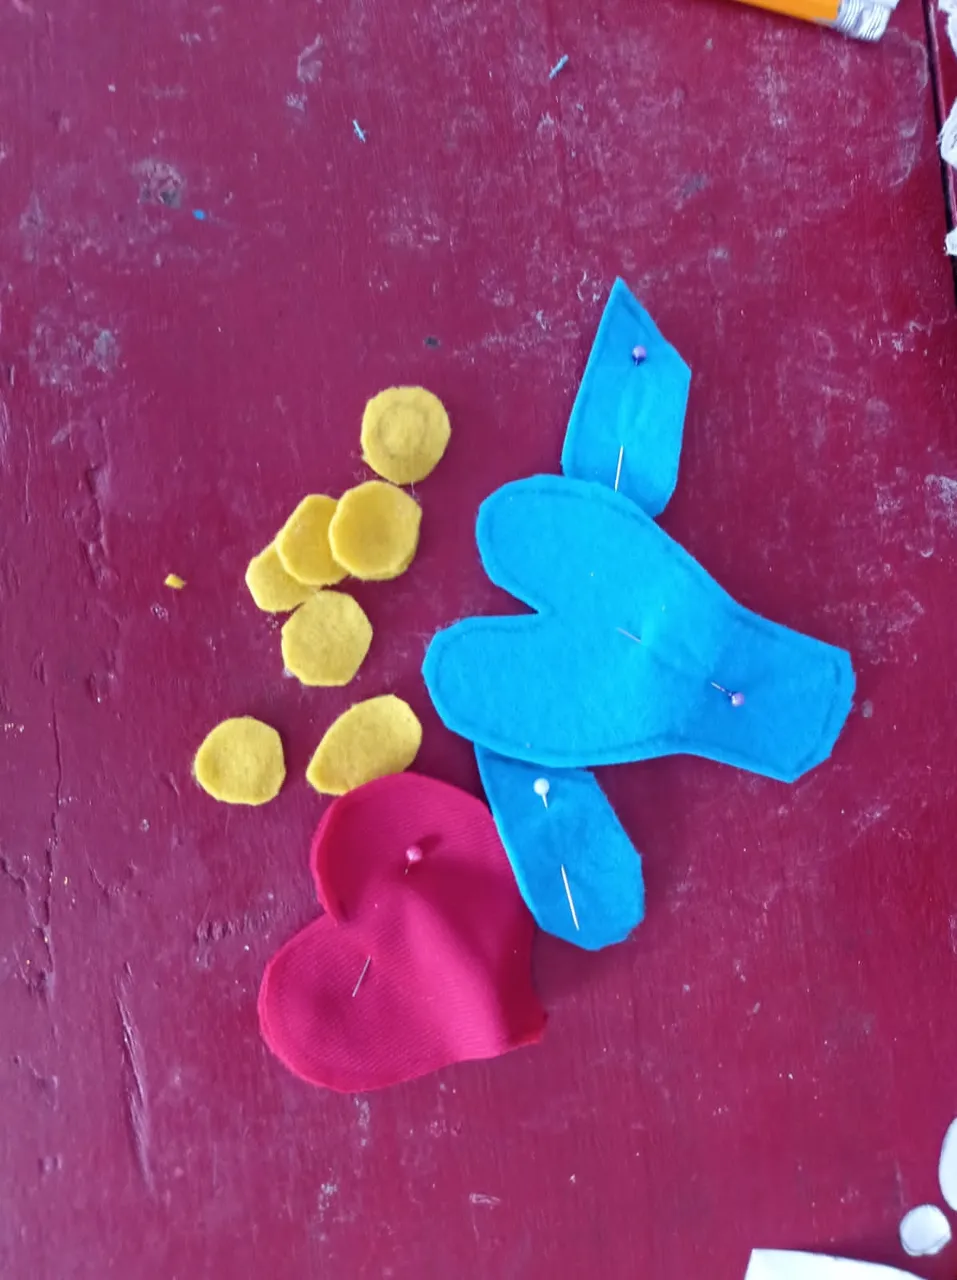
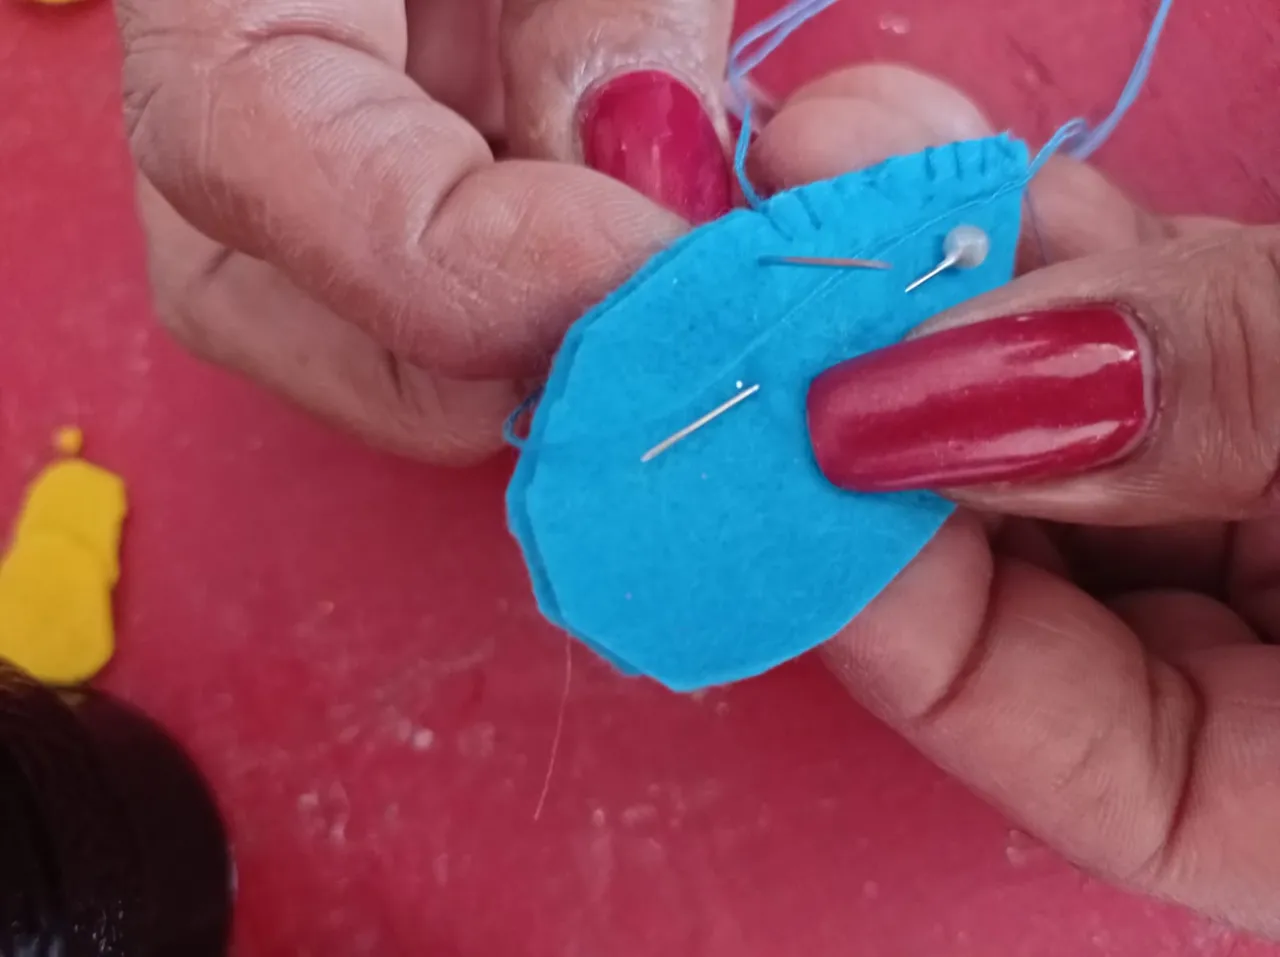
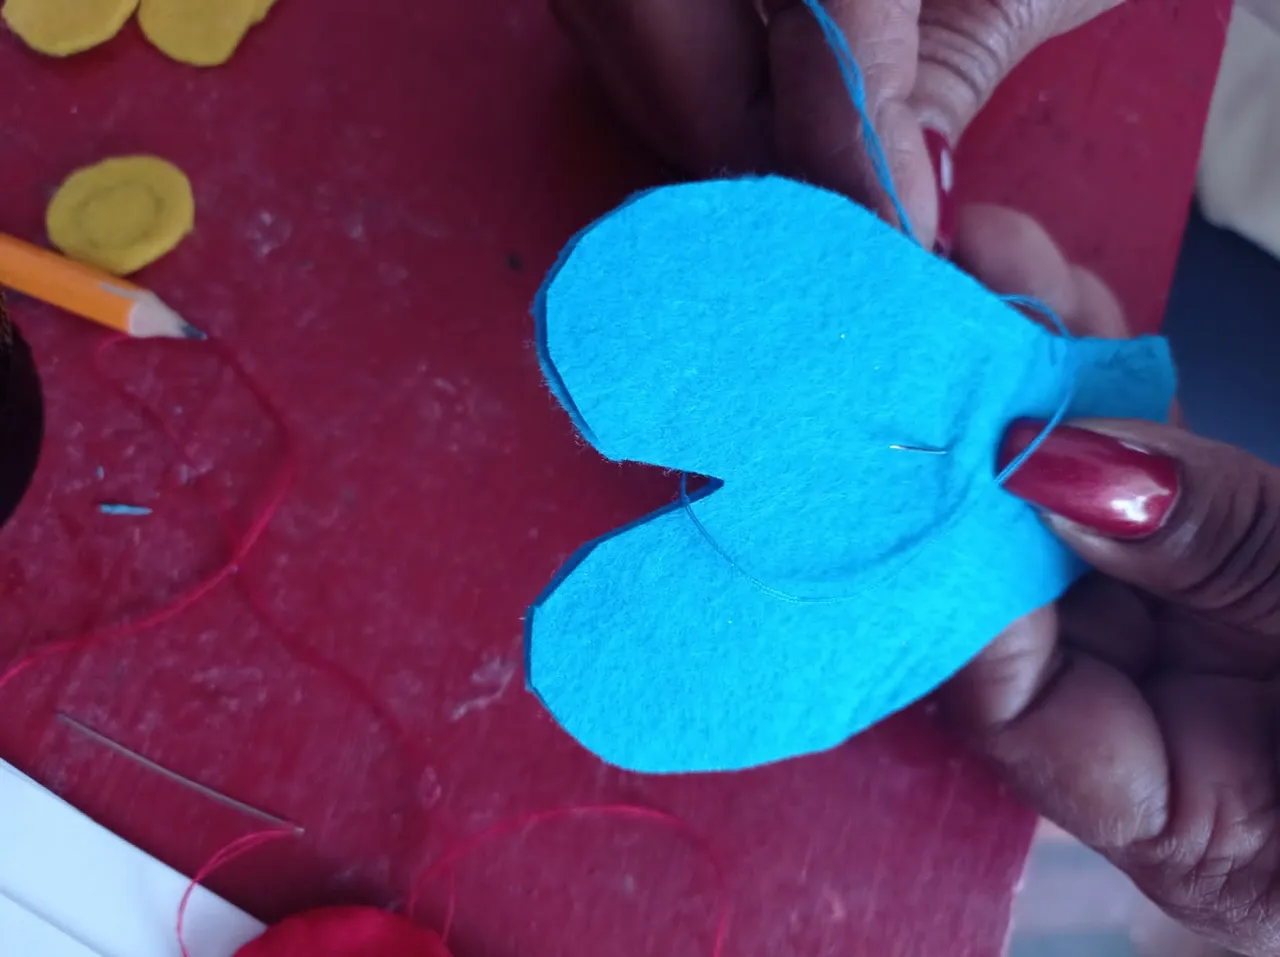
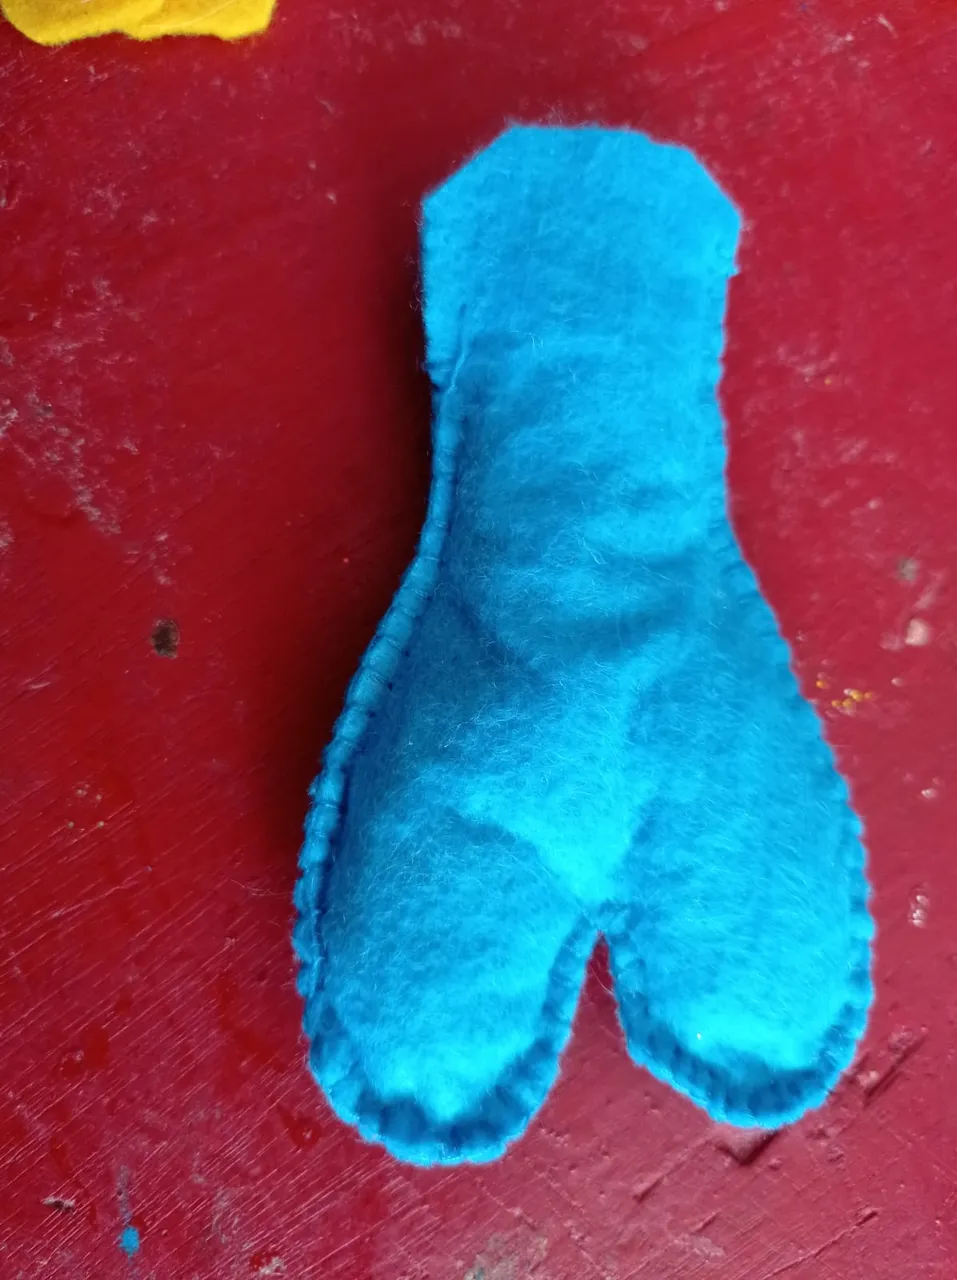
1.) Lo primero que se va hacer es: colocar los moldes en los distintos colores de fieltro, marcar y recortar 2 piezas por cada uno.
1.) The first thing to do is: place the molds in the different colors of felt, mark and cut out 2 pieces for each one.
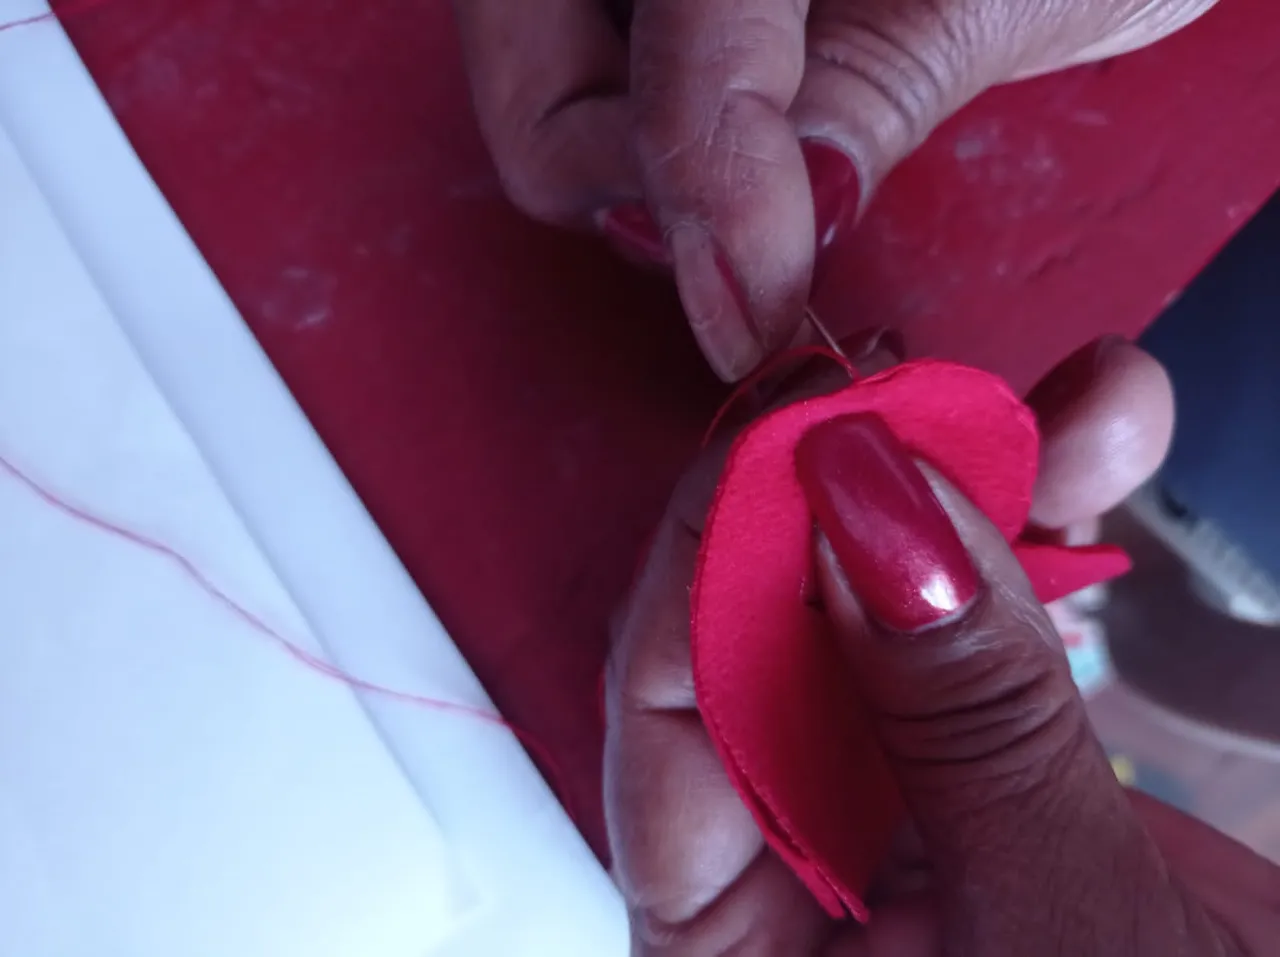
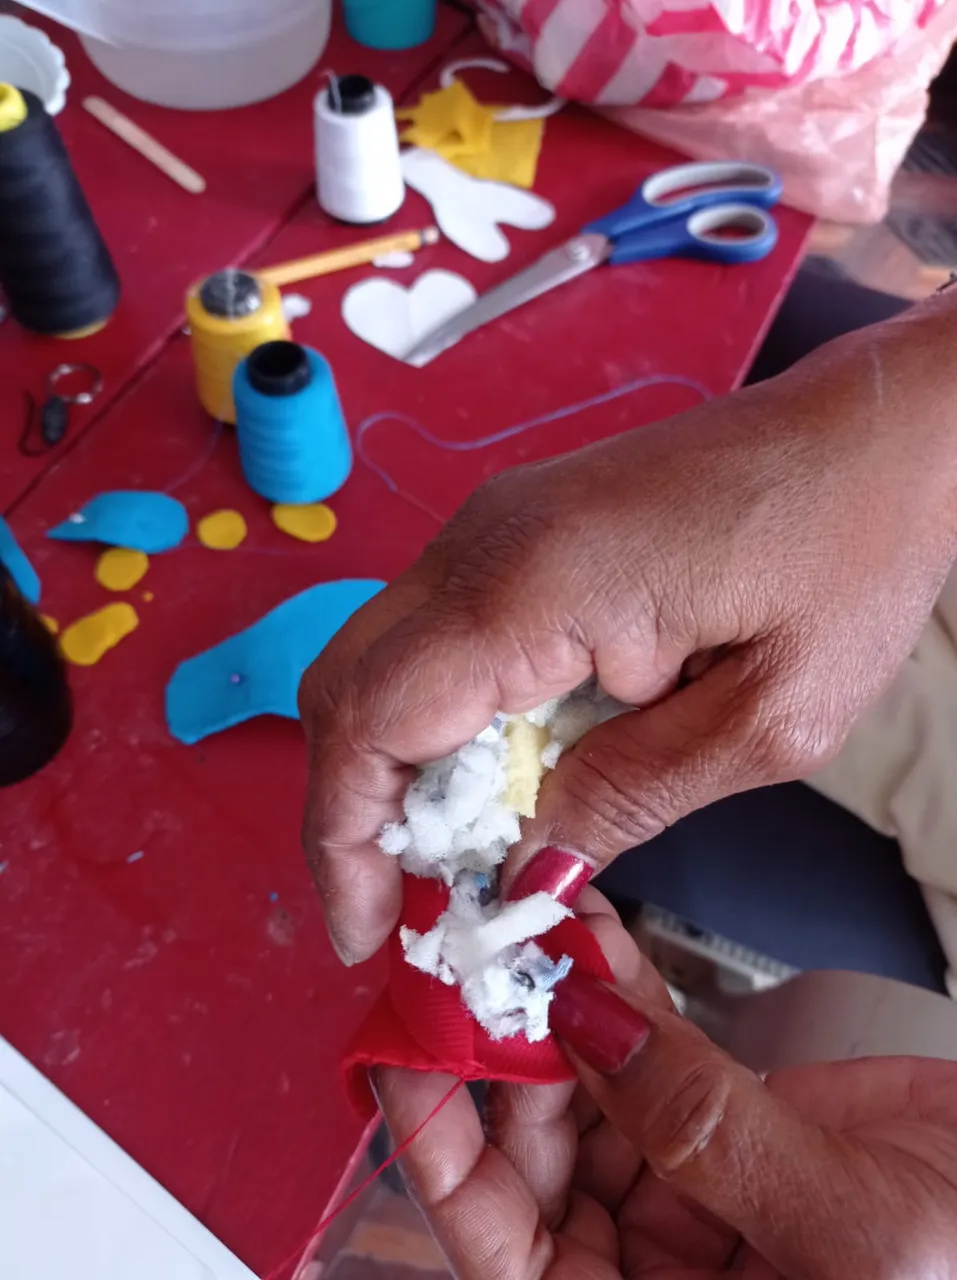
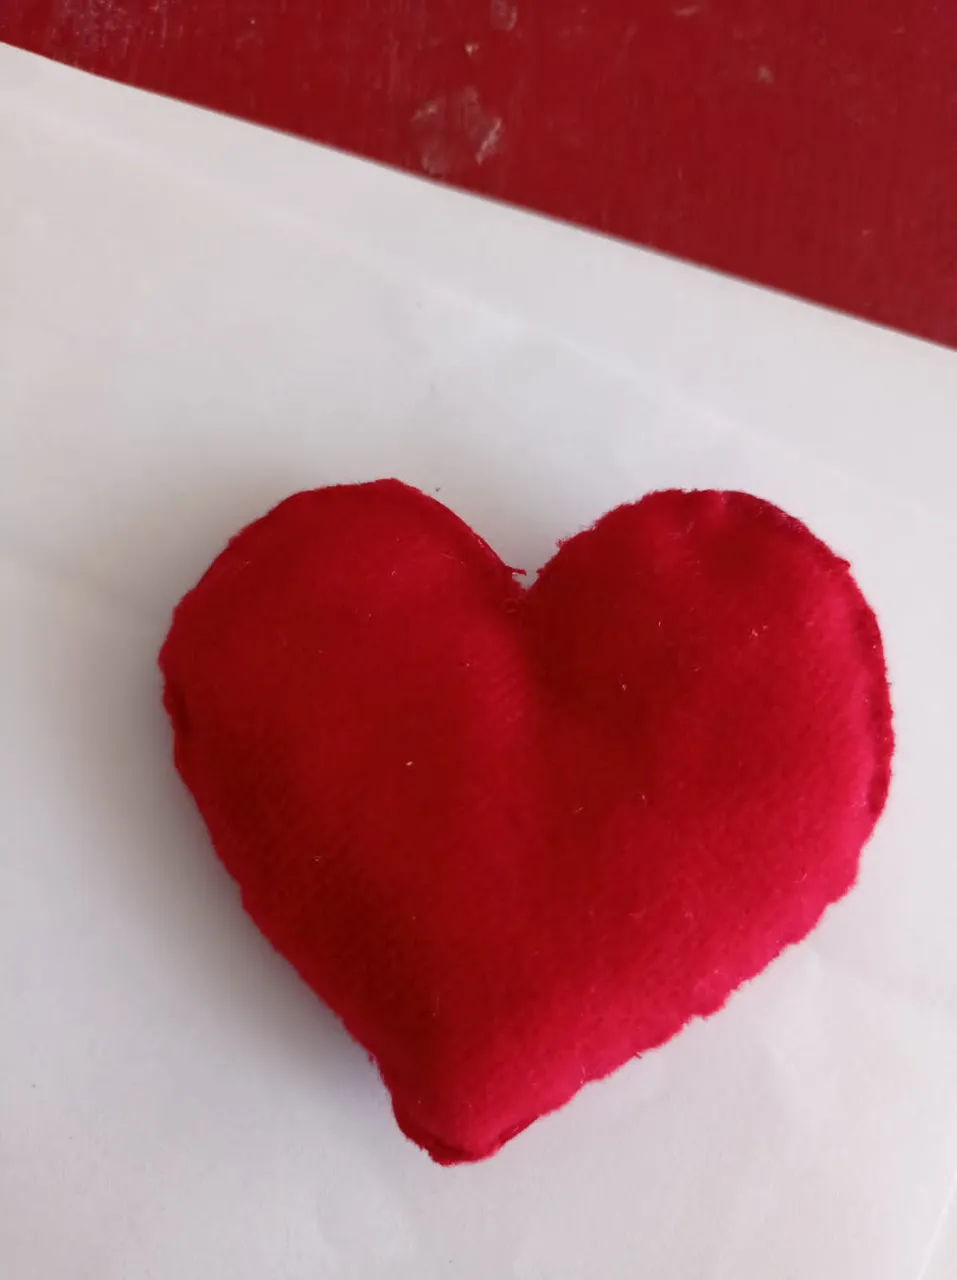
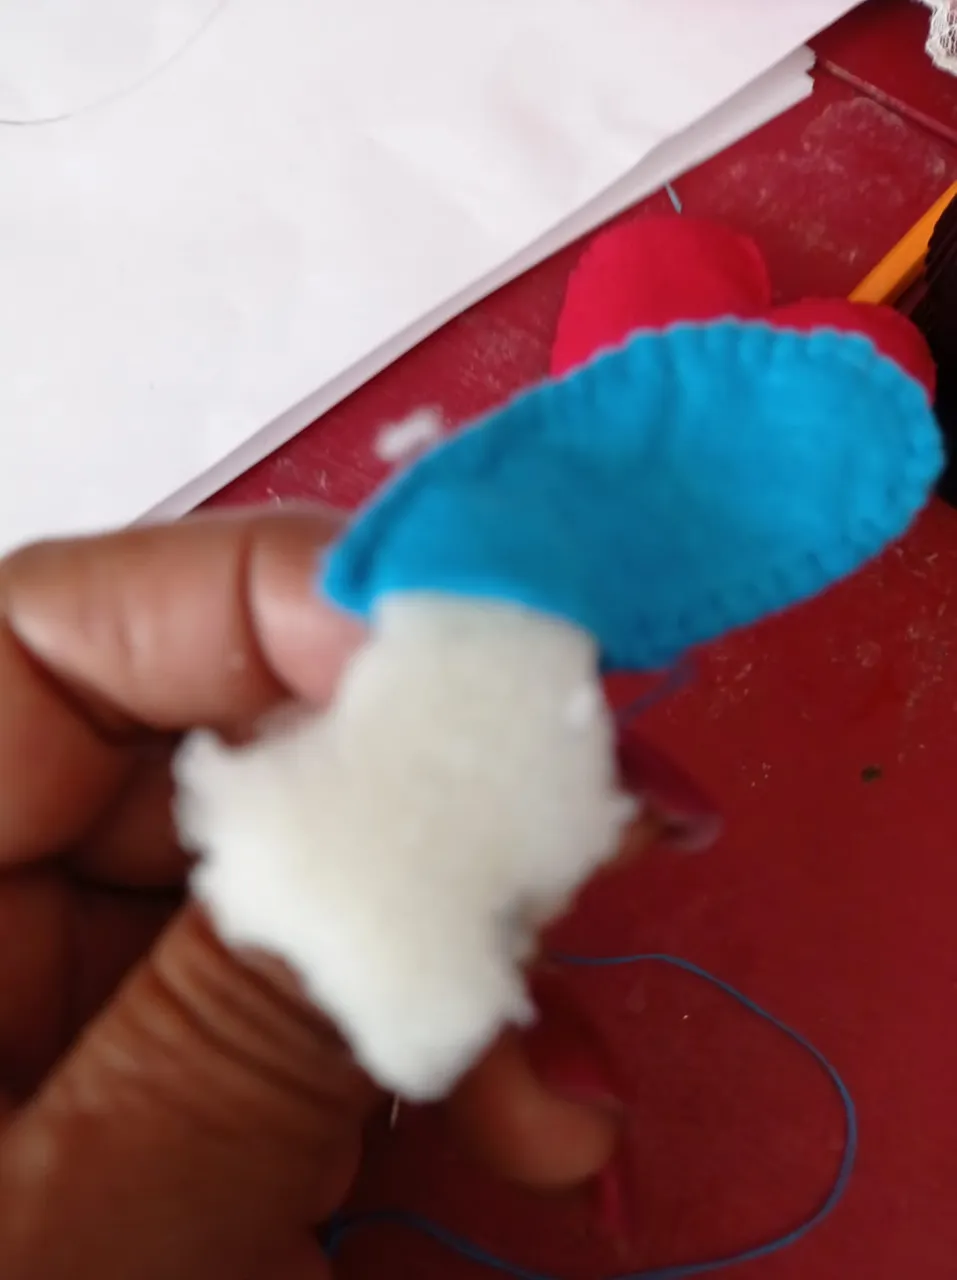
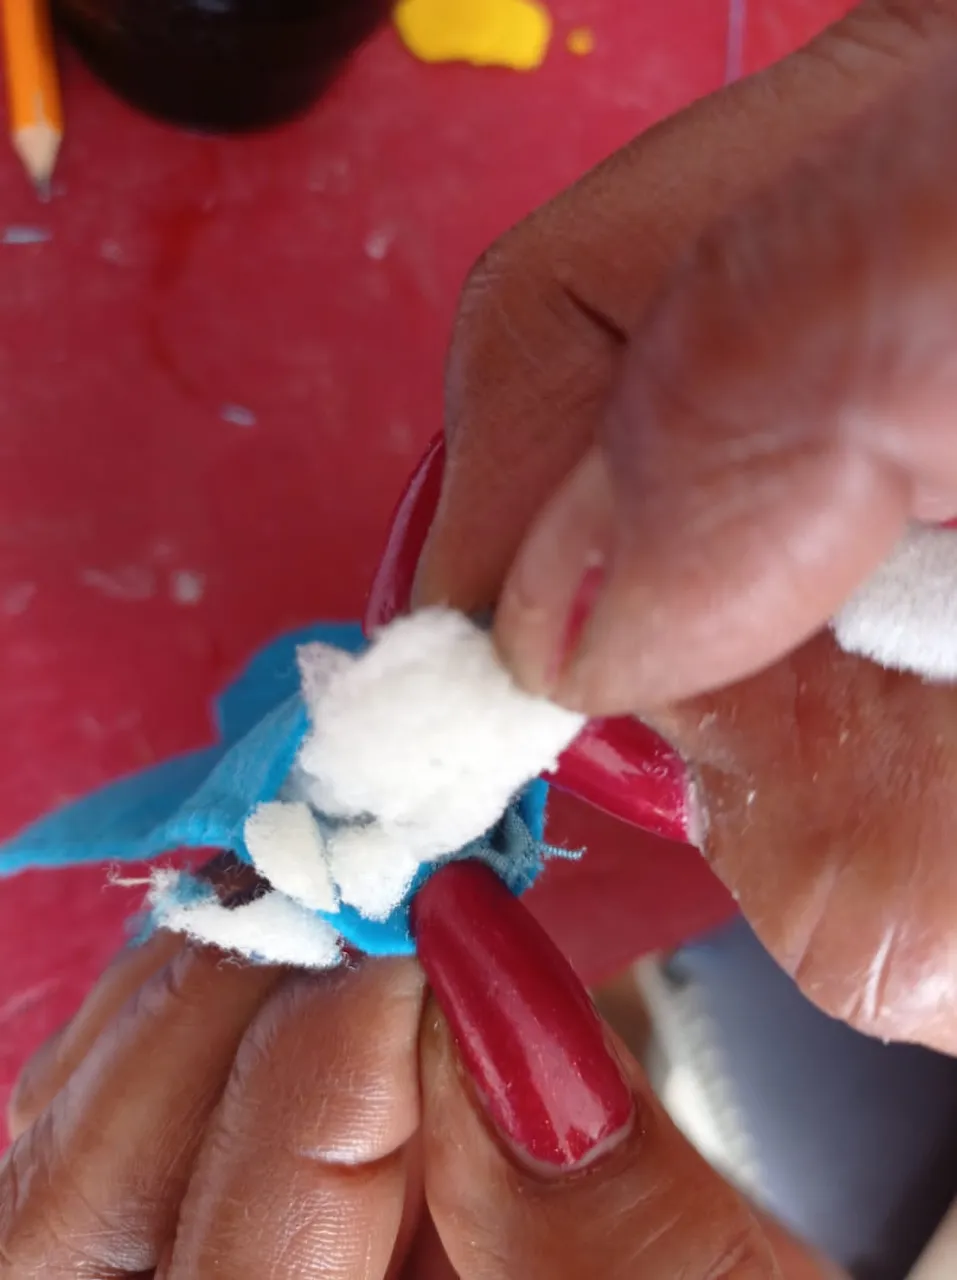
2.) Luego, cosemos las 2 piezas de corazones, por todo el bordes con hilo rojo cosemos a mano o puede ser a máquina.
(recuerden siempre dejar un espacio para meter el rellano)
2.) Then, we sew the 2 pieces of hearts, all around the edges with red thread, we sew by hand or it can be done by machine.
(always remember to leave a space to put the landing).
3.) Después, hacemos el procedimiento anterior con las piezas restantes.
3.) Then, we do the above procedure with the remaining pieces.
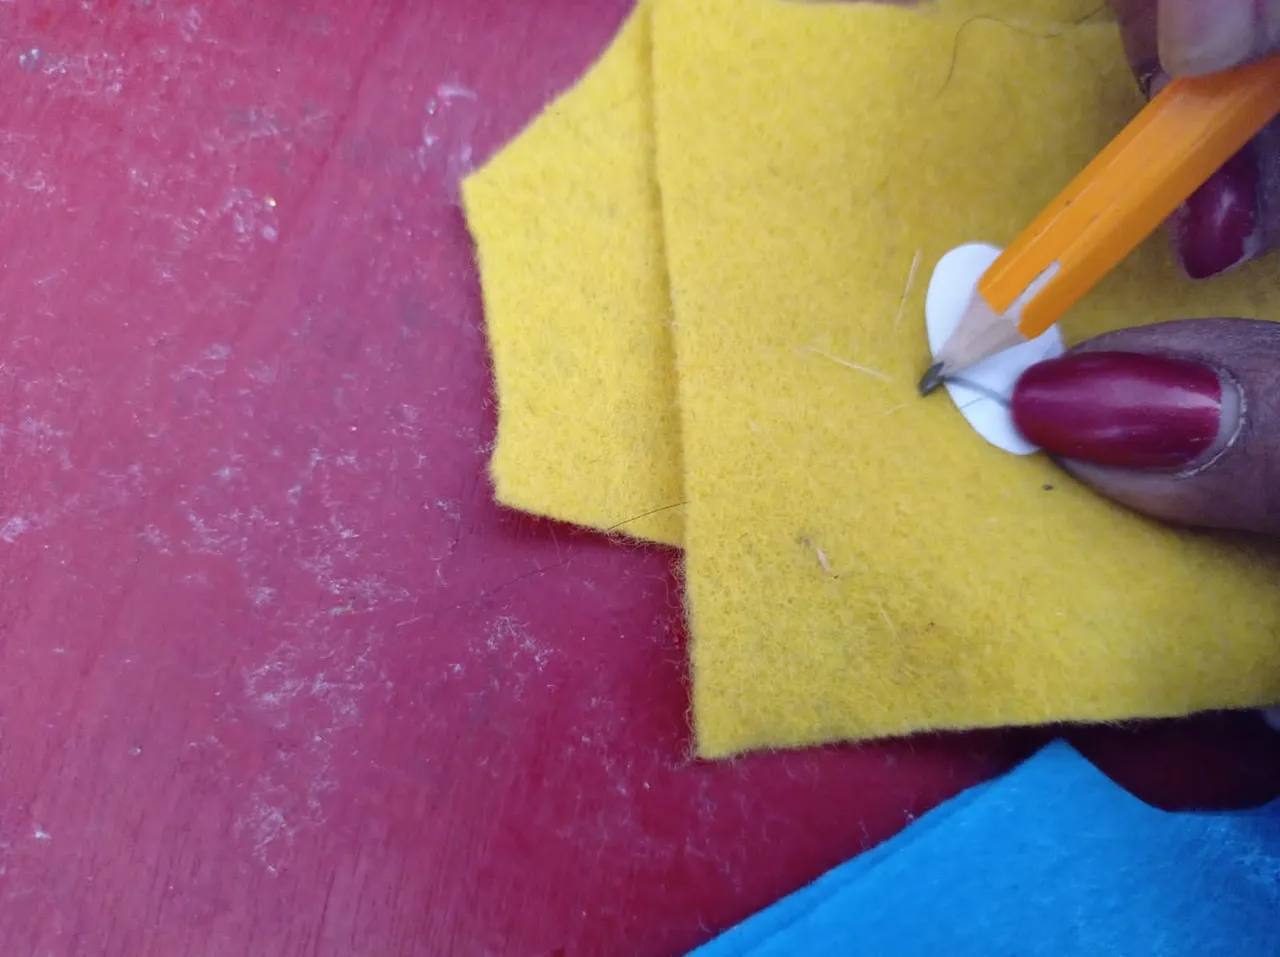
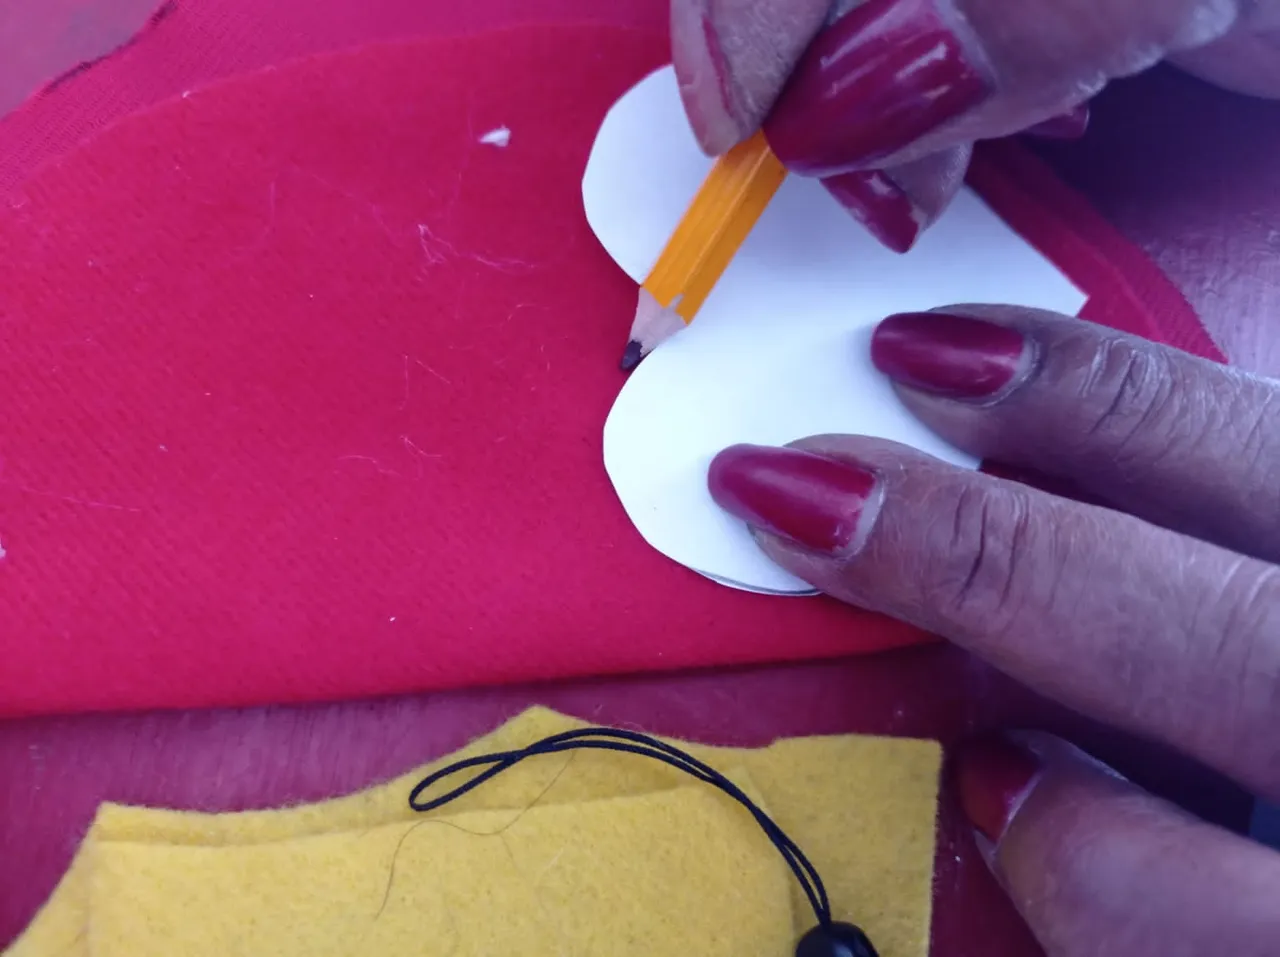
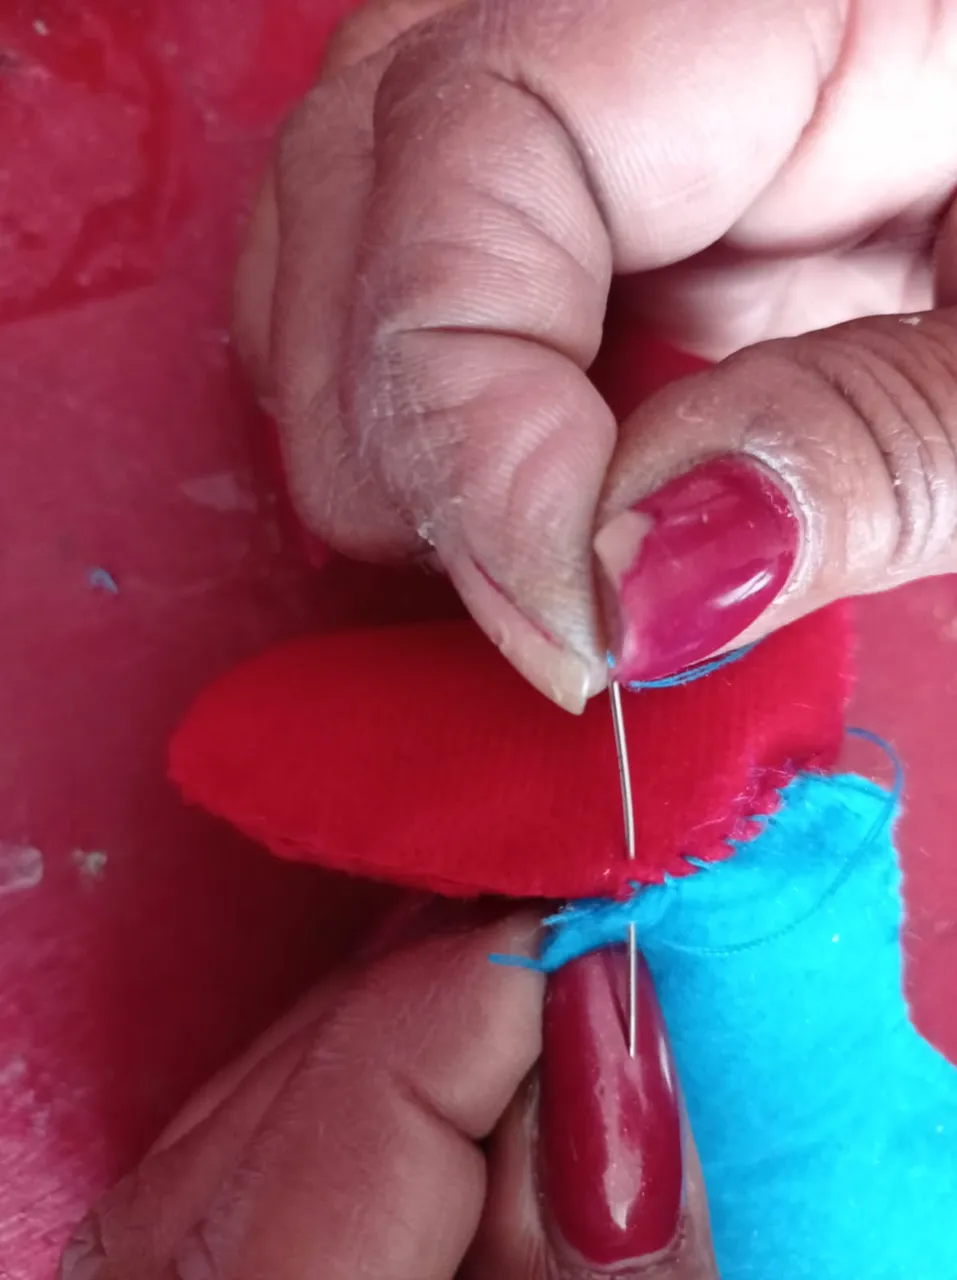
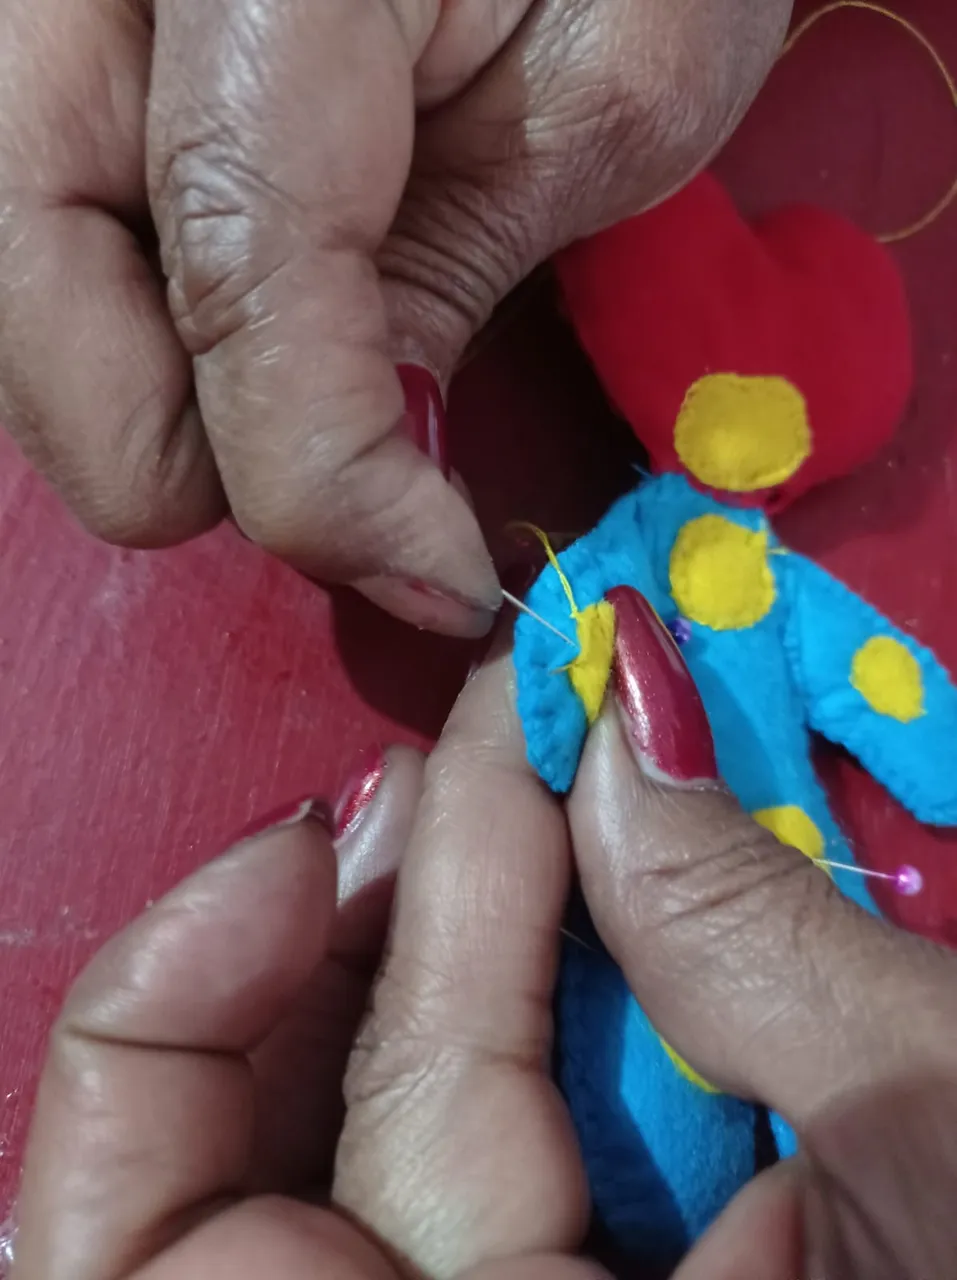
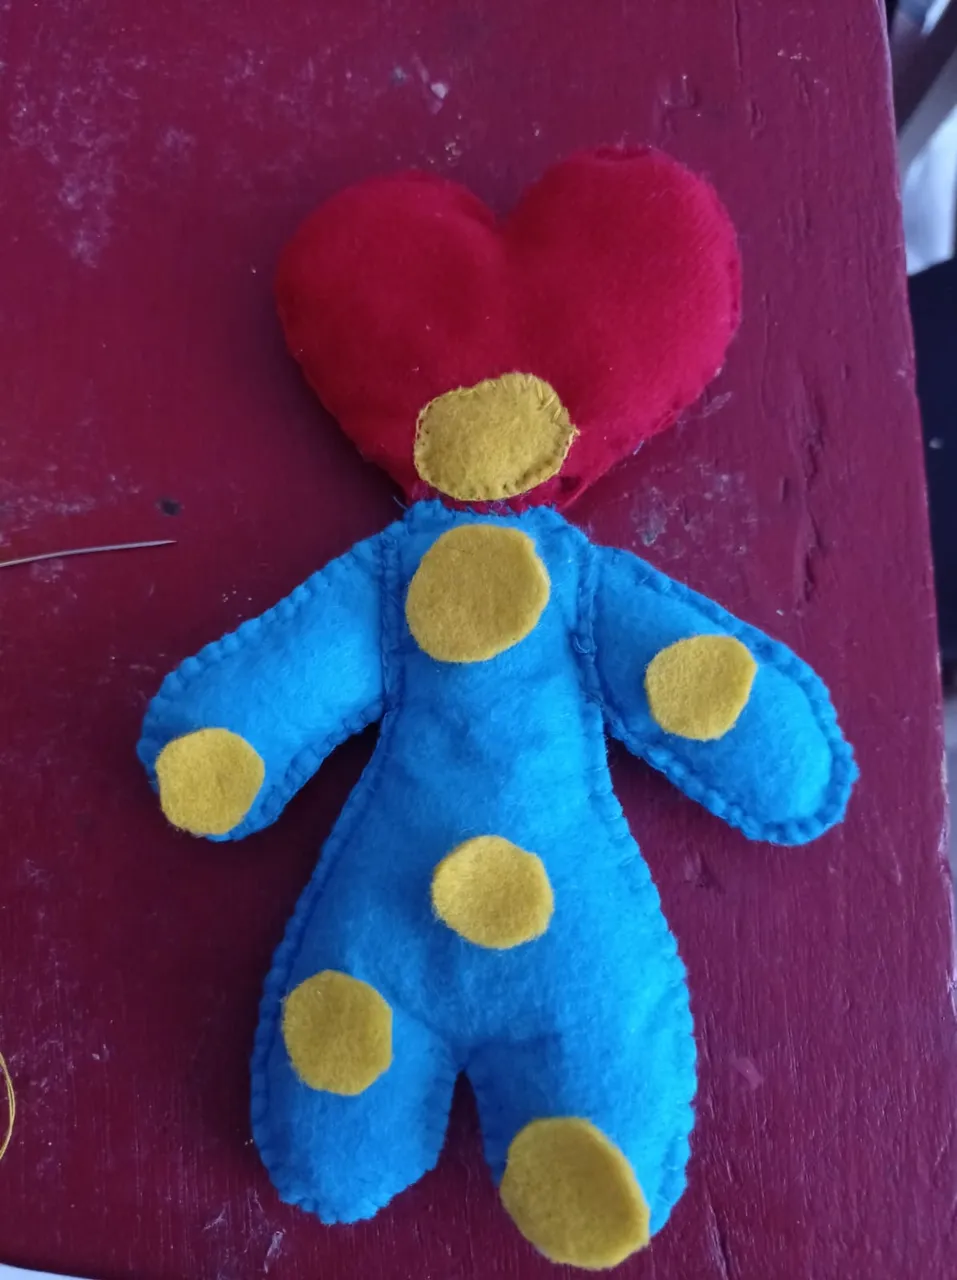
4.) Ahora, cosemos el corazón al cuerpo del muñeco y un círculo amarillo lo pegamos en la parte inferior del corazón.
4.) Now, we sew the heart to the body of the doll and glue a yellow circle to the bottom of the heart.

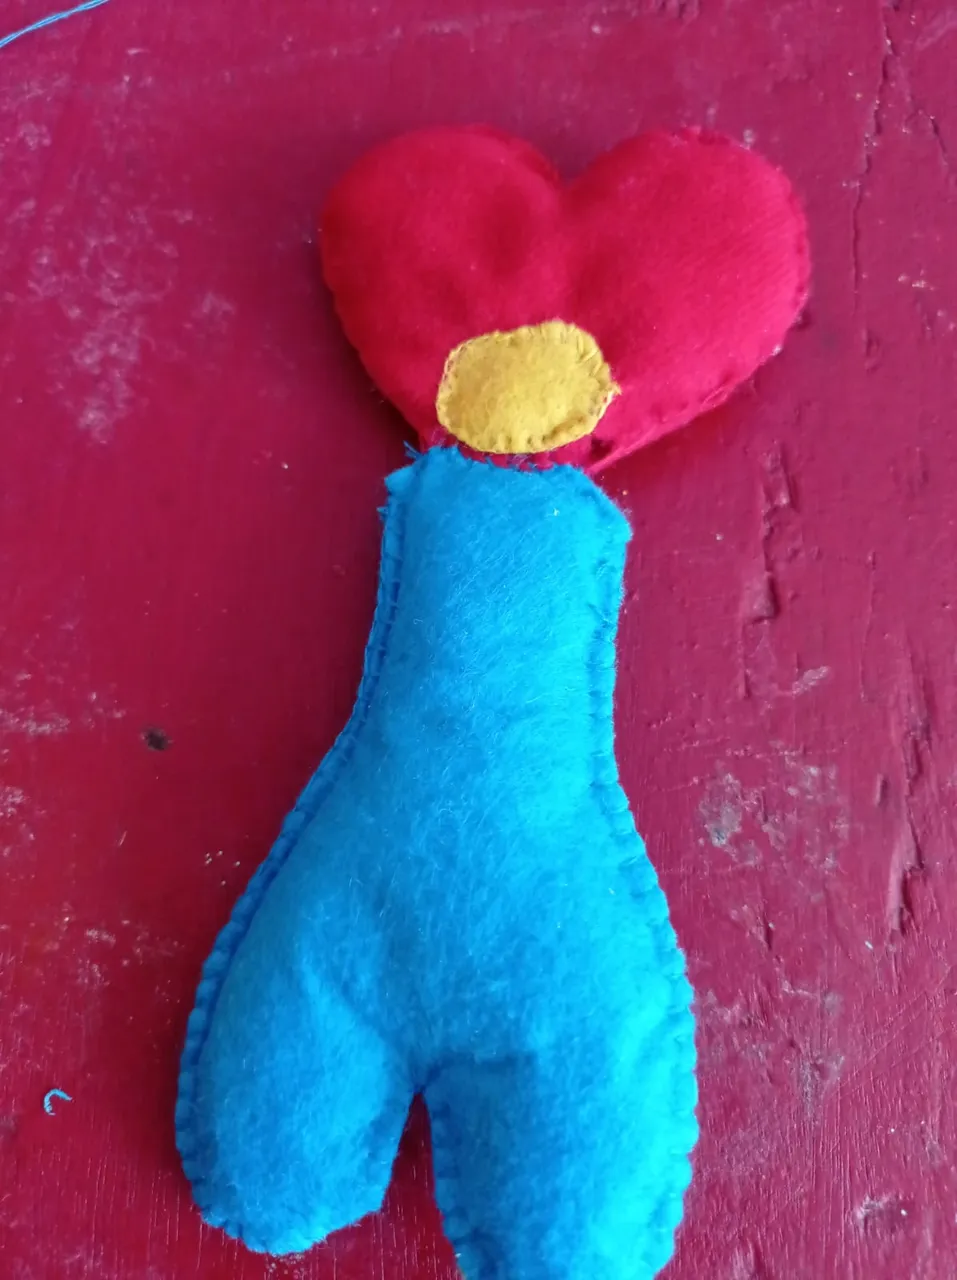
5.) Por último pegamos los brazos, los restantes círculos amarillos, y con hilo negro hacemos, la boca, ojos y cejas.
5.) Finally we glue the arms, the remaining yellow circles, and with black thread we make the mouth, eyes and eyebrows.
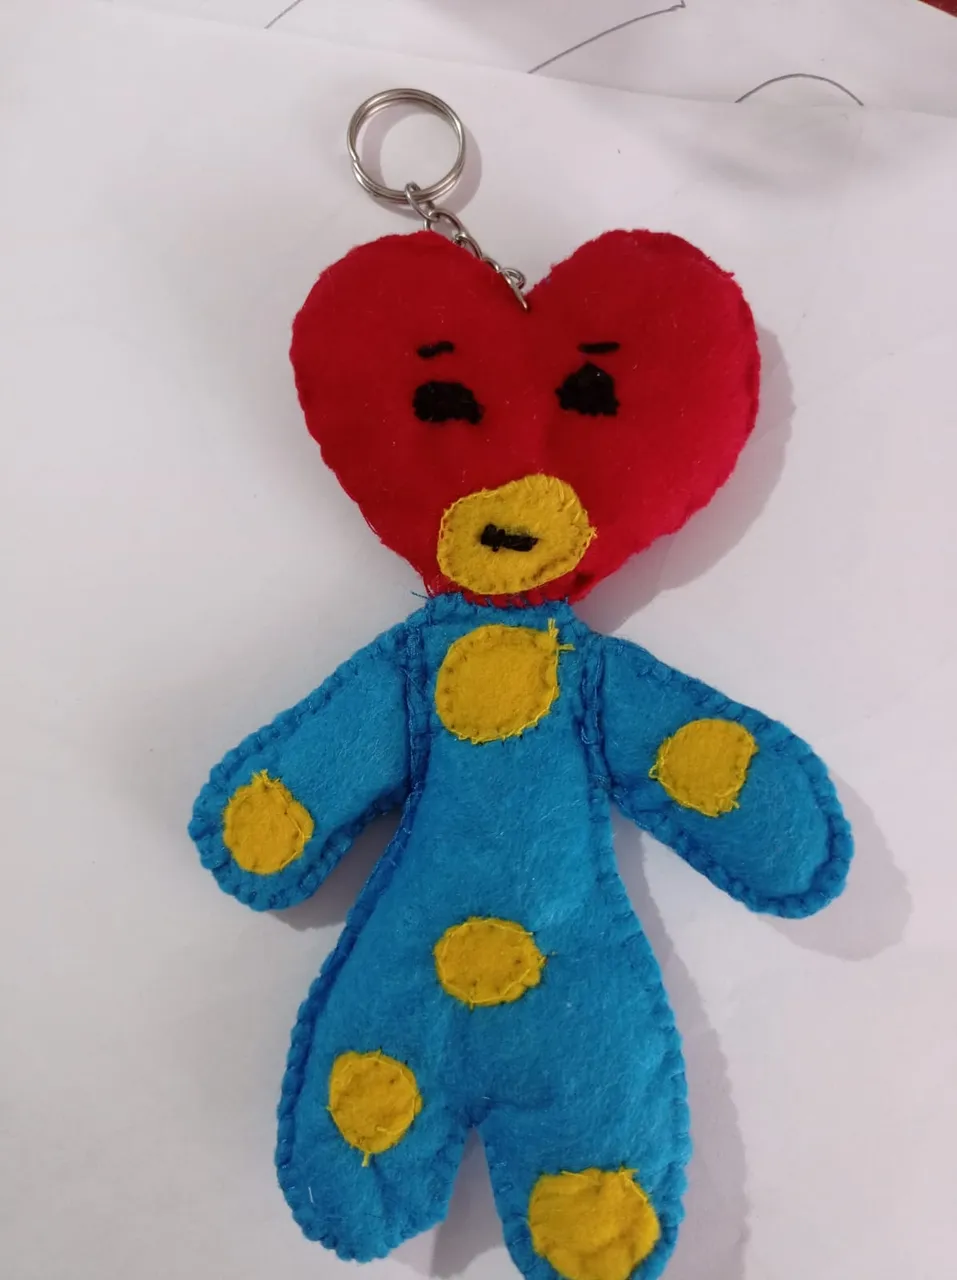
Final result
queridos amigos, gracias por regalarme un poco te tu tiempo Dear friends, thank you for giving me a little bit of your time *recuerda seguirme, y sobre todo Dios te bendiga remember to follow me, and above all God bless you