Saludos a todos, espero todos se encuentren muy bien. Hoy comparto un poco del proceso que lleve a cabo para fabricar un soporte para audífonos a partir de material reciclado.

For this project I used the following materials:
- 1 piece of wood 14cm wide.
- 1 piece of wood 5cm wide.
- 1 piece of broomstick.
- 3 lag screws.
- White glue.
- Black acrylic paint.
- Cold paint of various colors.
Para este proyecto utilice los siguientes materiales:
- 1 trozo de madera de 14cm de ancho.
- 1 trozo de madera de 5cm de ancho.
- 1 trozo de palo de escoba.
- 3 tornillos tirafondo.
- Cola blanca.
- Pintura acrílica color negro.
- Pintura al frío de varios colores.
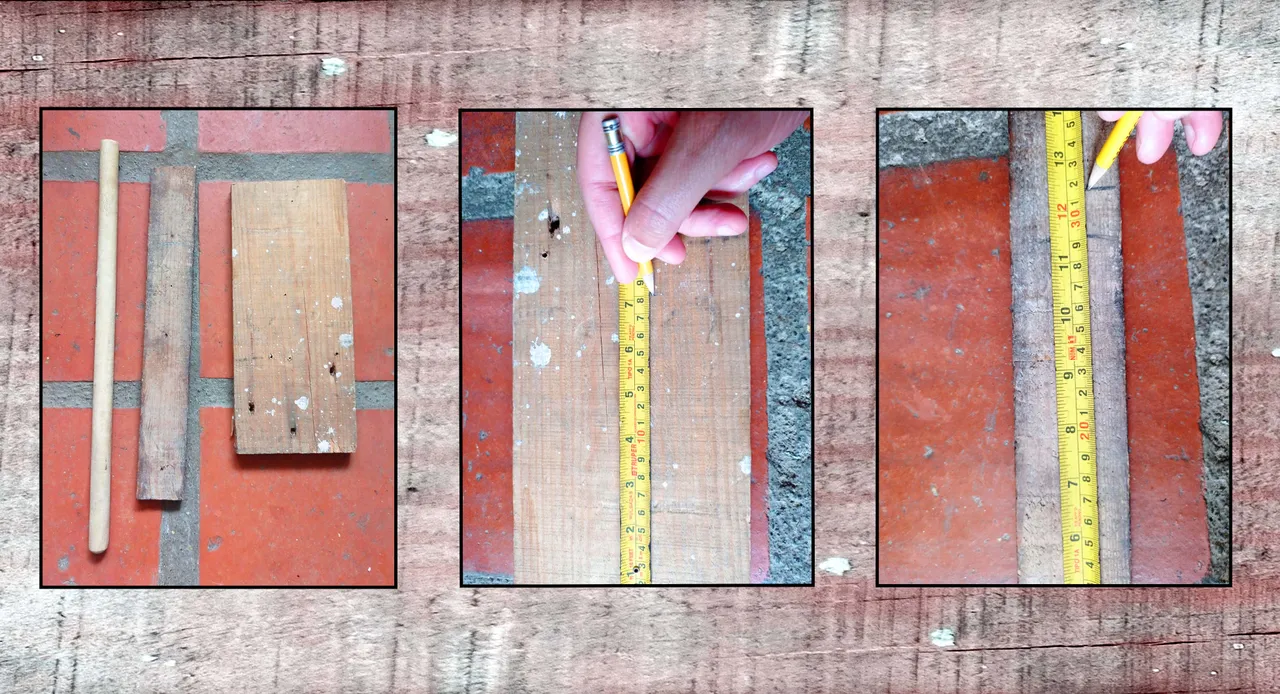
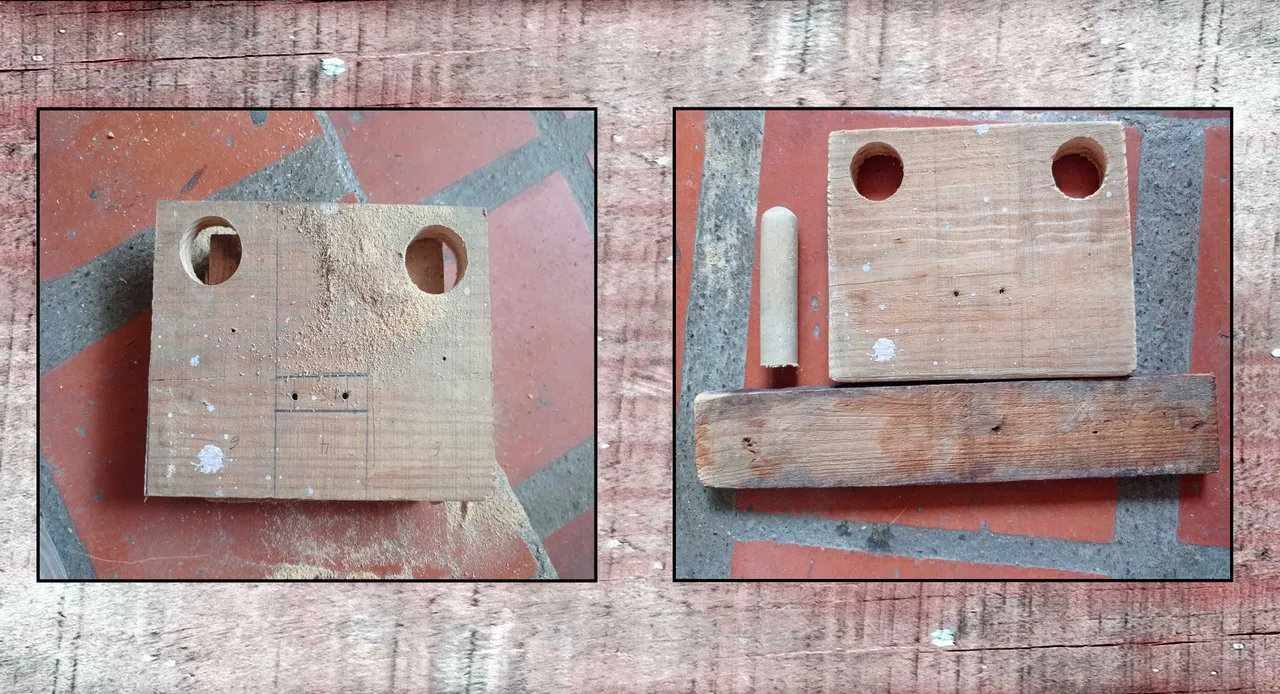
Para empezar medí los trozos de madera y los corte con las siguientes medidas; la madera de 14cm de ancho la corte a 18cm de largo, la madera de 5cm de ancho la corte a 32cm de largo y el palo de escoba lo corte a 8cm de largo.
Ya con los trozos de madera cortados, la función de cada uno seria la siguiente; El trozo de 14cm x 18cm sera la base o pie, el trozo de 5cm x 32cm sera el cuerpo y el trozo de palo de escoba sera el sostén donde reposaran los audífonos.
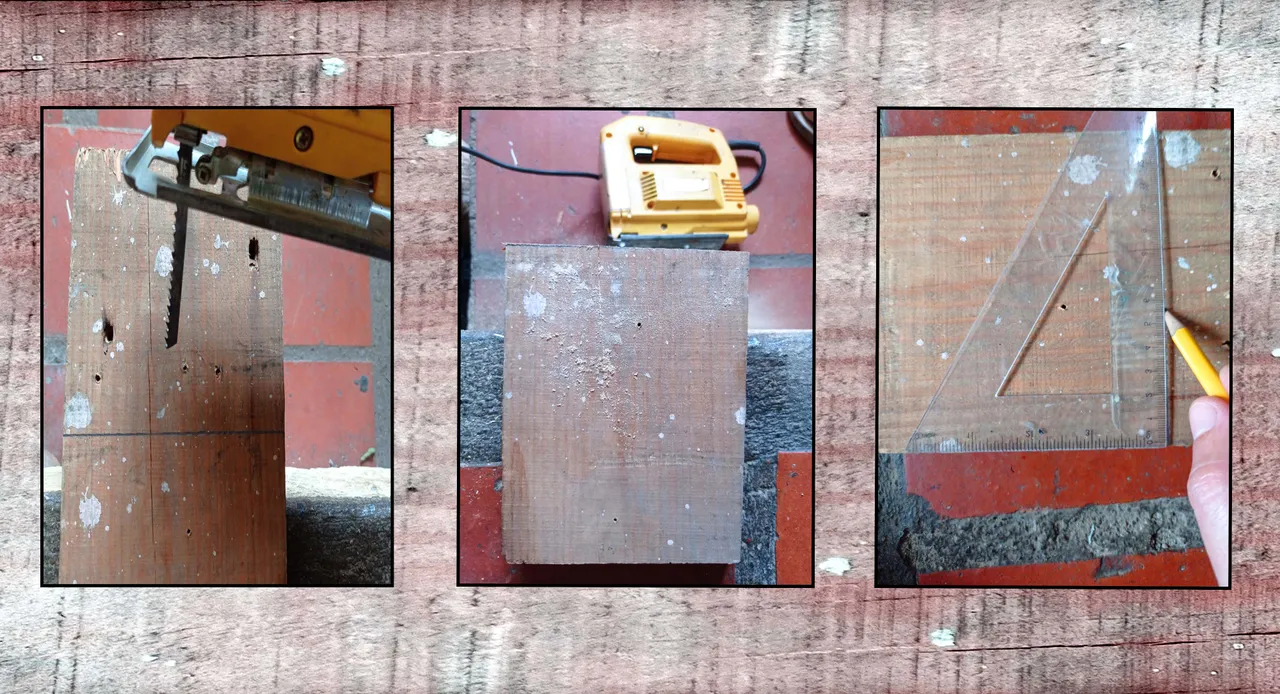
Then I proceeded to measure to drill holes through which I will drive the screws to join the pieces of wood together.
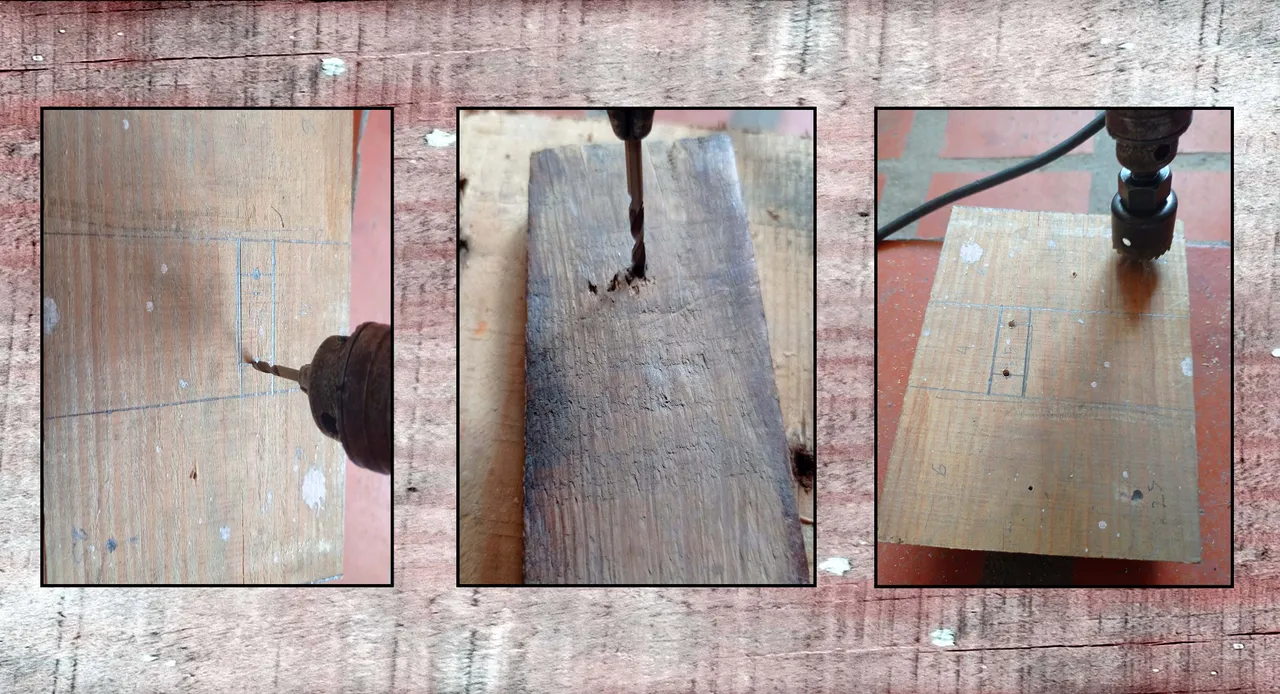
In the wood that will be the base I drilled two holes to secure the body to the base.
In the wood that will be the body I drilled a hole in what will be the top to hold the piece of broomstick.
In addition, drill two thick holes in the base to hold a joystick.
Luego yo procedí a medir para realizar agujeros por donde atravesare los tornillos para unir las piezas de madera entre si.
En la madera que va a ser la base abrí dos agujeros para asegurar el cuerpo a la base.
En la madera que va a ser el cuerpo perfore un agujero en la que sera la parte de arriba para sujetar el trozo de palo de escoba.
Adicional perfore dos agujeros gruesos en la base para reposar un joystick.
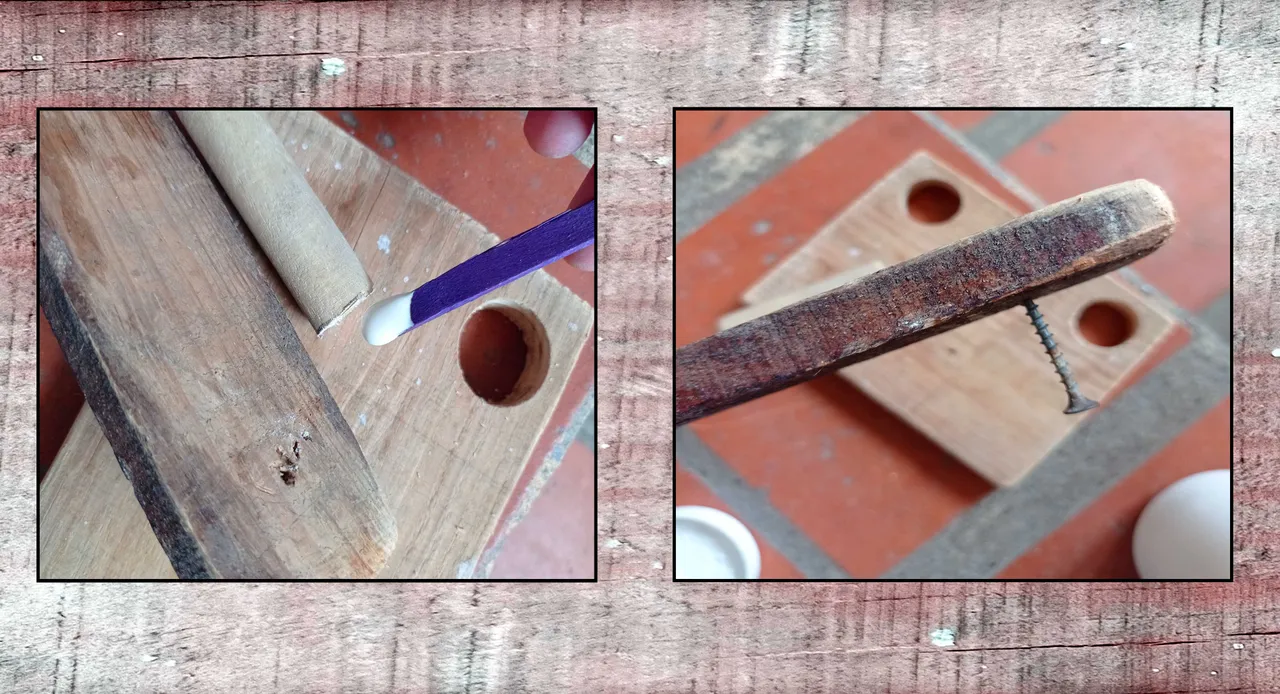
To assemble the stand I proceeded to apply white glue to the parts to be joined and then screwed the pieces together.
Para ensamblar el stand yo procedí a aplicar cola blanca en las partes a unir para luego atornillar las piezas.
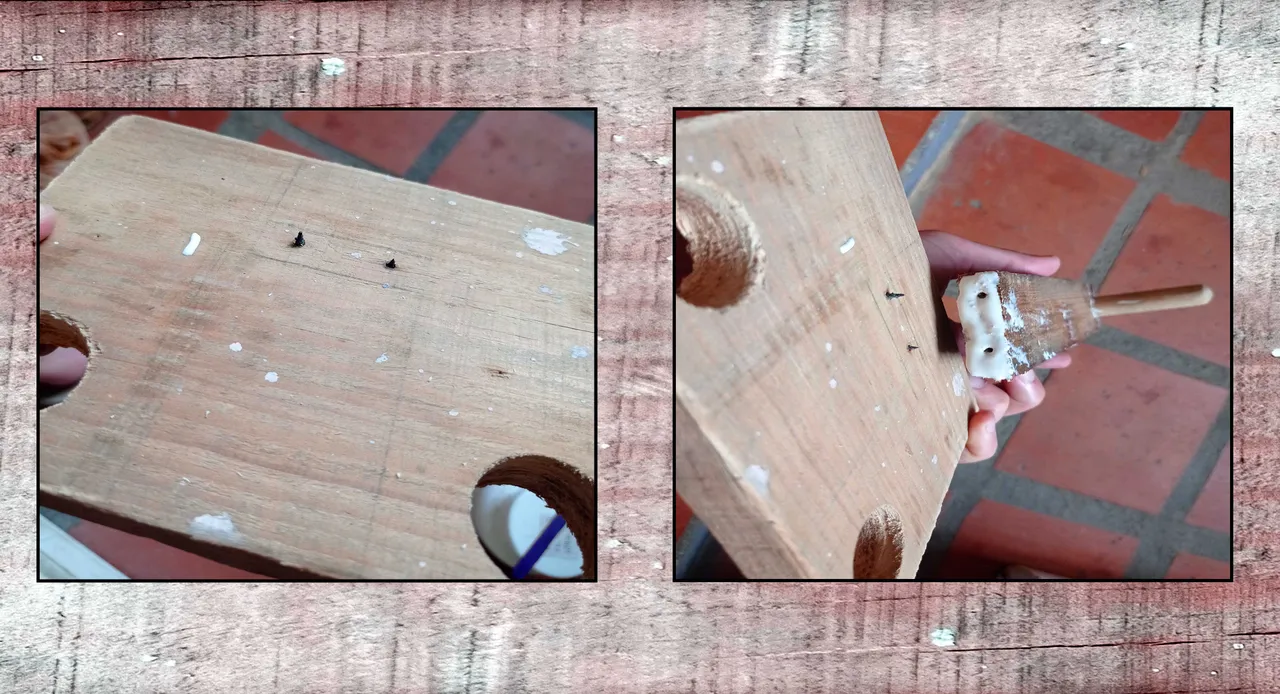
Then I applied white glue with a little sawdust to cover some imperfections in the wood.
Then I sanded the wood to paint with black acrylic paint.
Luego yo aplique cola blanca con un poco de polvo de aserrín para cubrir algunas imperfecciones de la madera.
Después lije la madera para pintar con pintura acrílica negra.
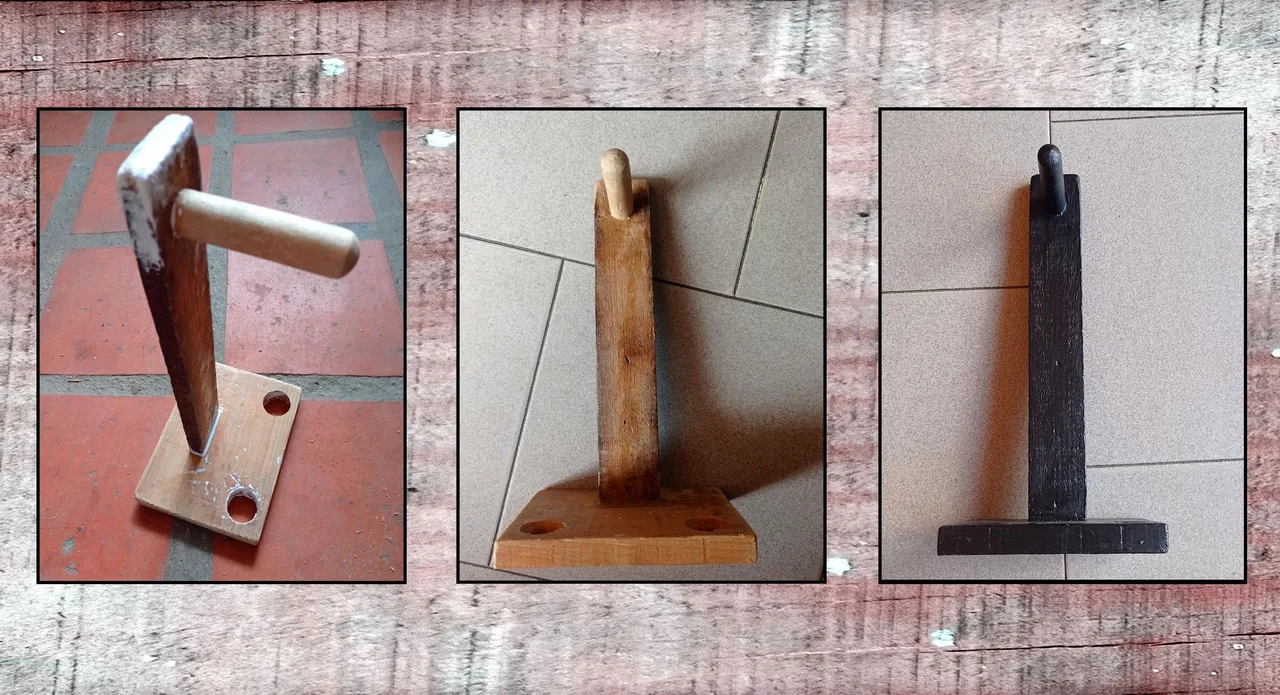
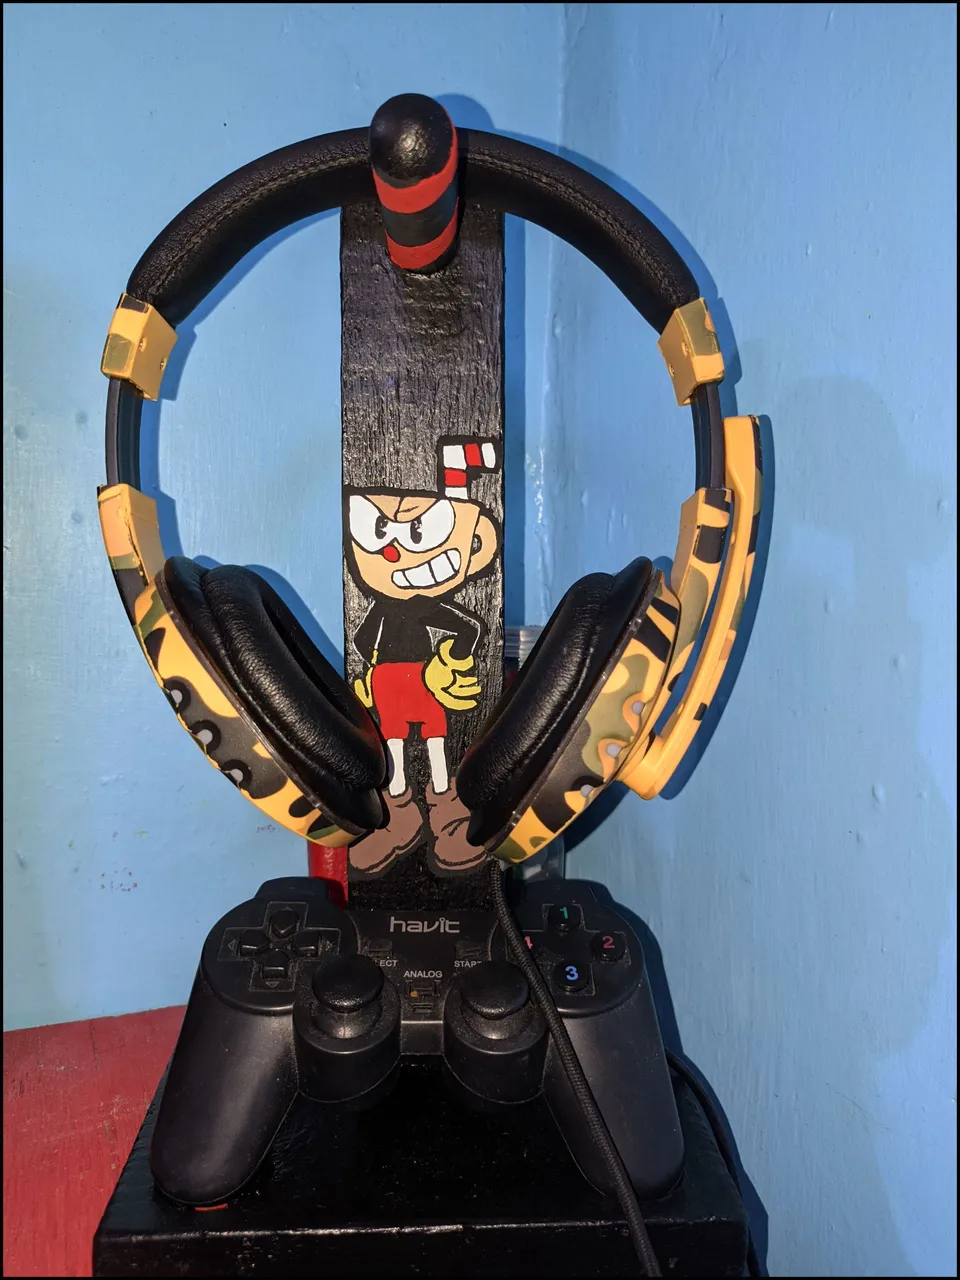
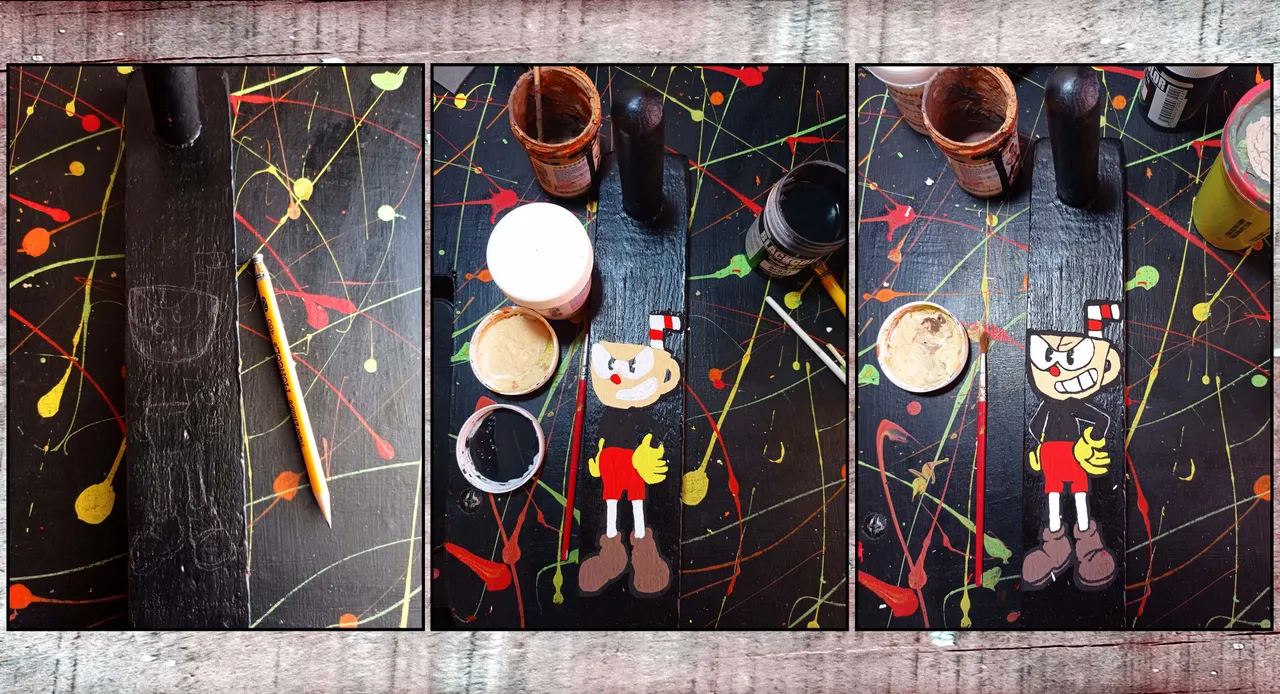
As the stand is to be placed on my little son's computer table, I decided to draw a character from one of his favorite video games.
Como el soporte es para colocarlo en la mesa del ordenador de mi pequeño hijo decidí realizar un dibujo de un personaje de uno de sus videojuegos favoritos.
I made the sketch with a graphite pencil and then I applied the colors with cold paint mixed with white glue so that it would adhere much better to the surface.
Realice el boceto con lápiz de grafito y luego le fui aplicando los colores con pintura al frío mezclada con cola blanca para que se adhiera mejor a la superficie.
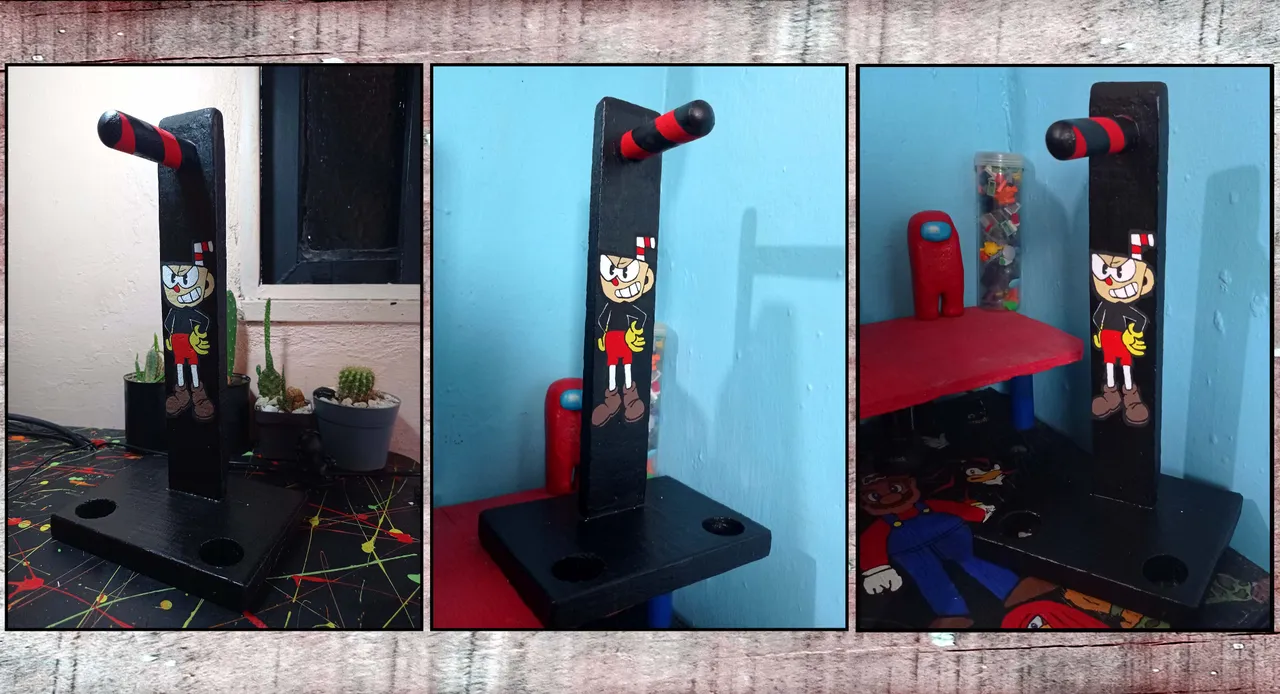
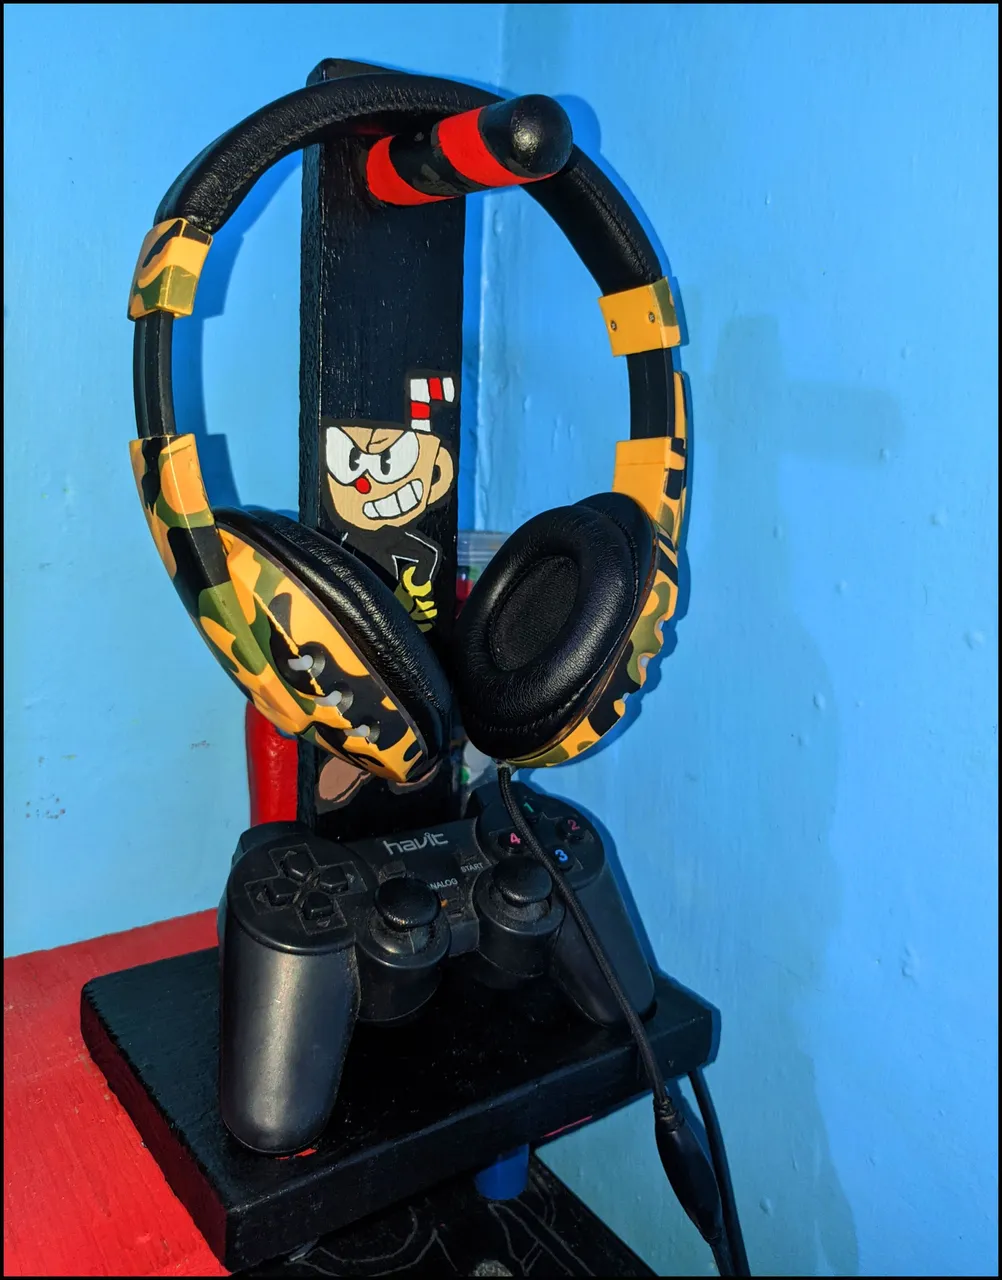
This is the final result, I hope you like it.
Este es el resultado final, espero sea de su agrado.
All photos are my own, shot with my cell phone.
Image editing with photoshop.
Translated with DeepL