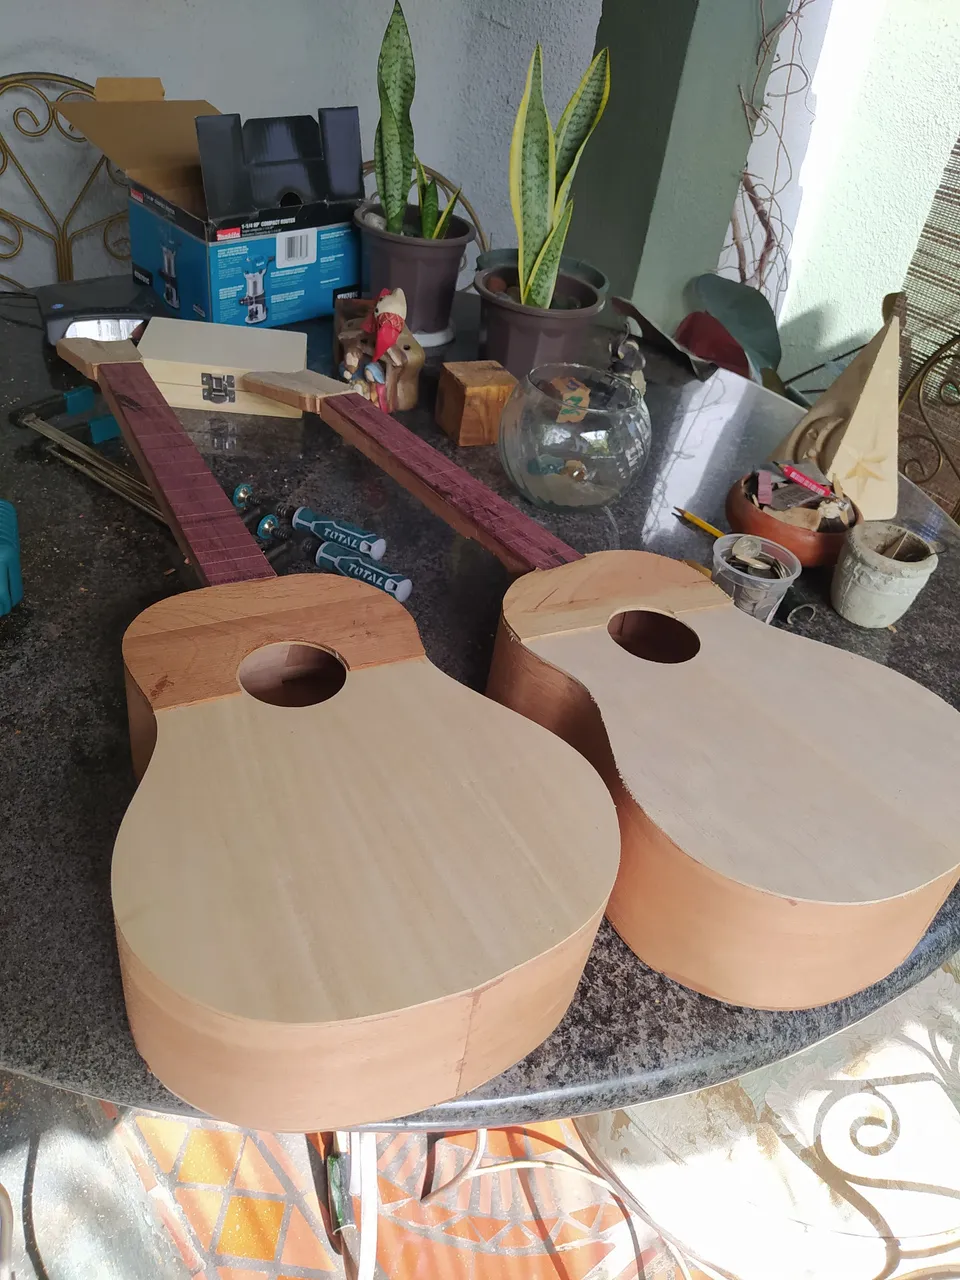
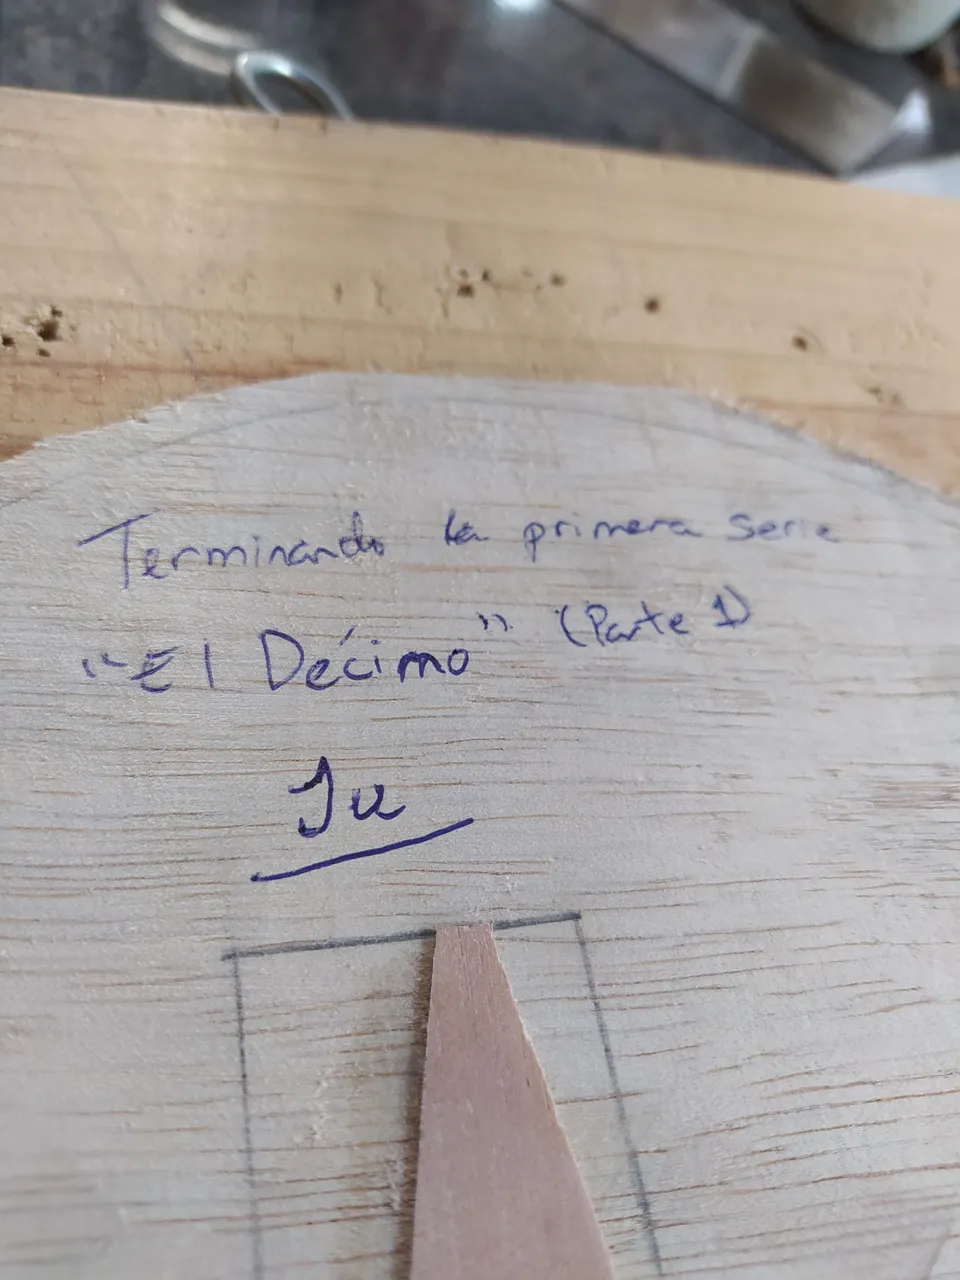
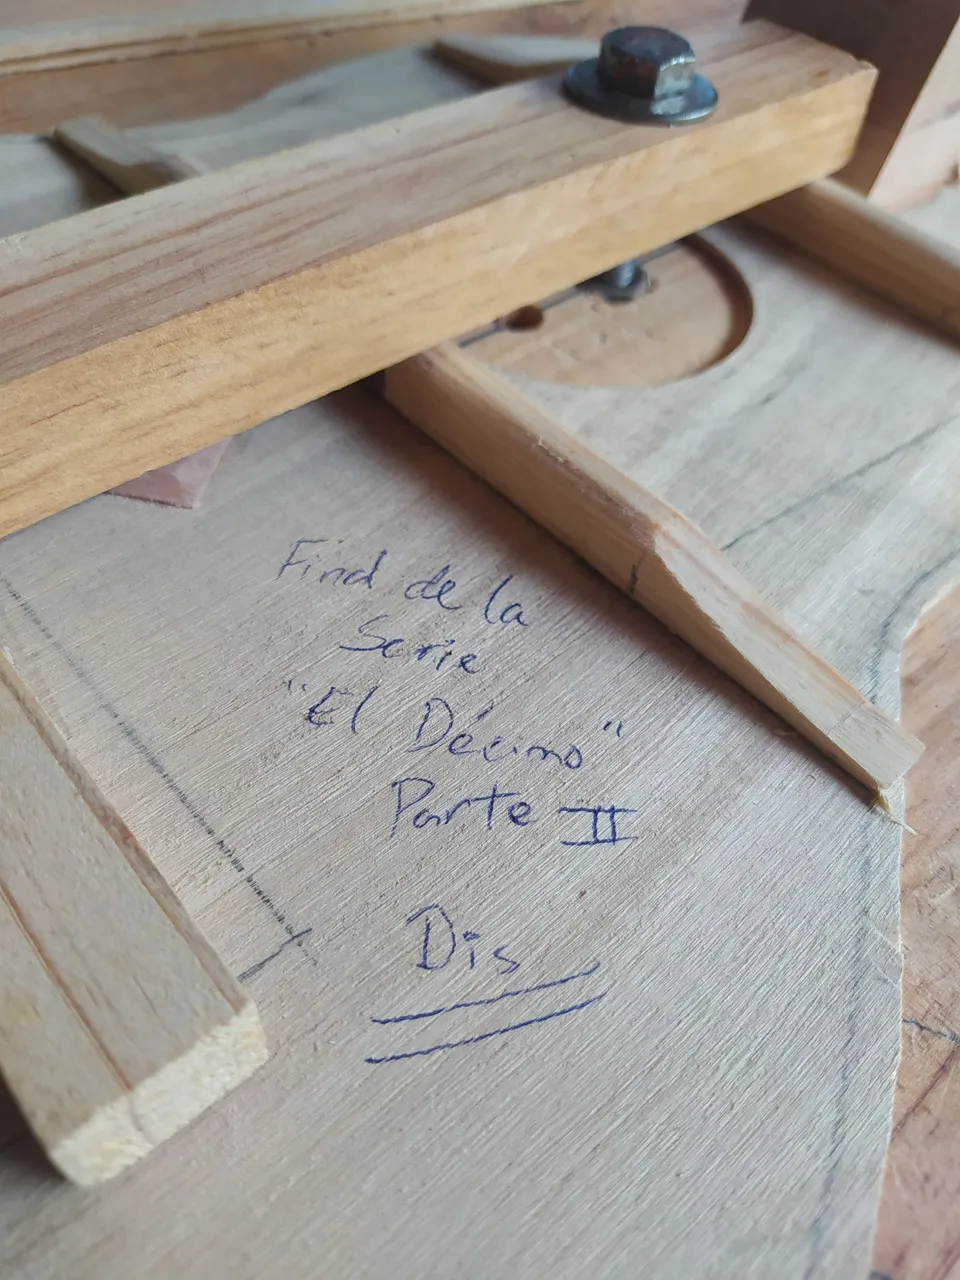
Well, if the end of the line for the first run of instruments. These two close the 10th spot and the work of two years of learning and growth. You might wonder why 2 if I was on my 9th. It's simple. The first wasn't made entirely on my own. That's the whole deal. So, now I'm in the way towards 10 instruments made on my own.
The twins
The idea of making two instruments at the same time isn't new. I have worked on simultaneous projects before. However, I have never done two instruments so fast.
Parts
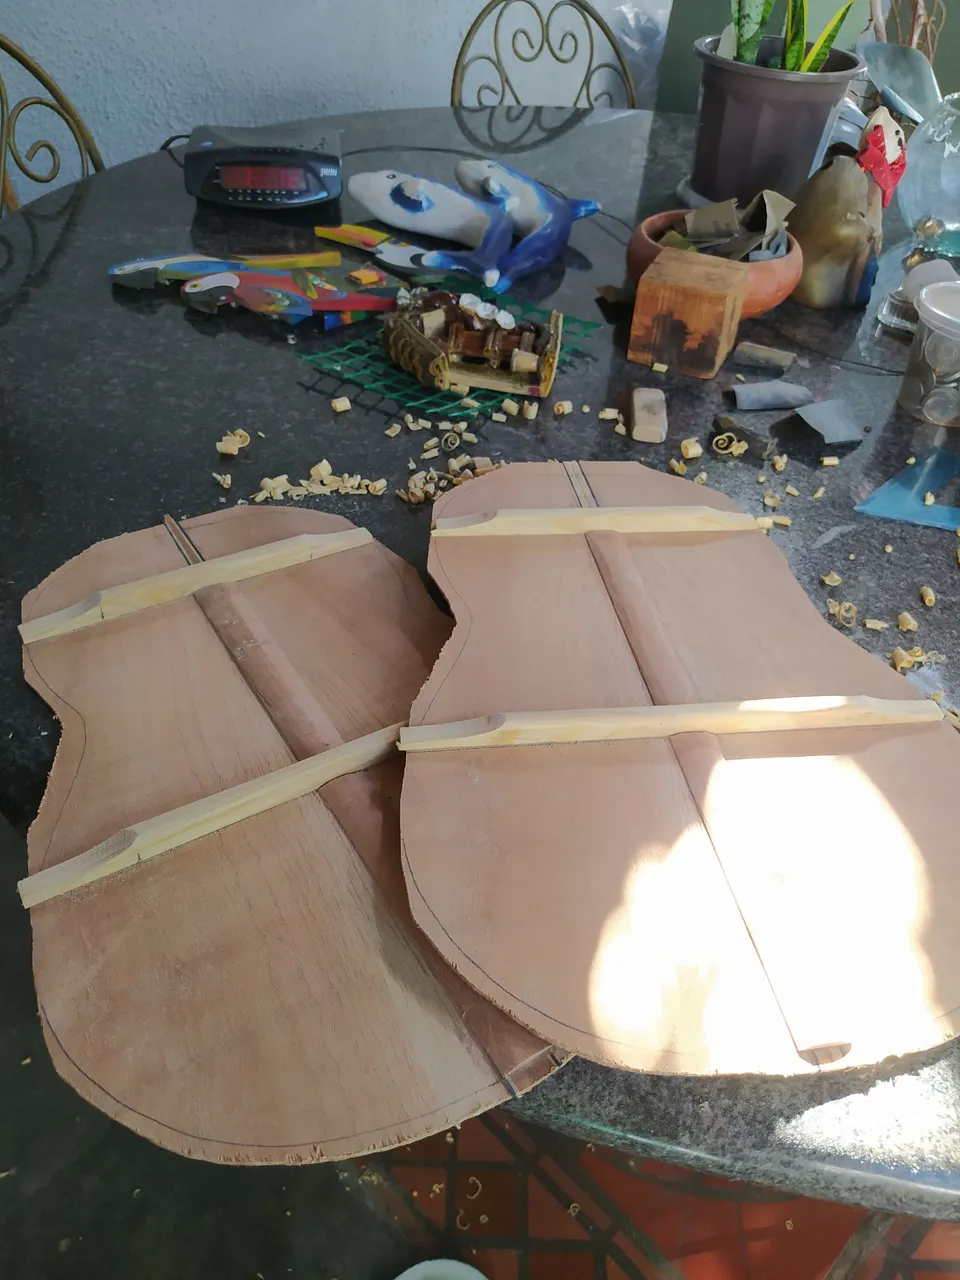
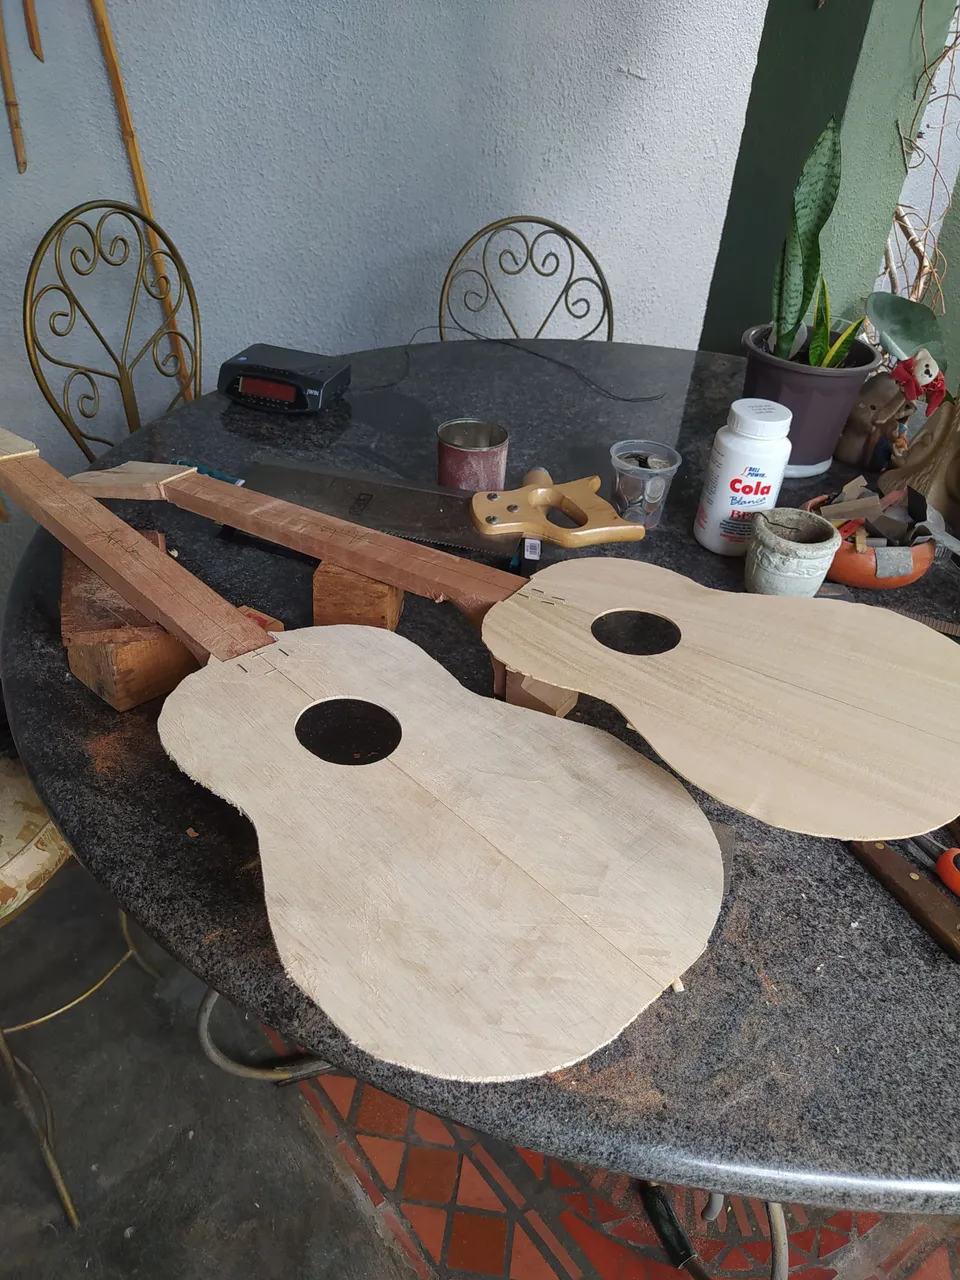
These two were the perfect projects to test some woods that I had acquired last year. And they are also a comeback of the same cedrala I used for Venezuelan Cuatro #9. So even when their fronts are pale, they have an amazing flamed pattern on the sides and back.
Sound boards
These are the pale woods that I had. There's still a lot of them for more instruments. On the rear side we have the come back of Simarouba Amara a.k.a, White Cedar. On the front, we have a newcomer. It might surprise you to know that this same wood is used for broomsticks around the country. It is known as Gmelina arboreal it is a wood that comes from southeast Asia and it is very common around here. It is used a lot for electric instruments since it's white colour gets stained easily.
Sides and backs
This is the return of my awesome flamed cedrala. It is gorgeous! No more words needed.
Take a moment to look at the ornaments on these backs. There won't be more ornaments on these instruments since they are White Series. But there's no need for more since they were made with patterns of stripes and a solid piece in the middle. I'm still not ready to add ornaments to the sides since this requires lamination and other shenanigans.
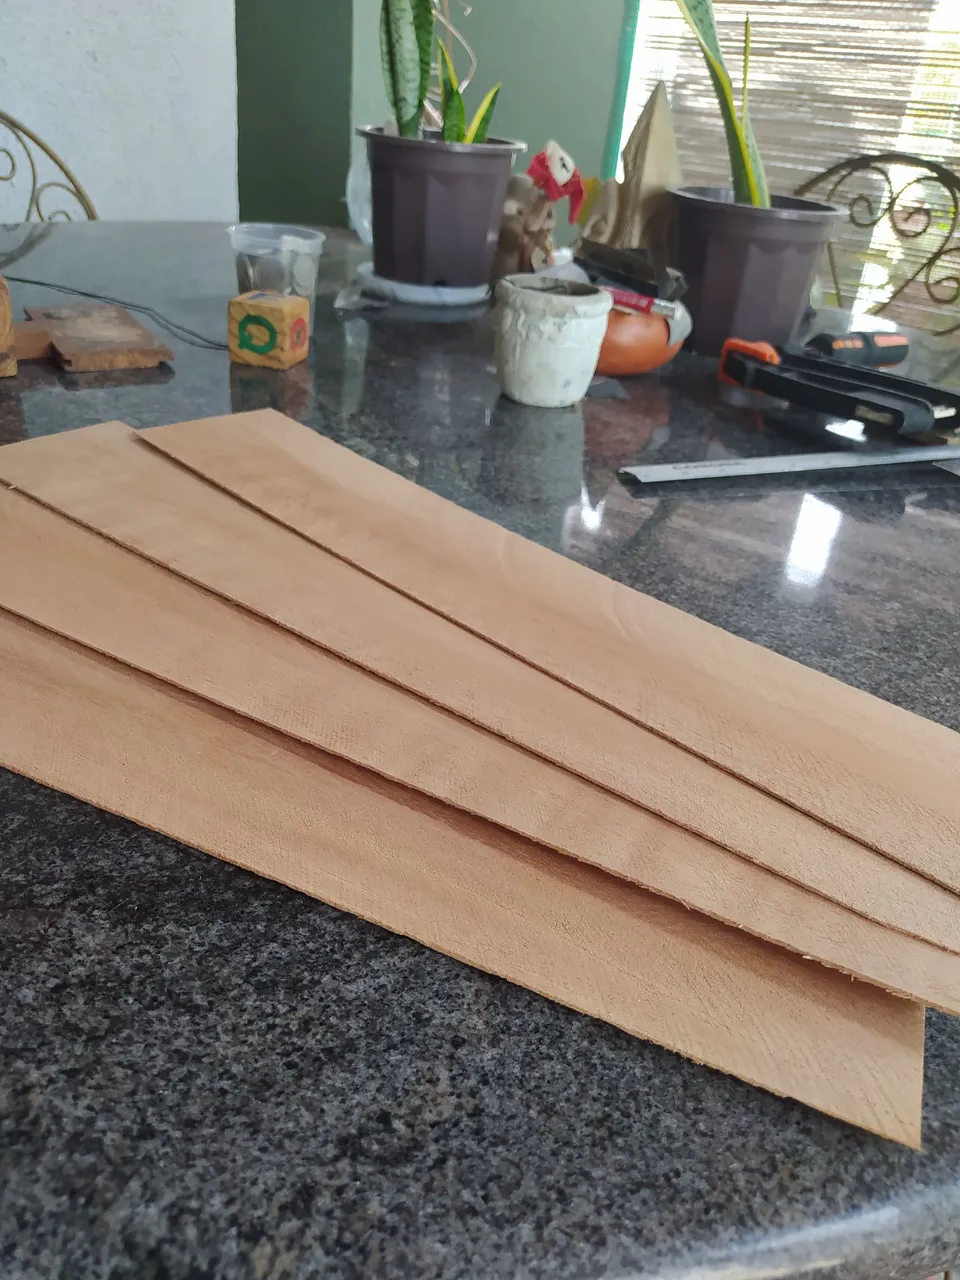
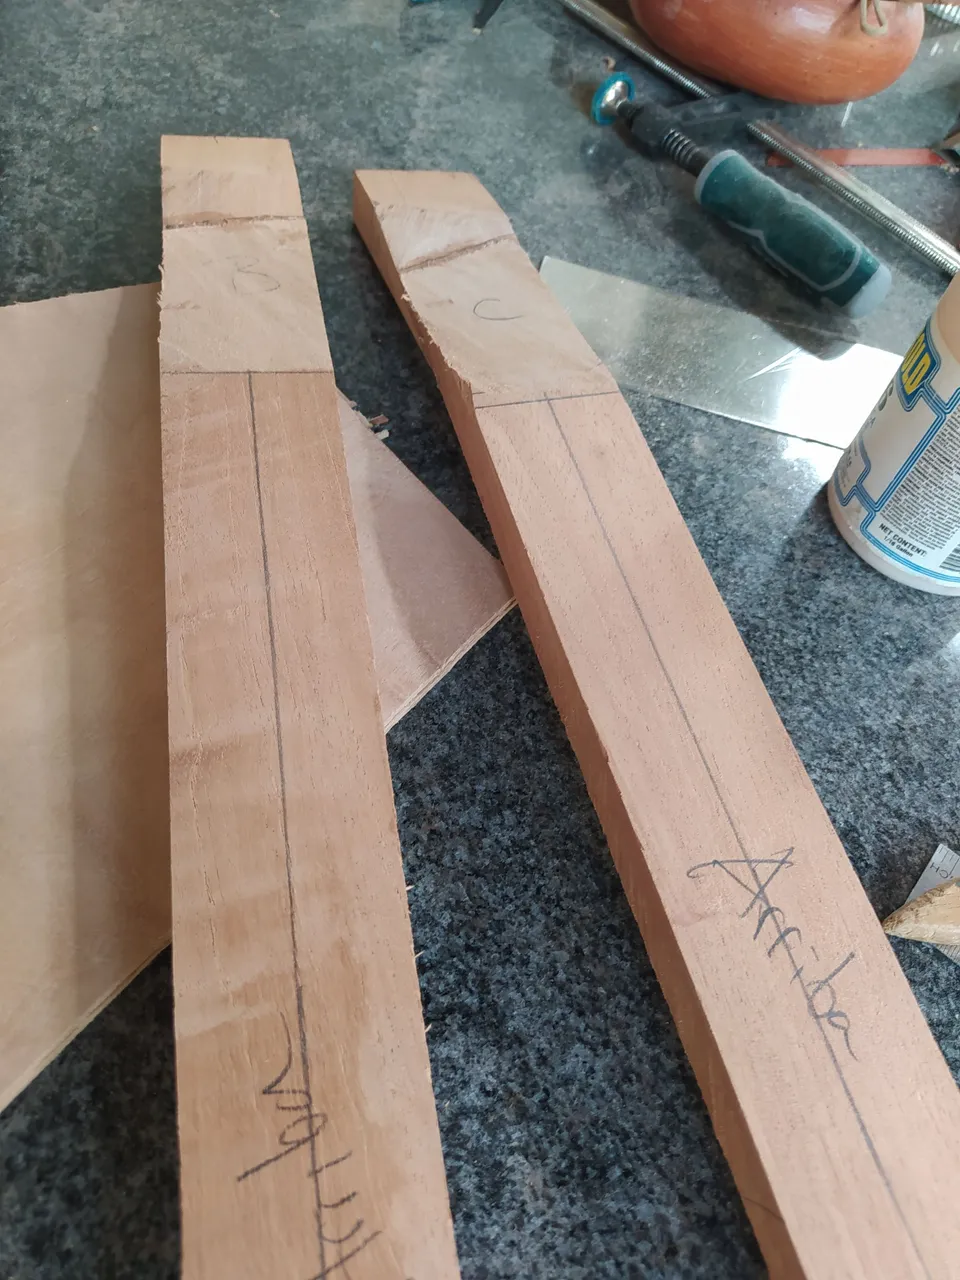
Necks
More cedrala doing the work on these pieces. It is an stable wood and it's easy to work. There's the issue with it's thickness once the neck is rounded but that is a adjustable since this is a instrument with low string tension. We have a look at different stages of the process from the cut of the head stocks, the heels and it's carvings, plus the ornaments on the former part.
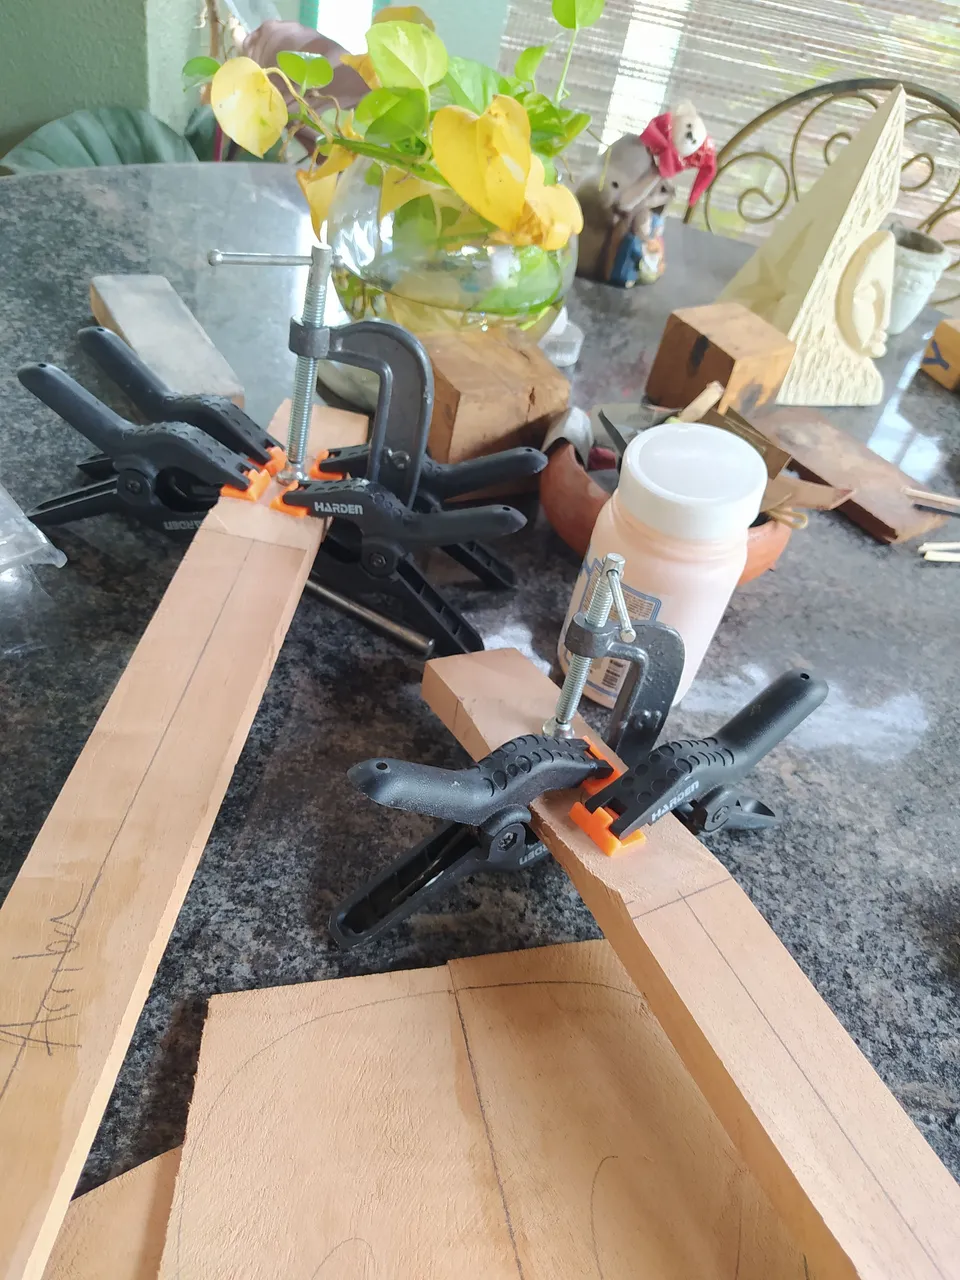
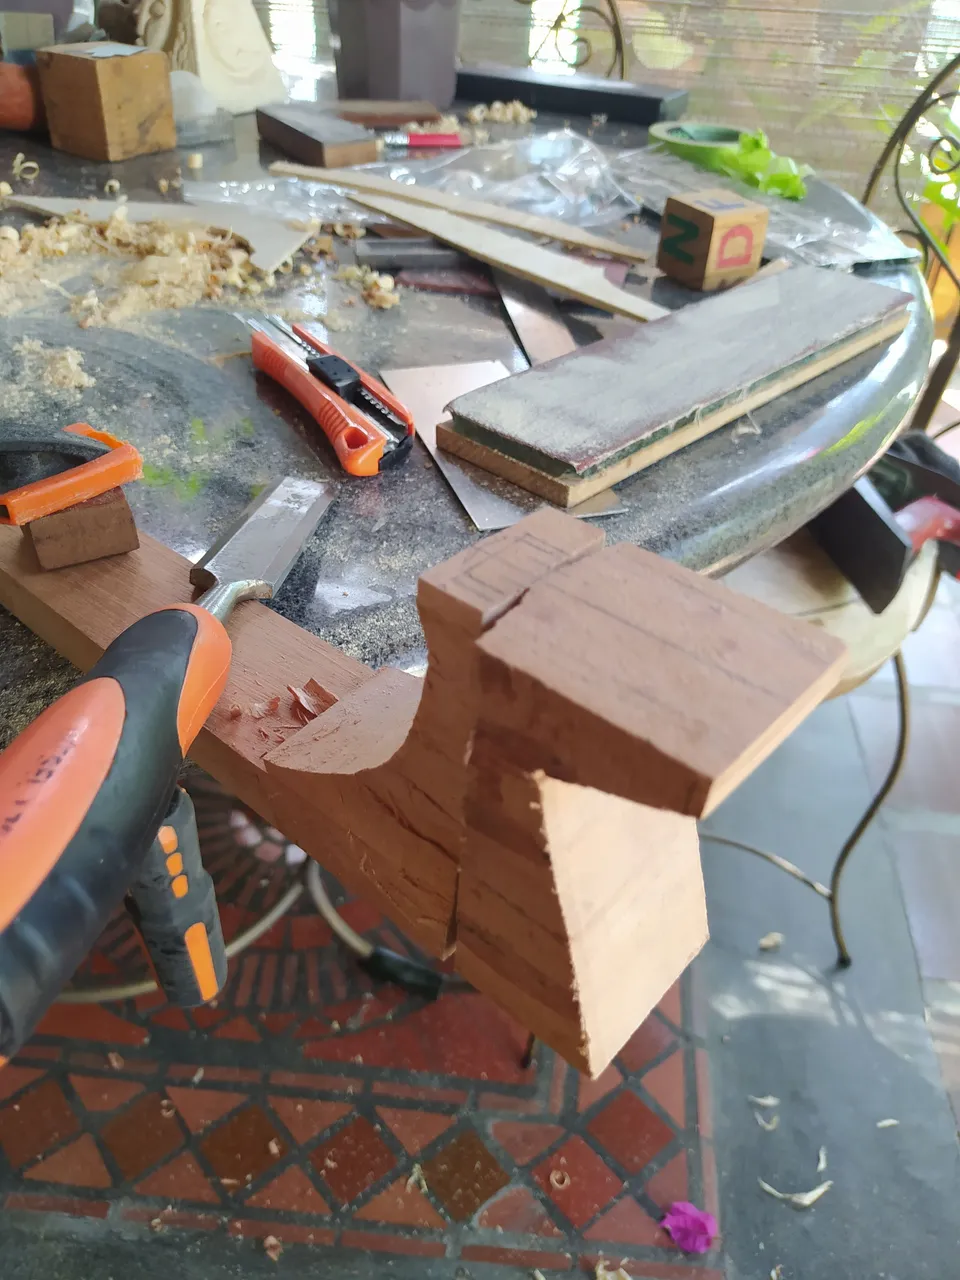
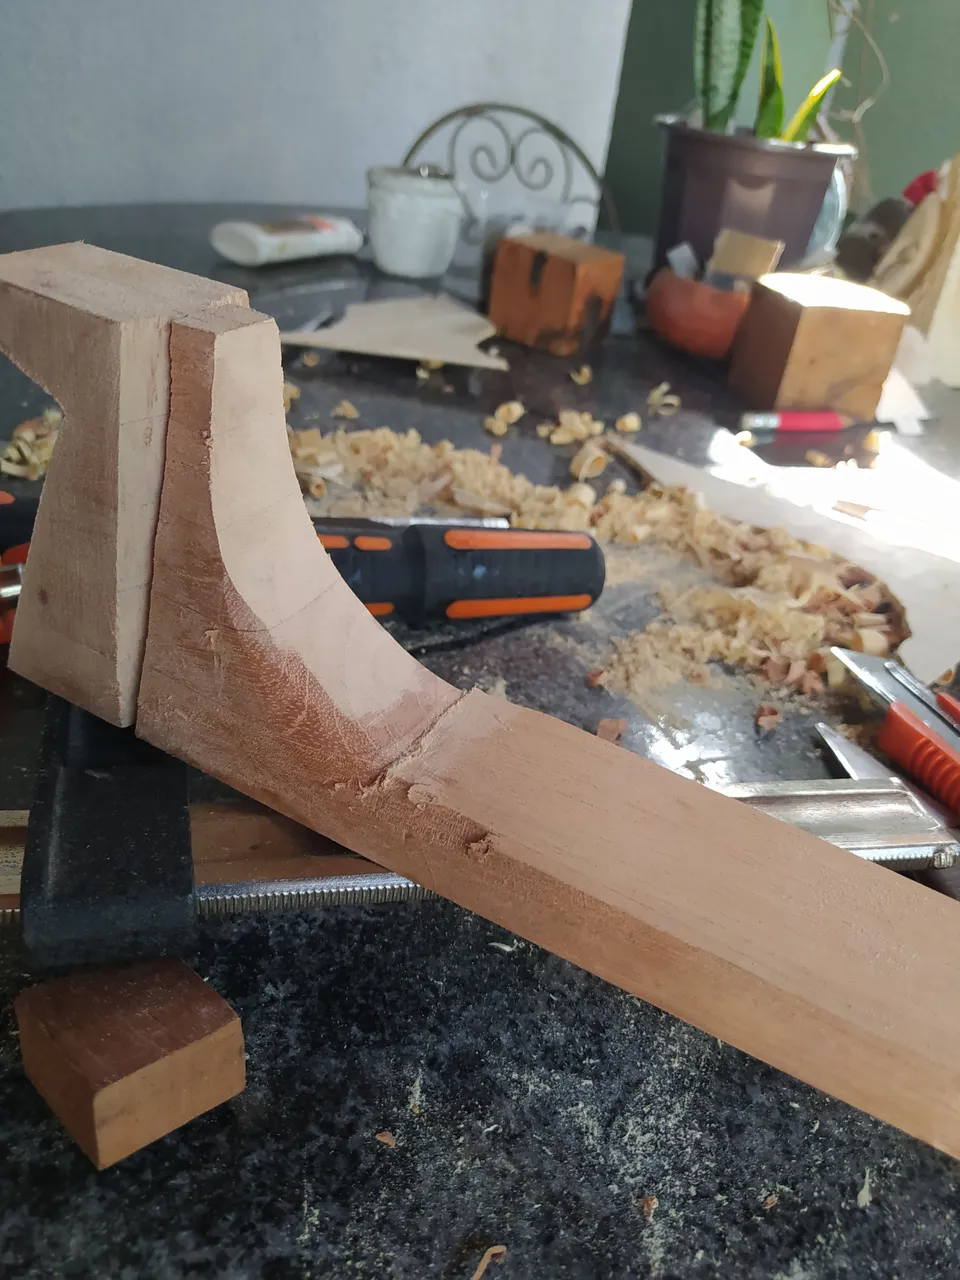

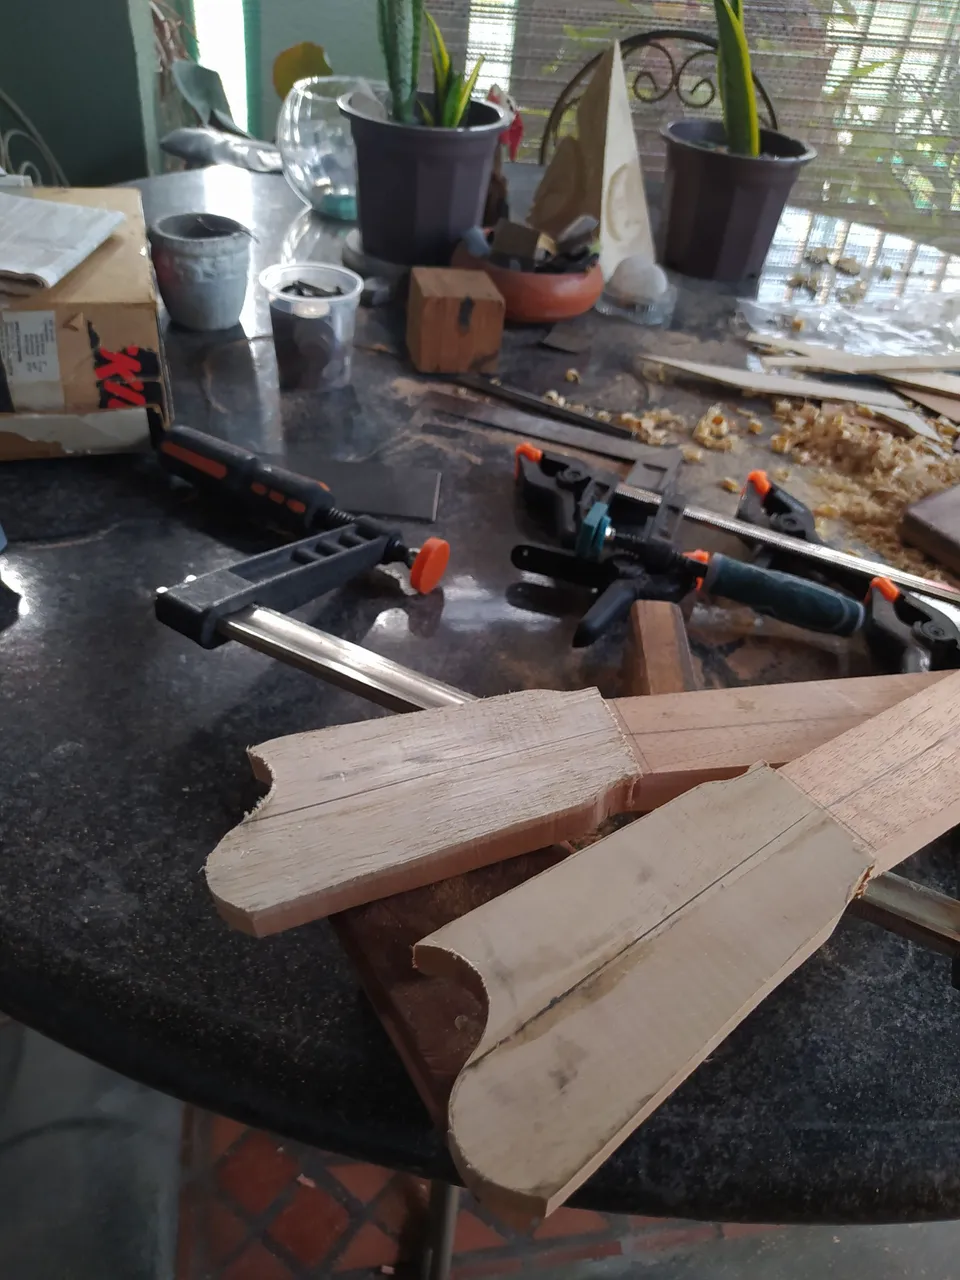
Tell me this new headstock design isn't a beauty? It is inspired on my teacher's design. I have a template for that one provided by himself. I have all the right to use it but I wouldn't do it. That's his design. He came to it after looking at a ton of others. I did the same.
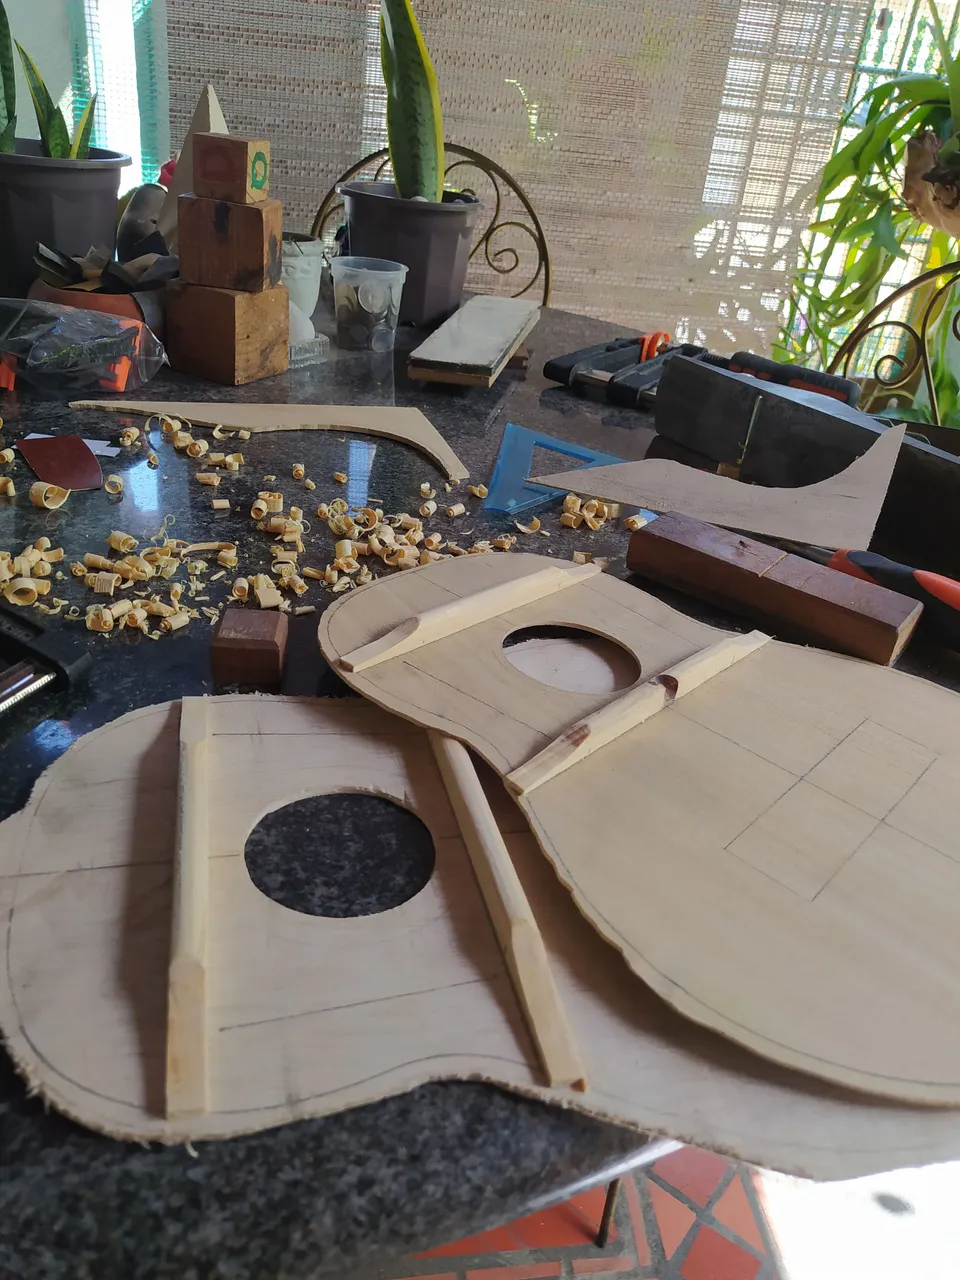
Assembly
With all these pieces ready, it's time to start the assembly process. I only have one mould, so don't ask how I did two instruments at the same time. It was a job of one thing at a time. There's no other way around it. Hopefully, in the future, I'll have tend moulds for each instrument.
Not all the pieces are present in these shots, but all will come together as we move on.
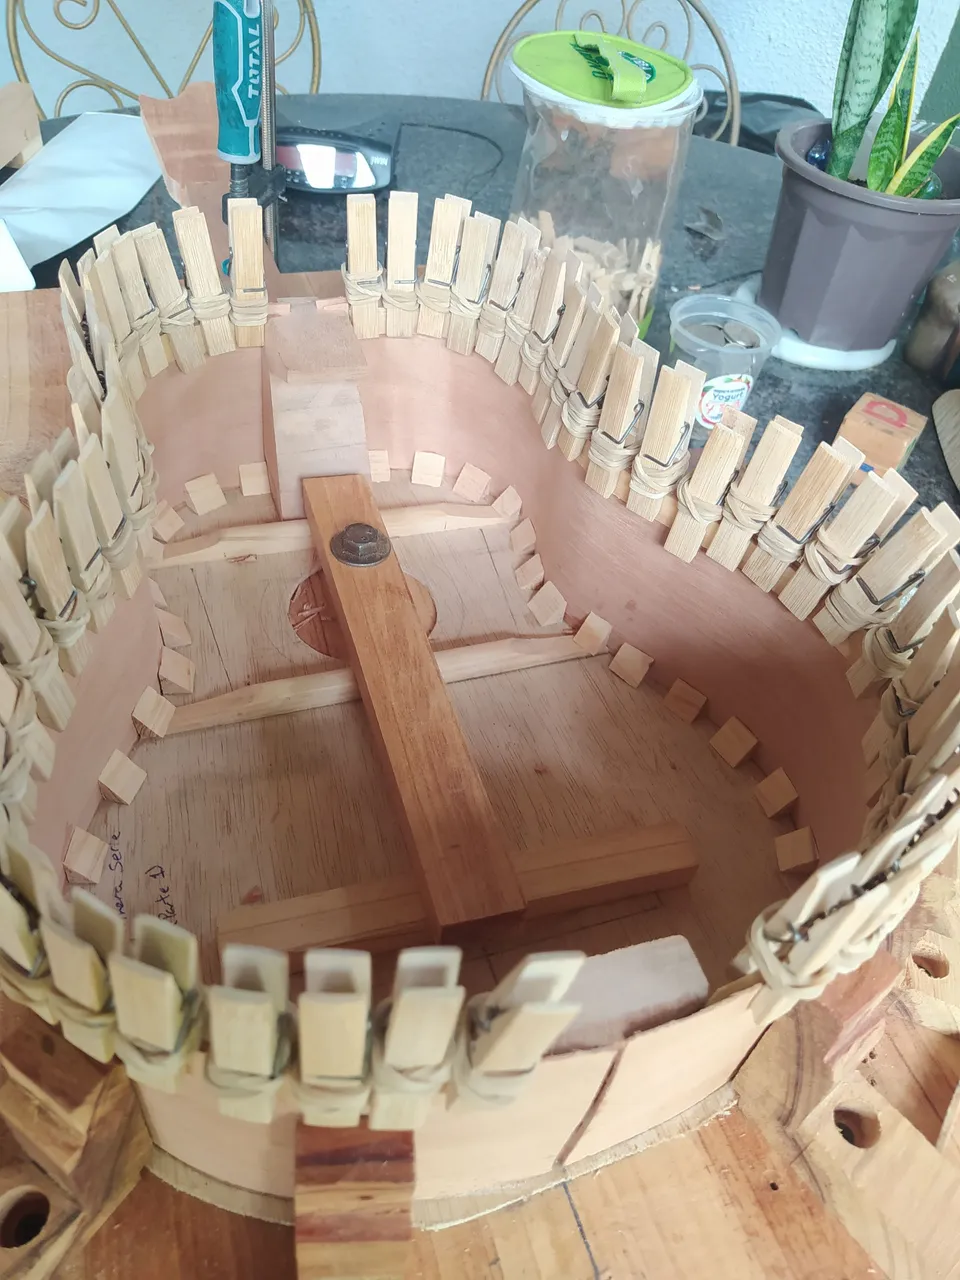
On the Mould
Once we start the assembly everything feels new. Each new project is another story. This is where the dream of the sounds it will make start. There's a lot of work to do and we work in stages.
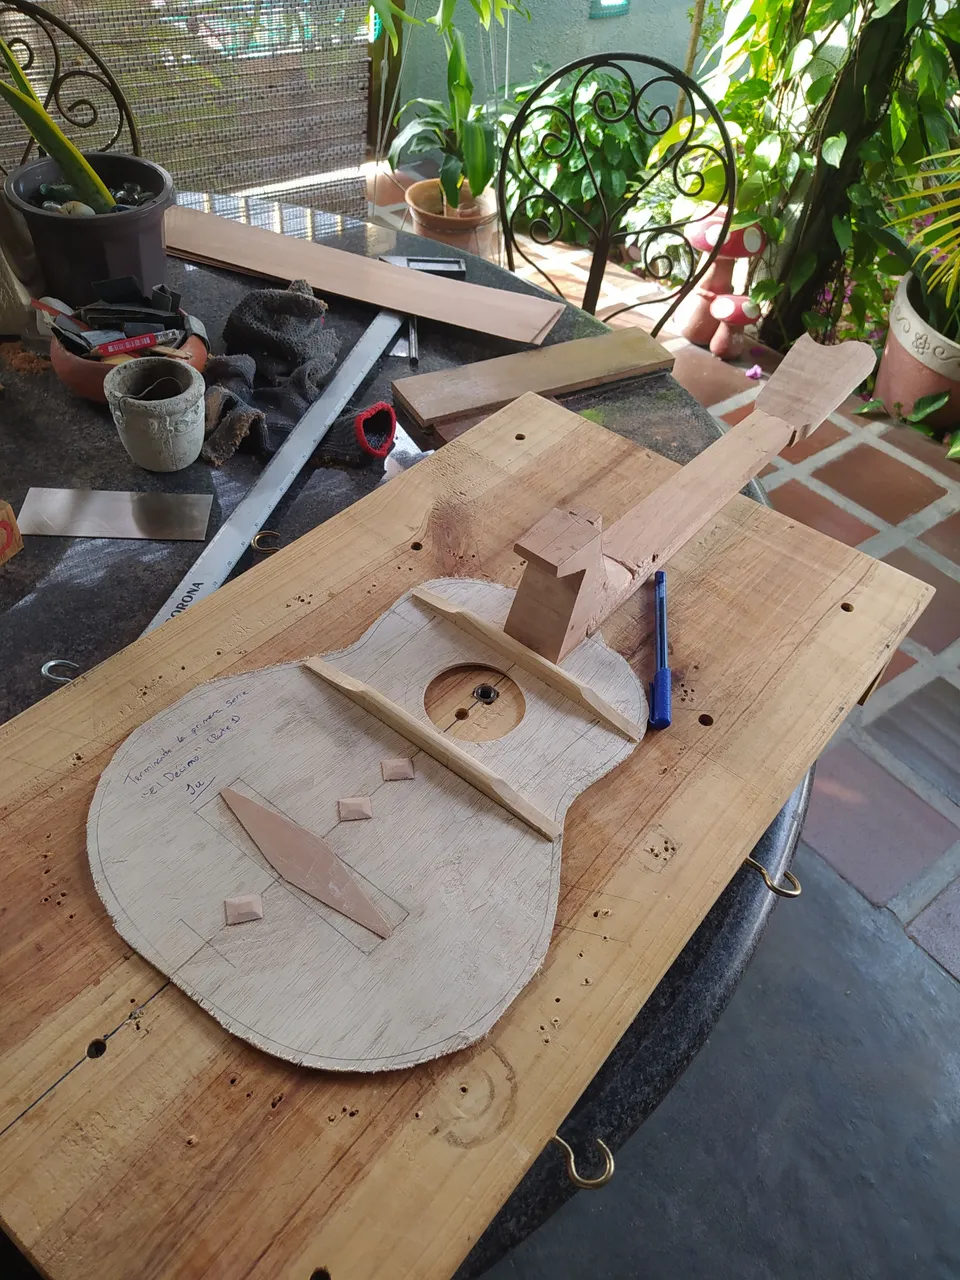
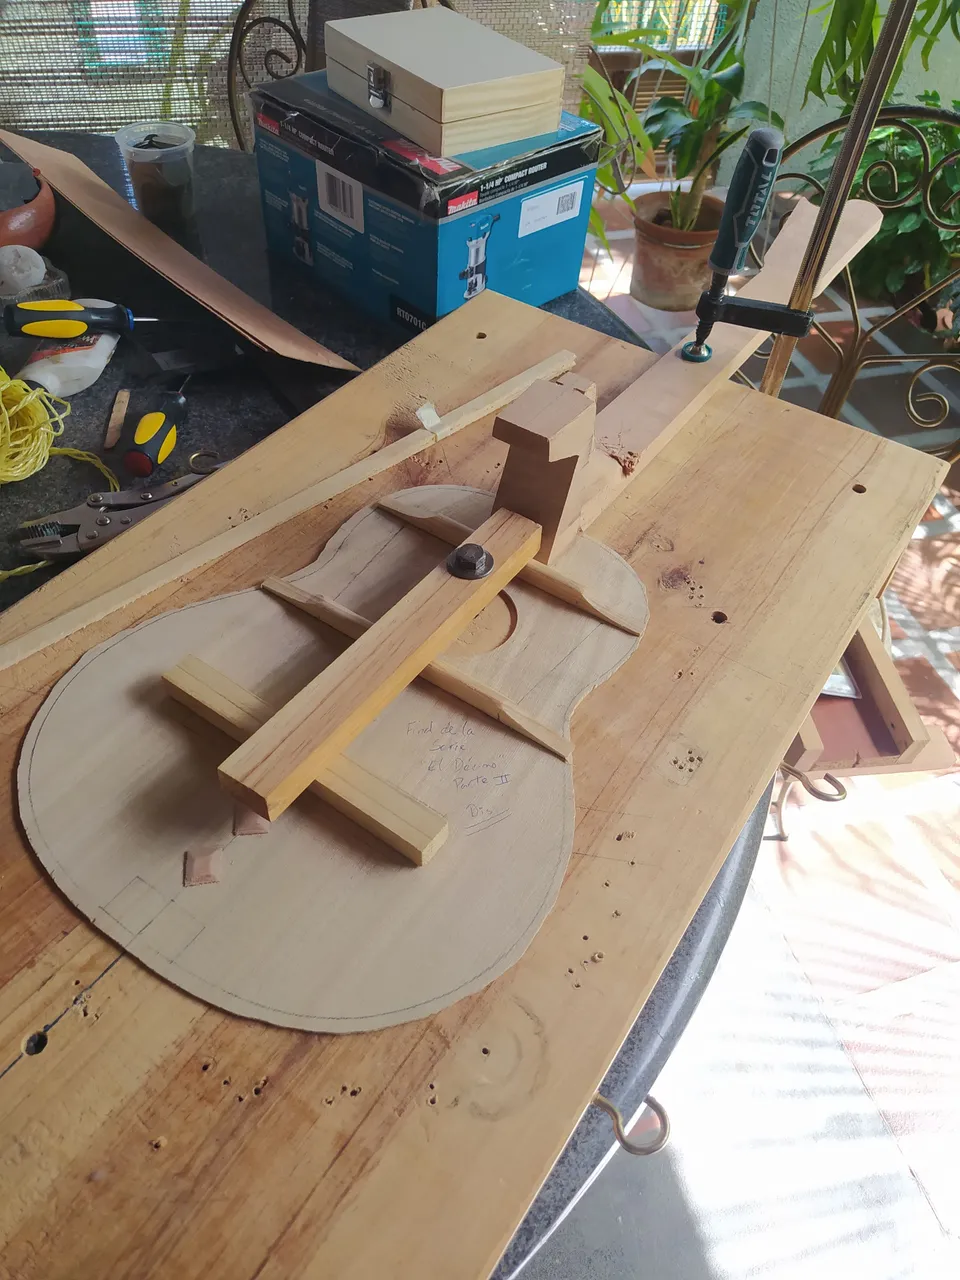

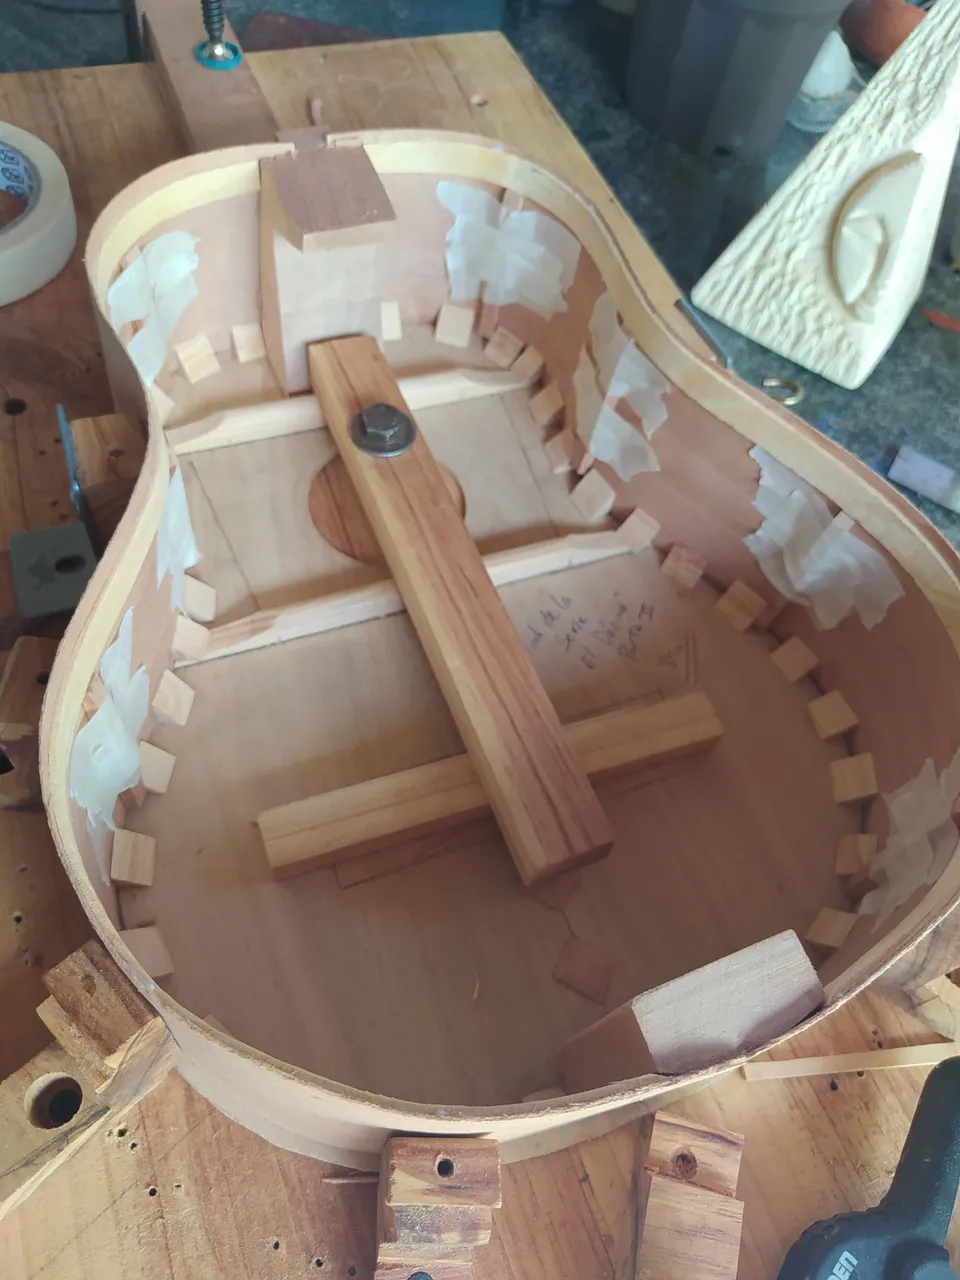
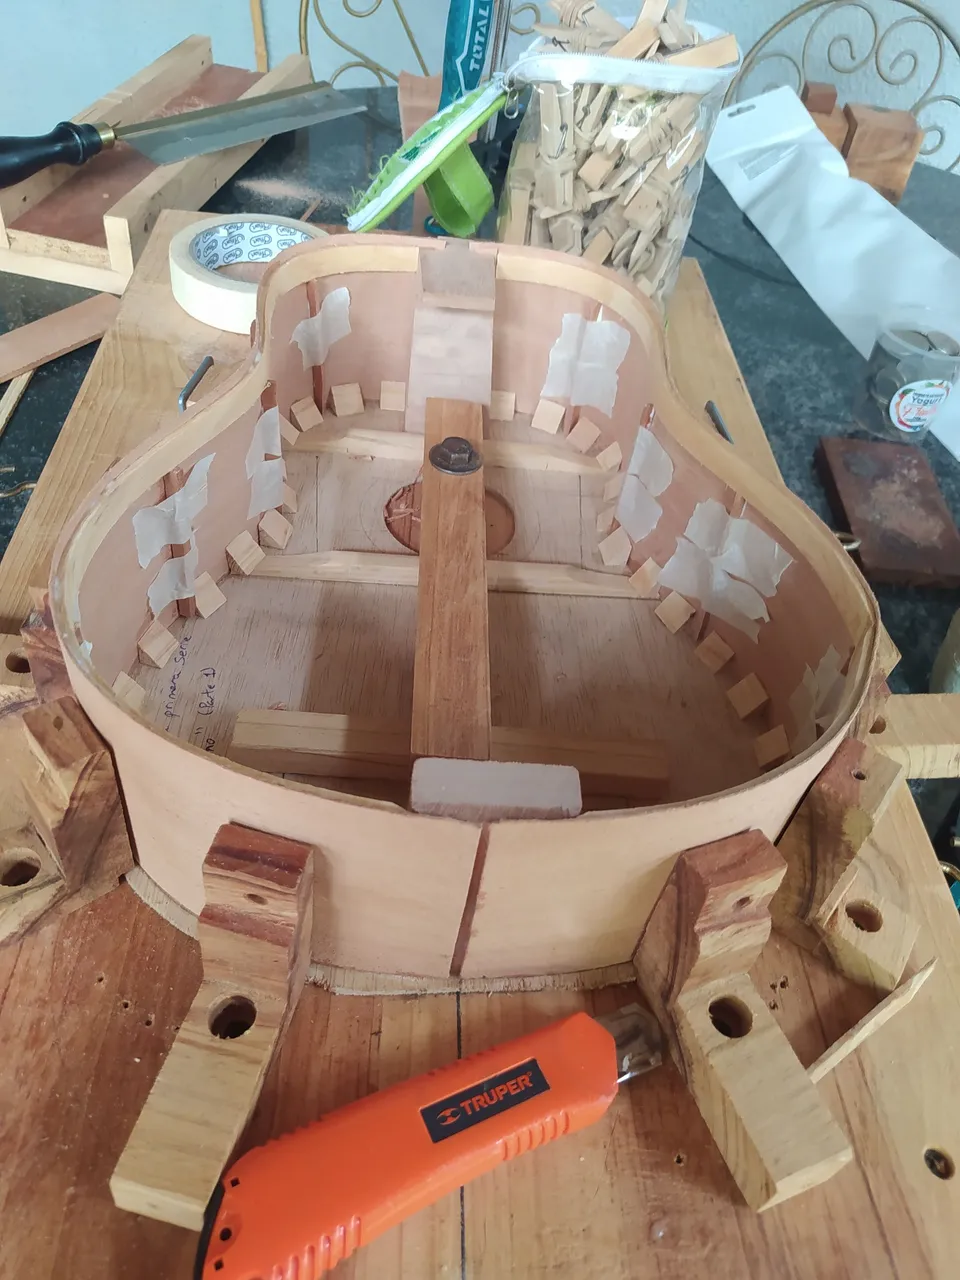
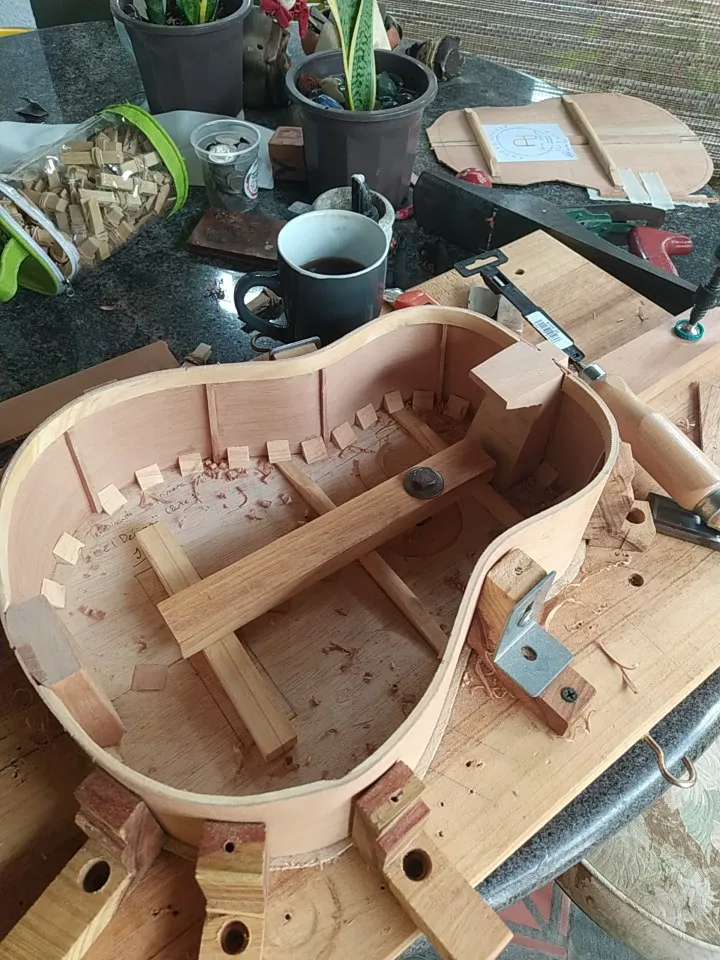
Once the sound boards and necks go on the solera mould, we add the end block (where the sides are joined) and get the wood angles in place around the shaoe drawing.
I wasn't too creative for these since I named both 10 in different languages. But I didn't think any other name was fit for this occasion.
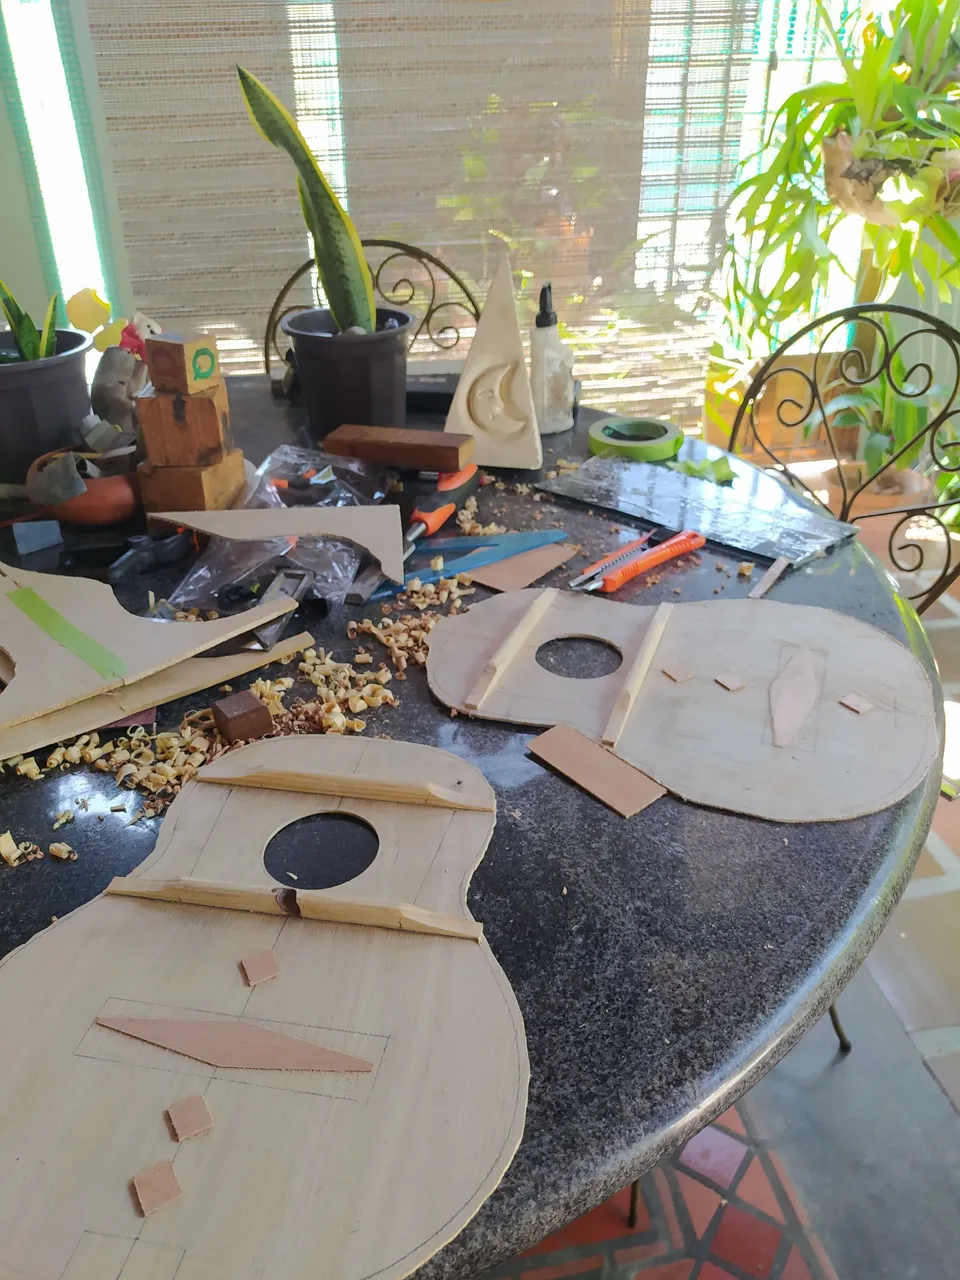
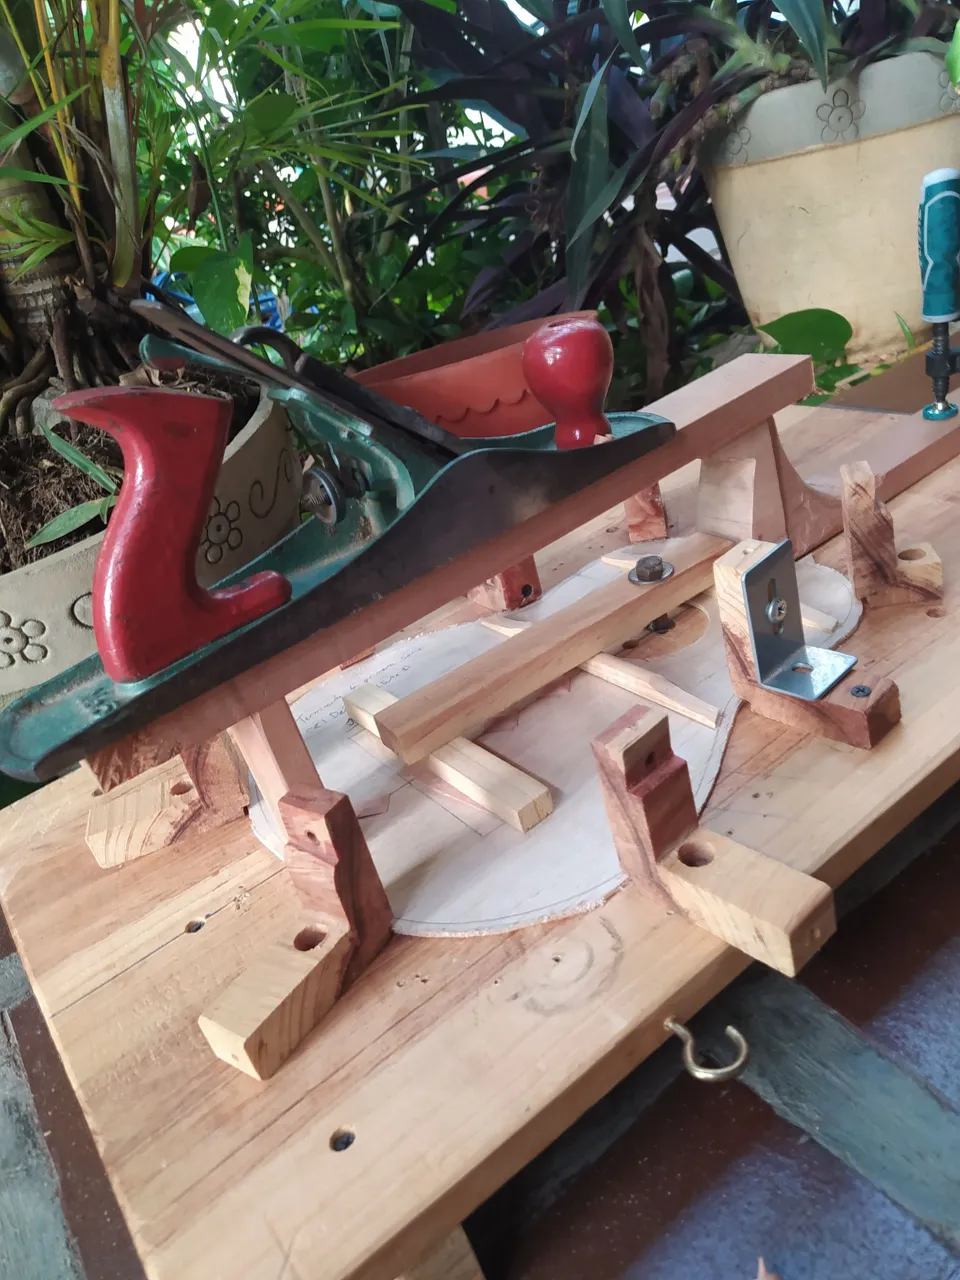
Sides and kerfing
Sides are one of the trickest part for assembly. They need to be in the right thickness for bending. And also, there's the need to cut them a bit to have them joing on the end block.
If you do not measure well, the sides won't meet each other on the end block. This has a fix. You just need to add an ornament and it will be fine. Also adding a piece of the same wood solves the problem. But it will show regardless. The grain of the wood is interrupted, so anything that happens there is noticeable. I'll show you an example later.
While these glue in place, we can help help with the kerfind. Those are the little wedges you see over there. These help to strengthen the are between the sound board and sides.
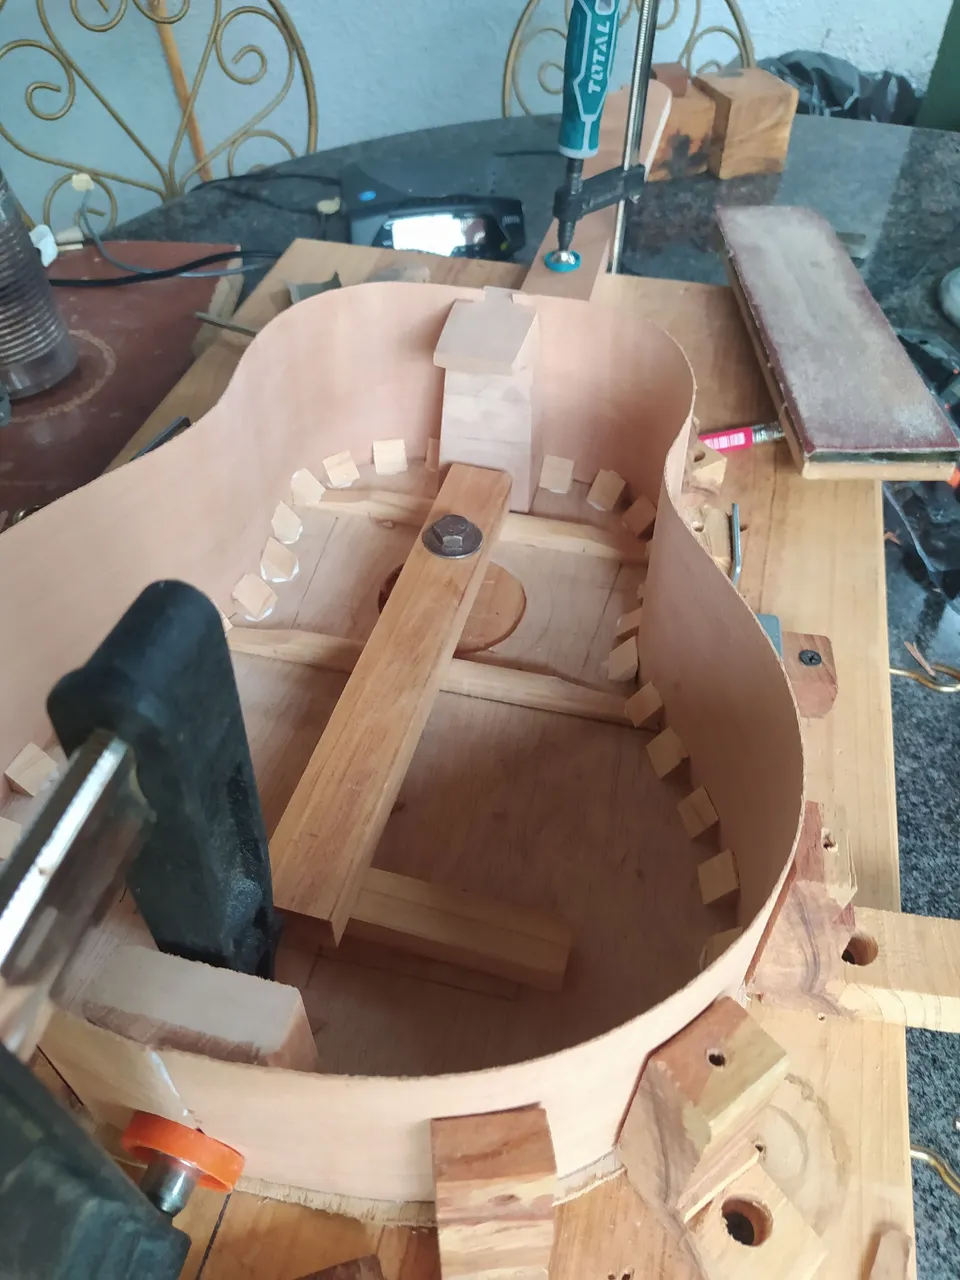
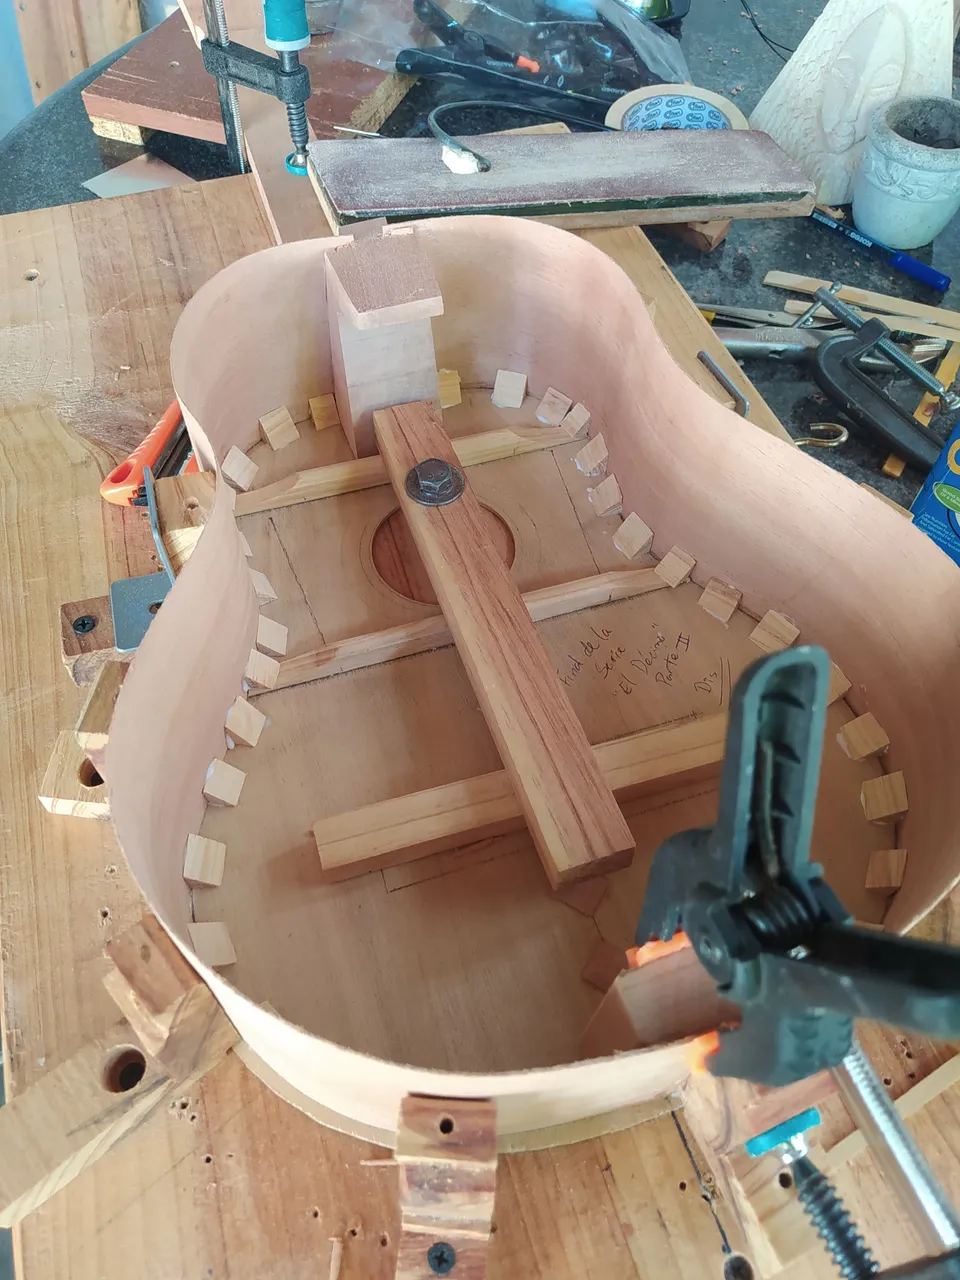
More reinforcements
The last reinforcements inside are for the sides the vertical ones help strengthening key areas where the instrument might get hit. The others Ara for the back.
This is the example of the aforementioned side shortage. This is how it looks like when the sides do not meet at the end block.
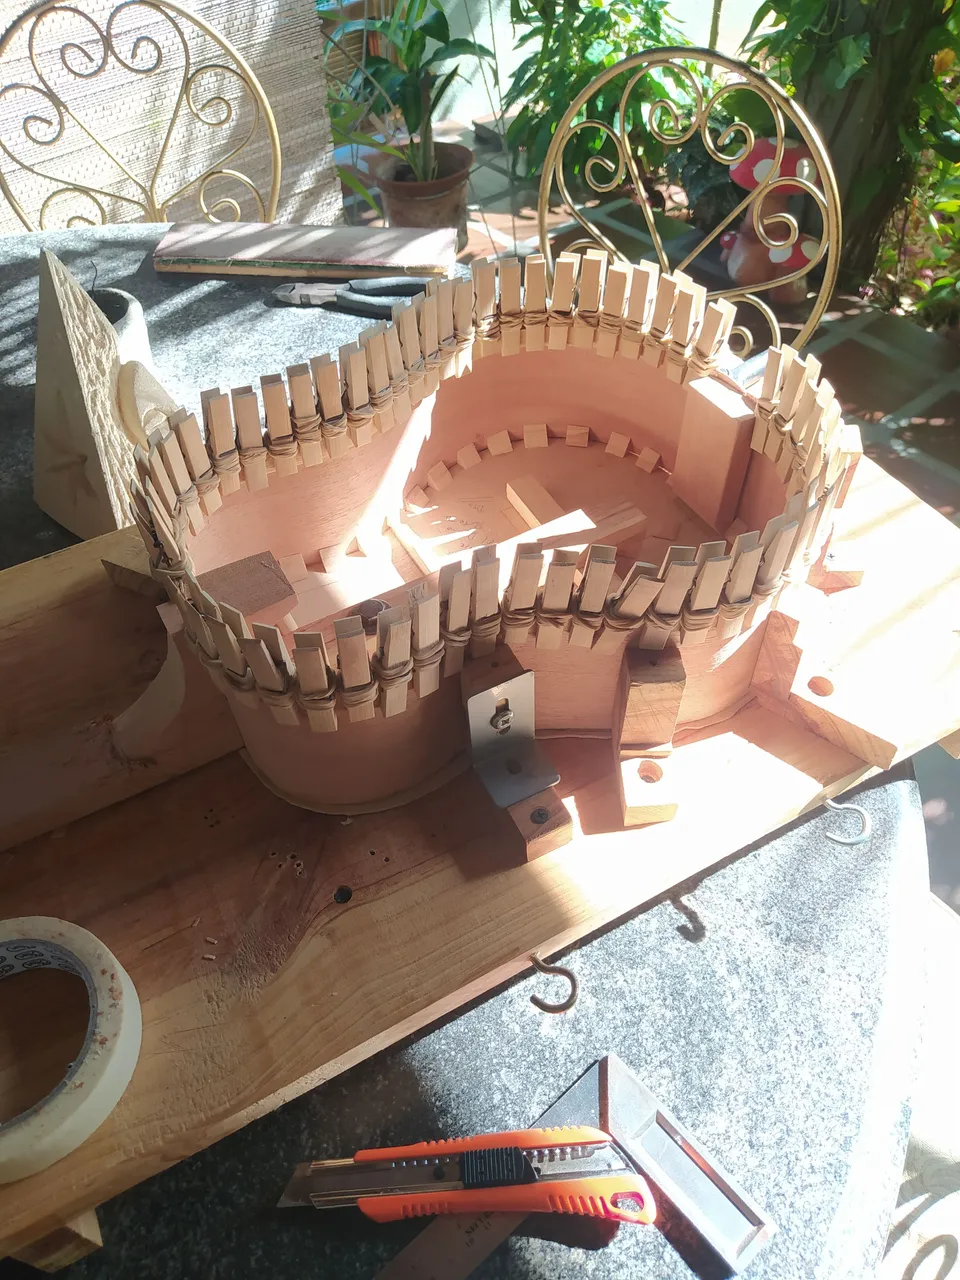
On this stage, we only need to remove the excess material for the sides to make room for the back.
Placing the back.
This is the lead to close the instrument. Before we place it, we need to put the label on it and cut part of the bars. Then, we need to sand any places that might not make it fit on the instrument. After all these things are done, we can finally close the instrument and let it glue properly. Another important detail to keep in mind is unscrewing the holder. It is that piece of wood you see with a screw. It pushed the instrument towards the mould. If it isn't unscrewed, the instrument will be stuck there.
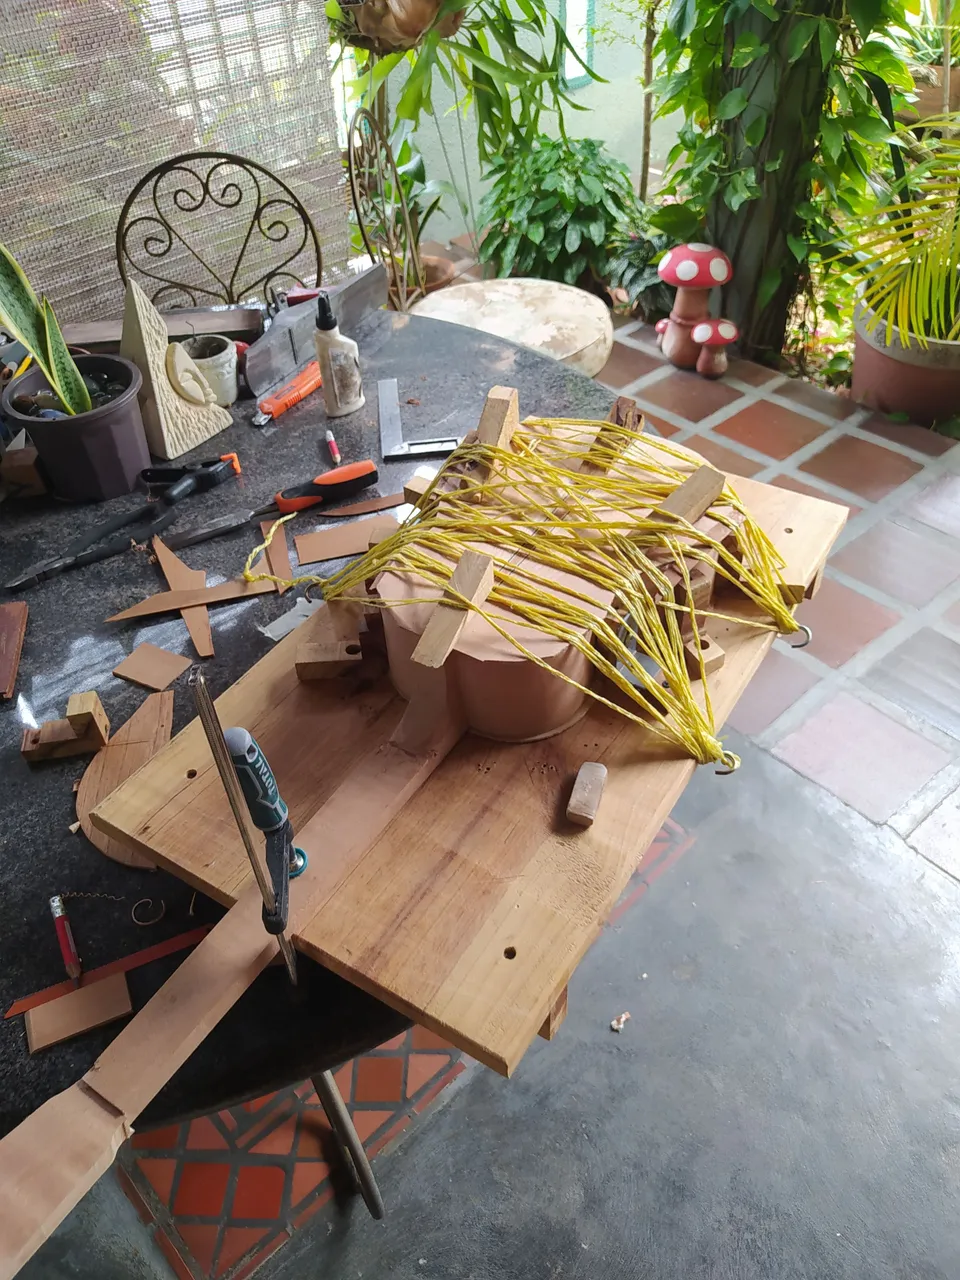
And with the help of this rope, we make sure the pressure on the back is enough to glue properly.
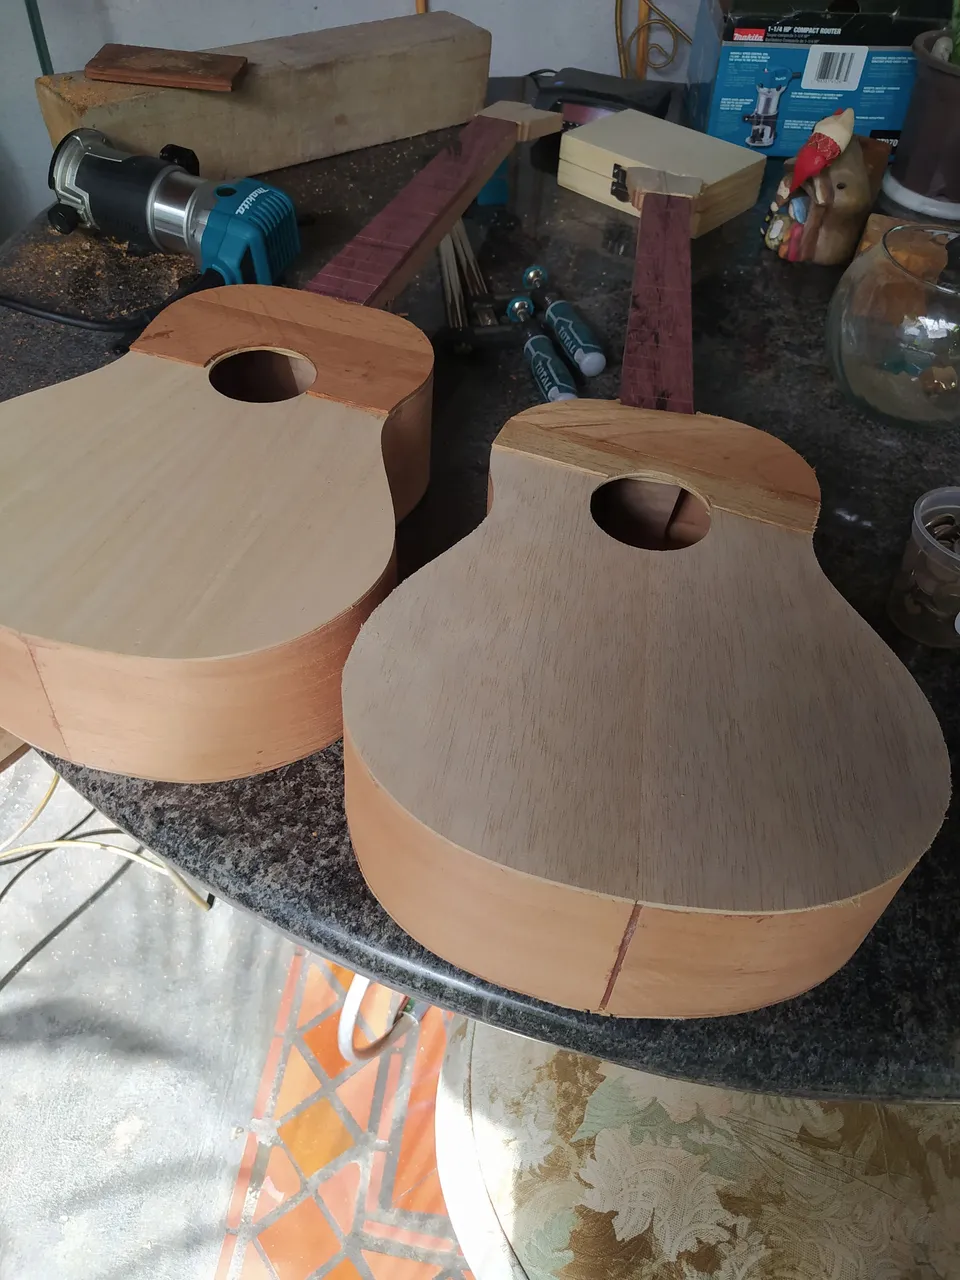
Out of the mould
Taking a instrument out of the mould is like opening a Christmas present except that the magic never goes away. Well, that might be true to those who work hard to keep that magic going. Here, little effort is needed to maintain it that way.
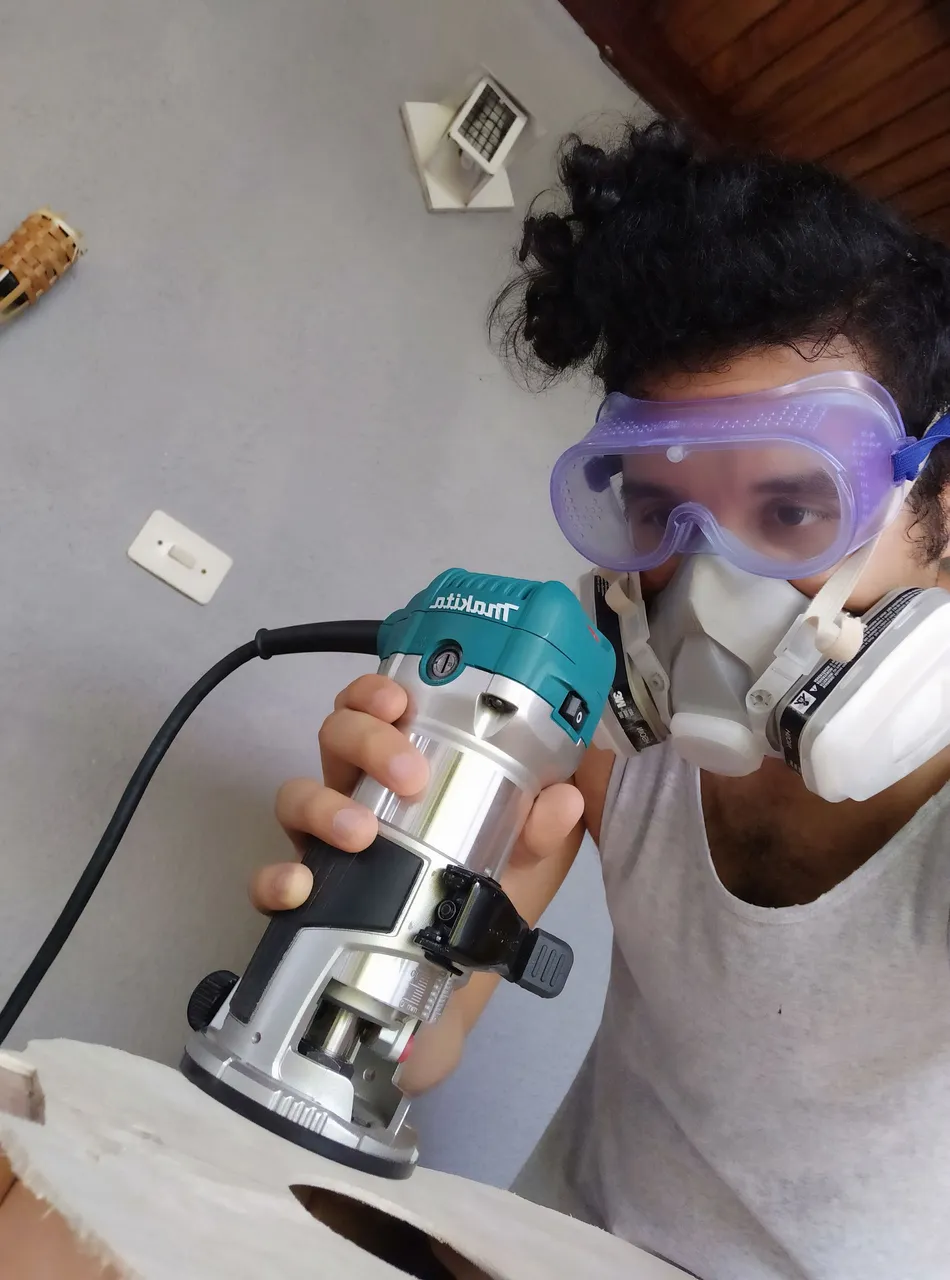
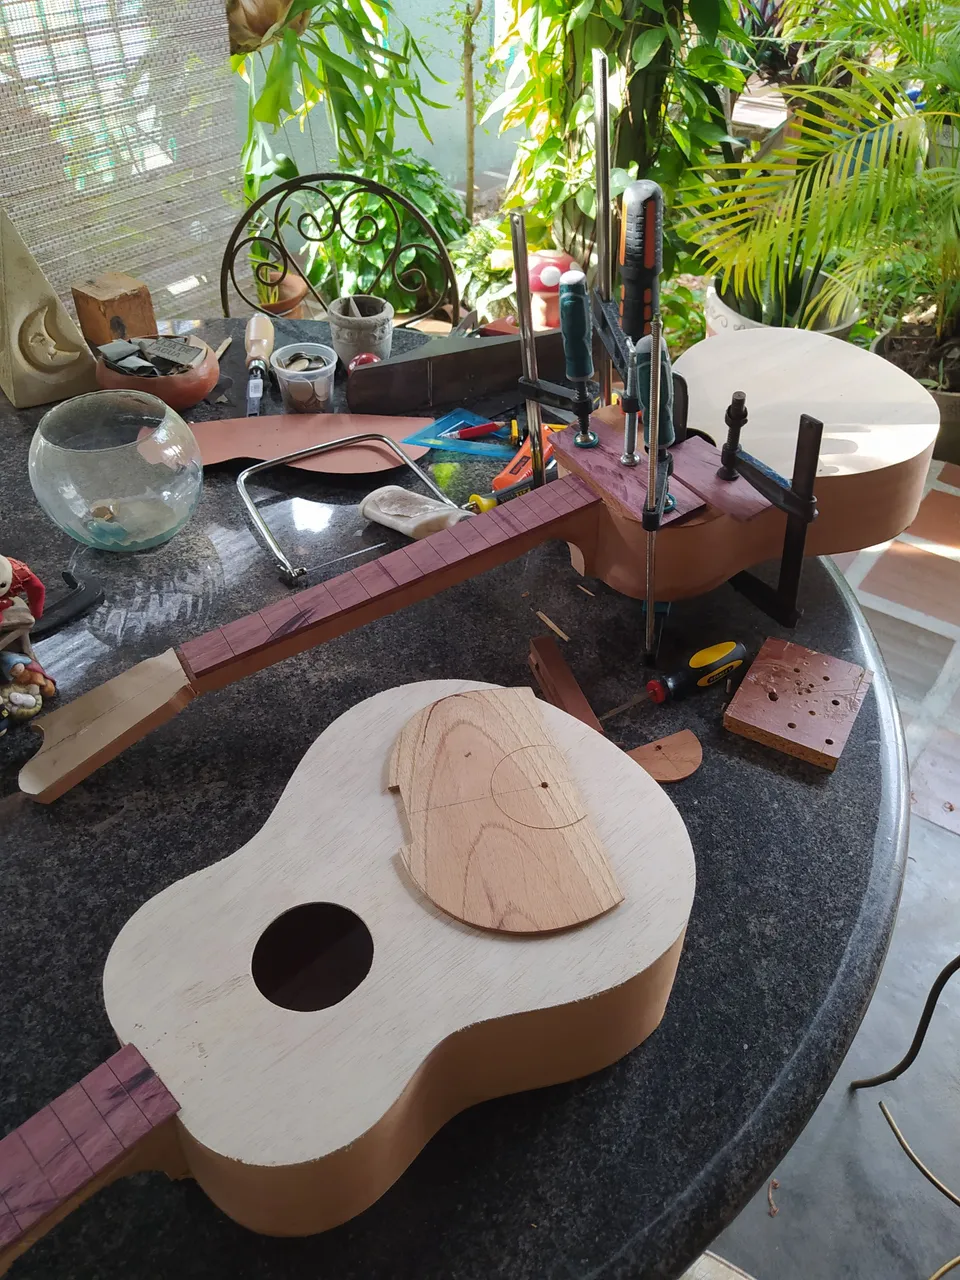
Let's this be a first of me throwing a picture of myself at work. It isn't usual. But the work was to trim the borders of both instruments to get the ready for the strumming guards.
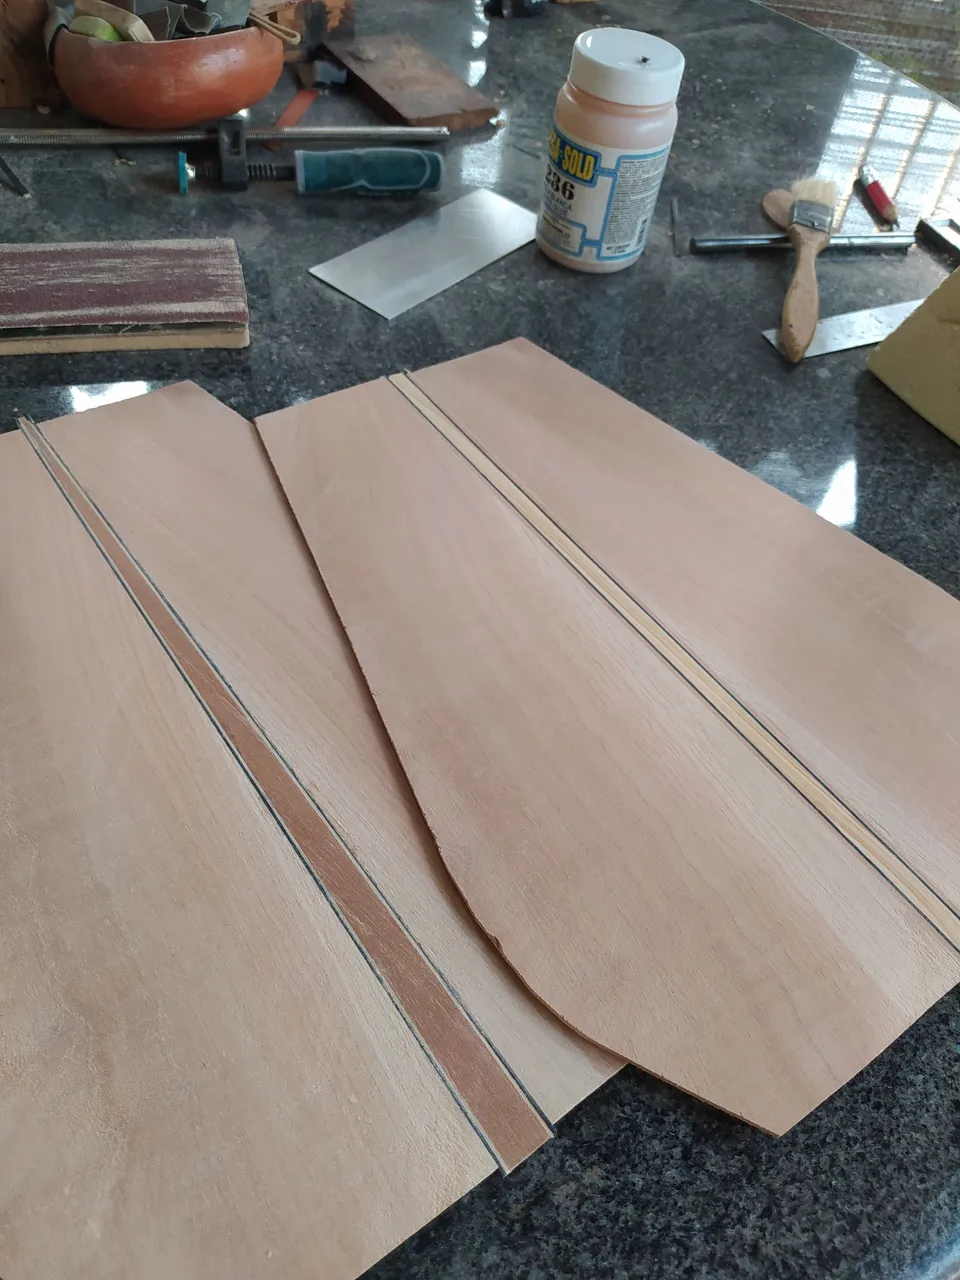
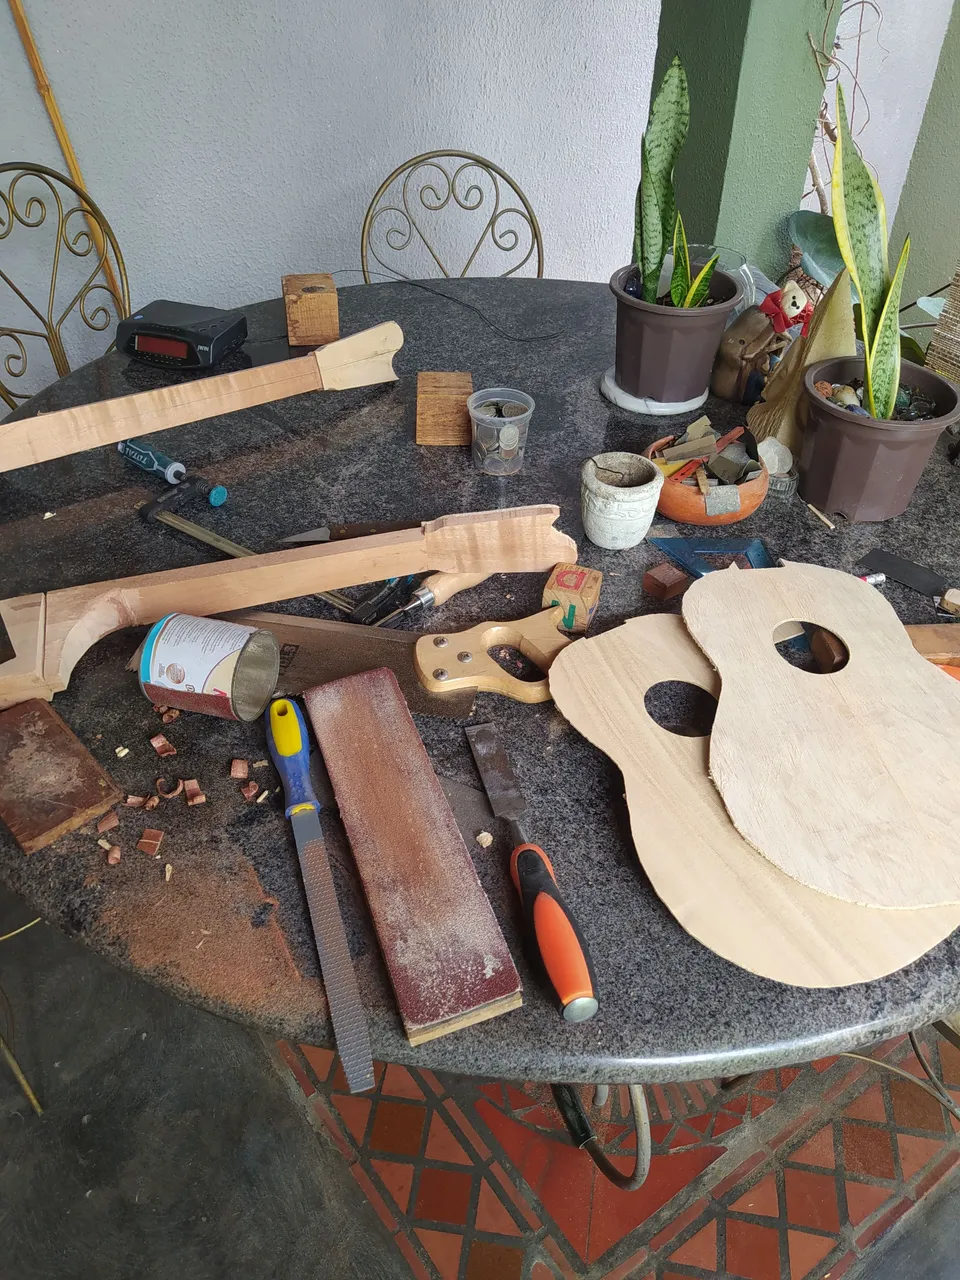
Fretboards
A piece that requieres care. The length of fretboards corresponds to a mathematical relationship between the strings, tension and other measures. You can make choose the total length, but a fact to keep in mind is that the more you reduce this measure, it will have to be more precise and the fret will be smaller. So you need to keep it comfortable.
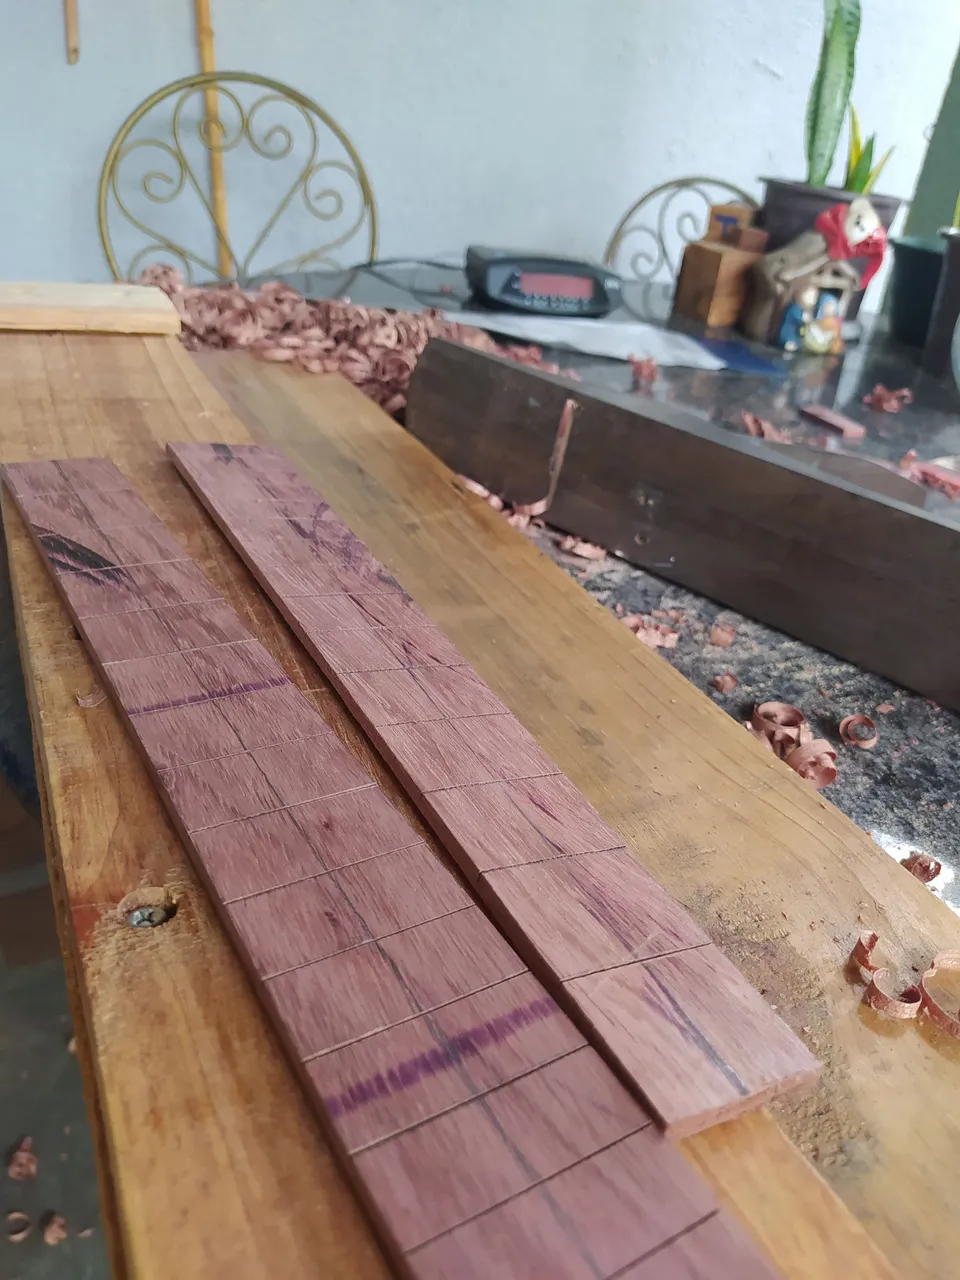

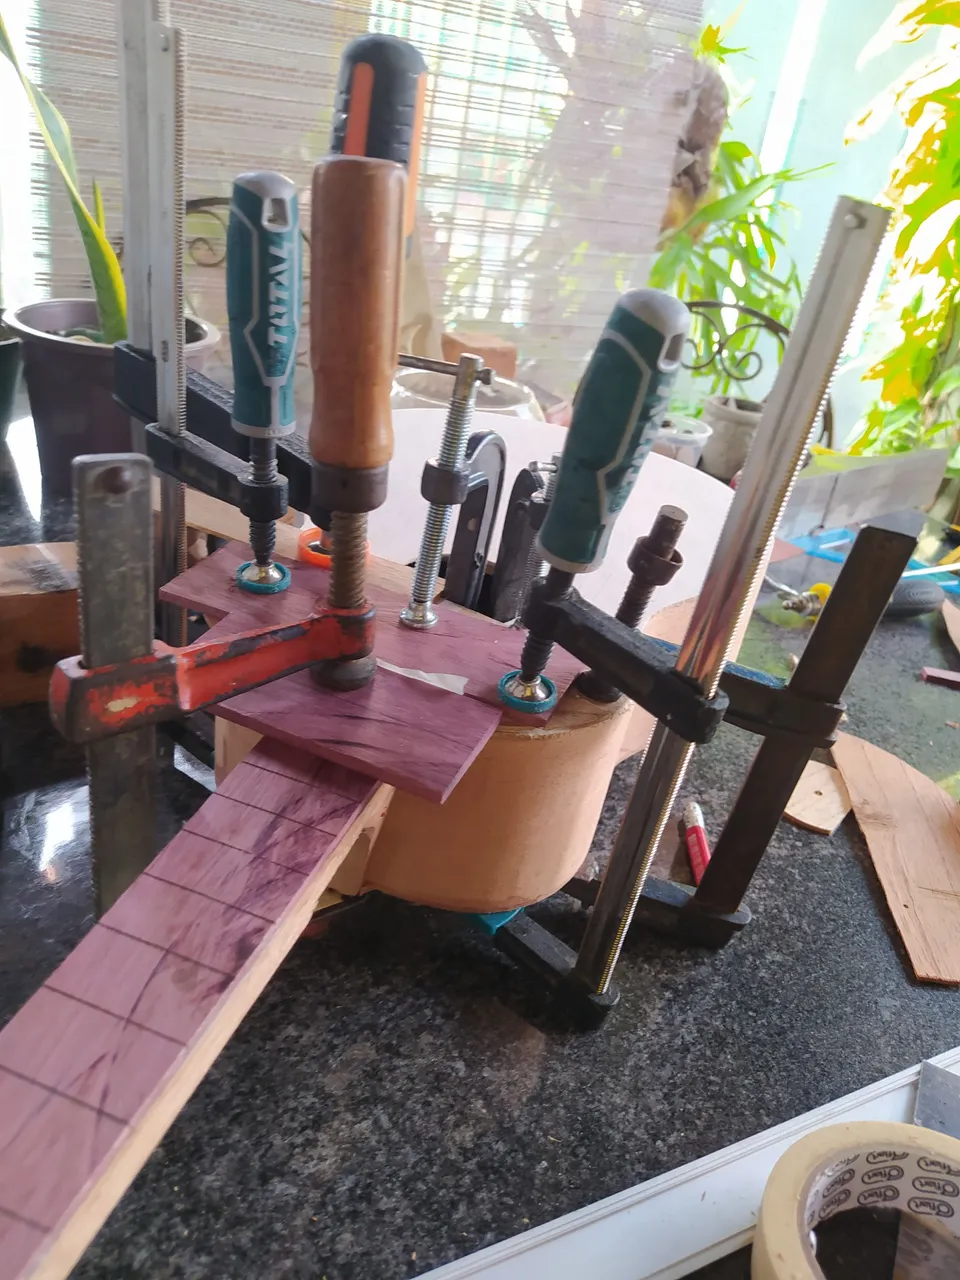
These fretboards aren't the same length since one instrument will have 15 frets; the other, 17. That's the difference in length. After having the ready we make use of center lines to align and glue them in place.
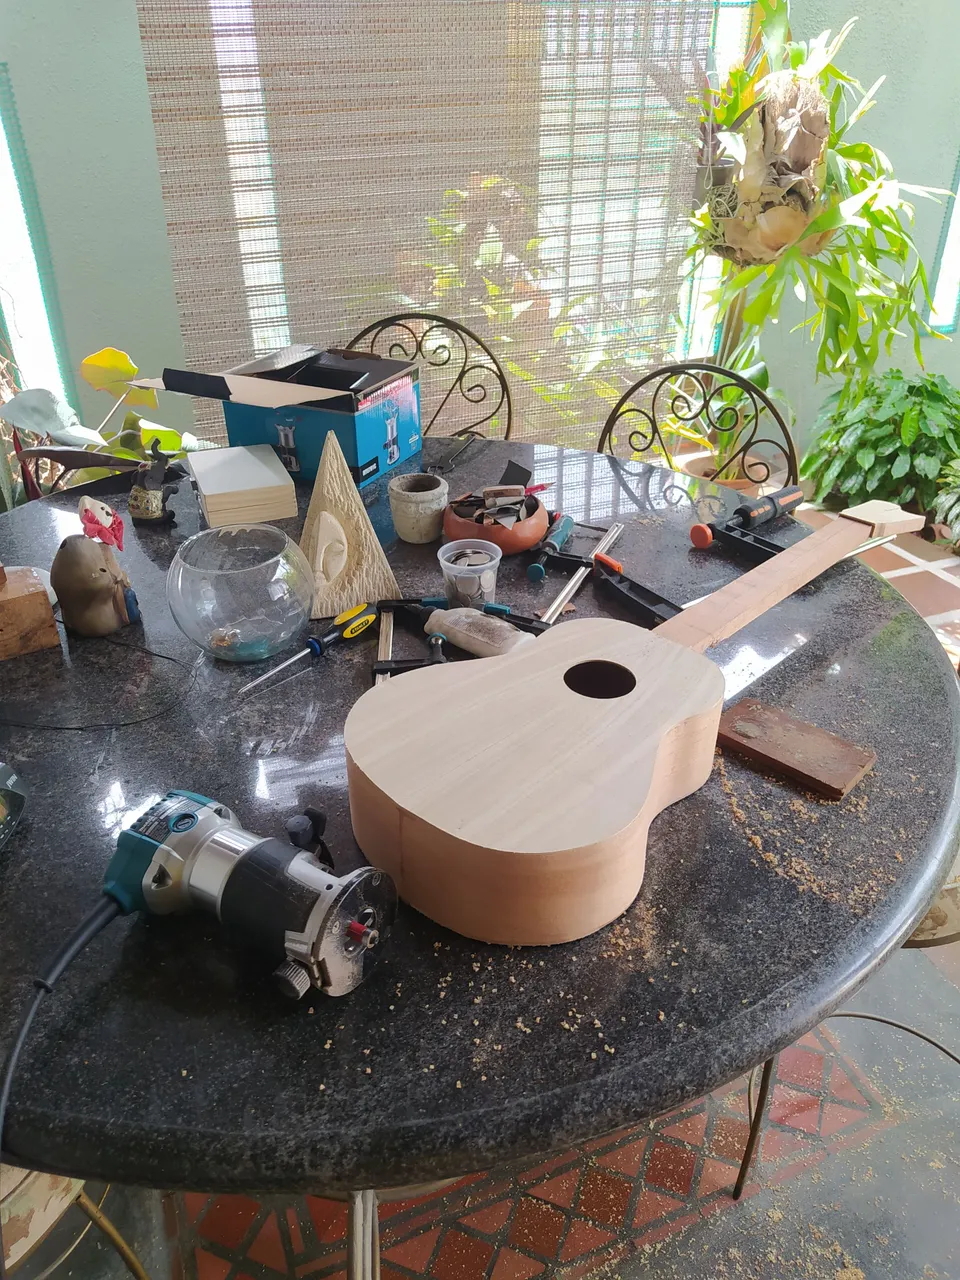
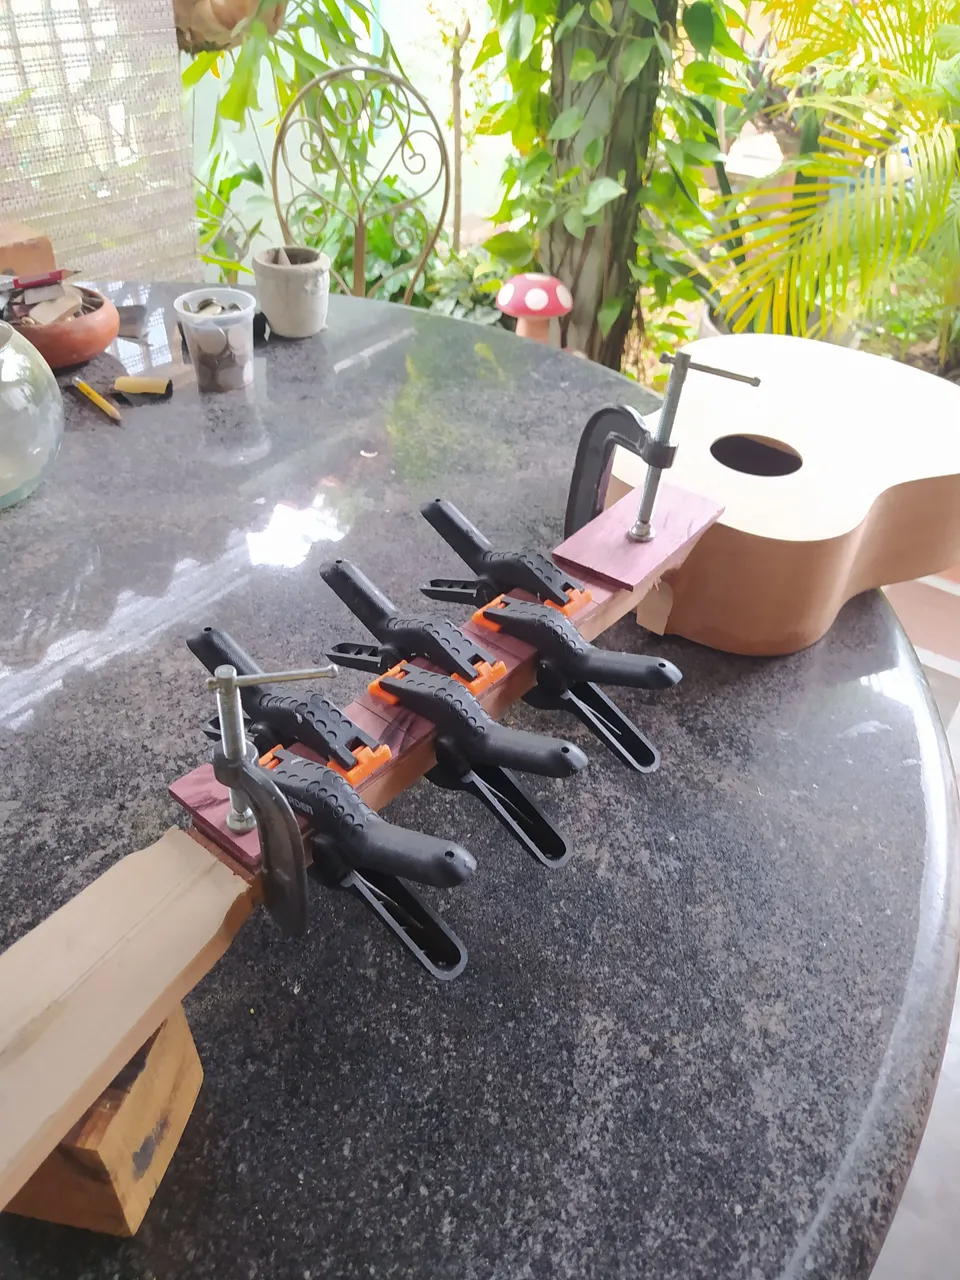
Strumming Guard
One of the Venezuelan Cuatro's distinctive features. The tradicional way of making these is using a thin piece of wood. But by making use of a thicker one instead, we can have a strumming guard that will last for decades of playing without needing to be replaced.
These are trickier to glue. I need to make some special clamps I've seen over at Stew Mac. They are pricey, but I might let something around here with some DIYness. After gluing and some trimming, we arrive at the thumbnail of this post.
There's still plenty to do for with these two. They are on the stage of working on details and sanding a lot. Once they are ready for varnish, they'll join #8 for that paint job. Stay tuned for the next entry!