I hope you're having a great day! In this past we will continue with the progress of these instruments. The project started here if you need a recap.
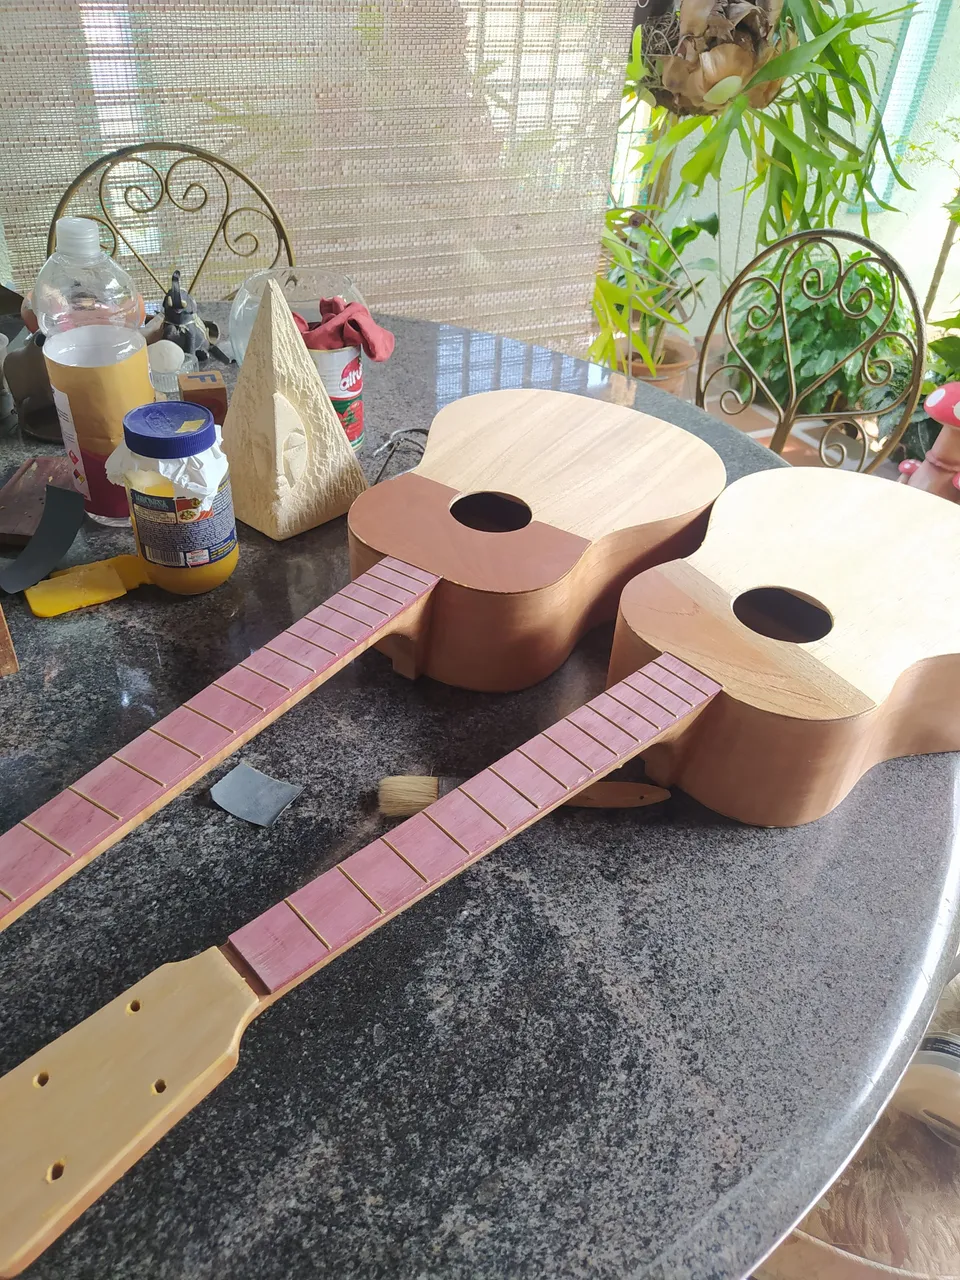
The Twins
The job isn't fast but each stage is rewarding on itself. As we speak, I'm already sealing the grain of the wood. Thia is to protect the instrument from humidity and liquids. It also makes it last longer that it should. Hopefully my instruments will be around in the world once I'm gone. One can only hope it is like that.
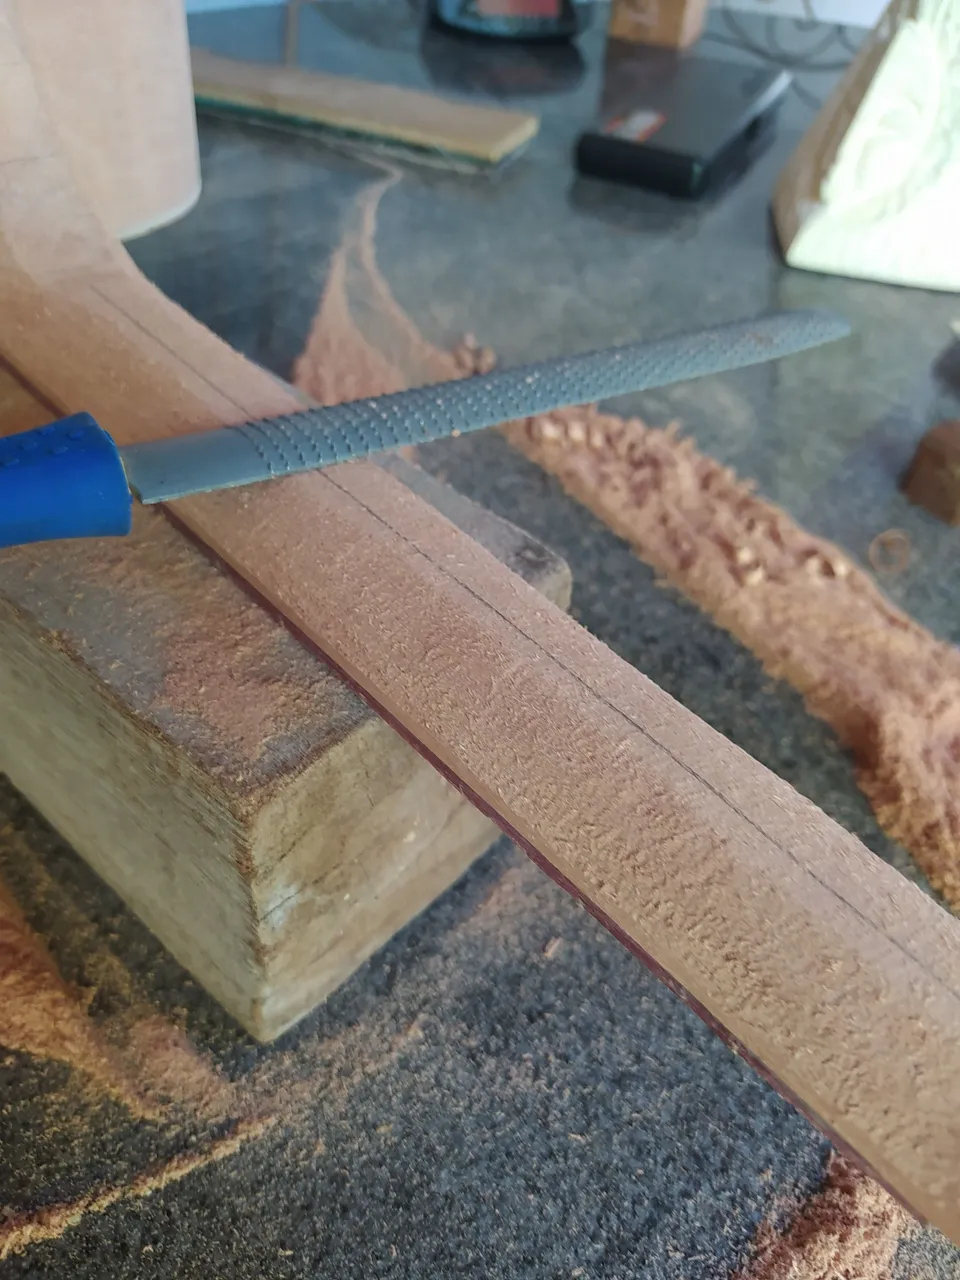
Leveling the fretboard
Before we start placing the frets, we need to make sure the fetboard is even. You might ask why I don't do this beforehand. The answer is easy. There's a slight bend once we use glue on any piece of wood. Wood is humid. Not as much as water, but it makes the wood twist a bit. We can reduce this movement if the piece we are gluing is flat. But there's always the need to even it.
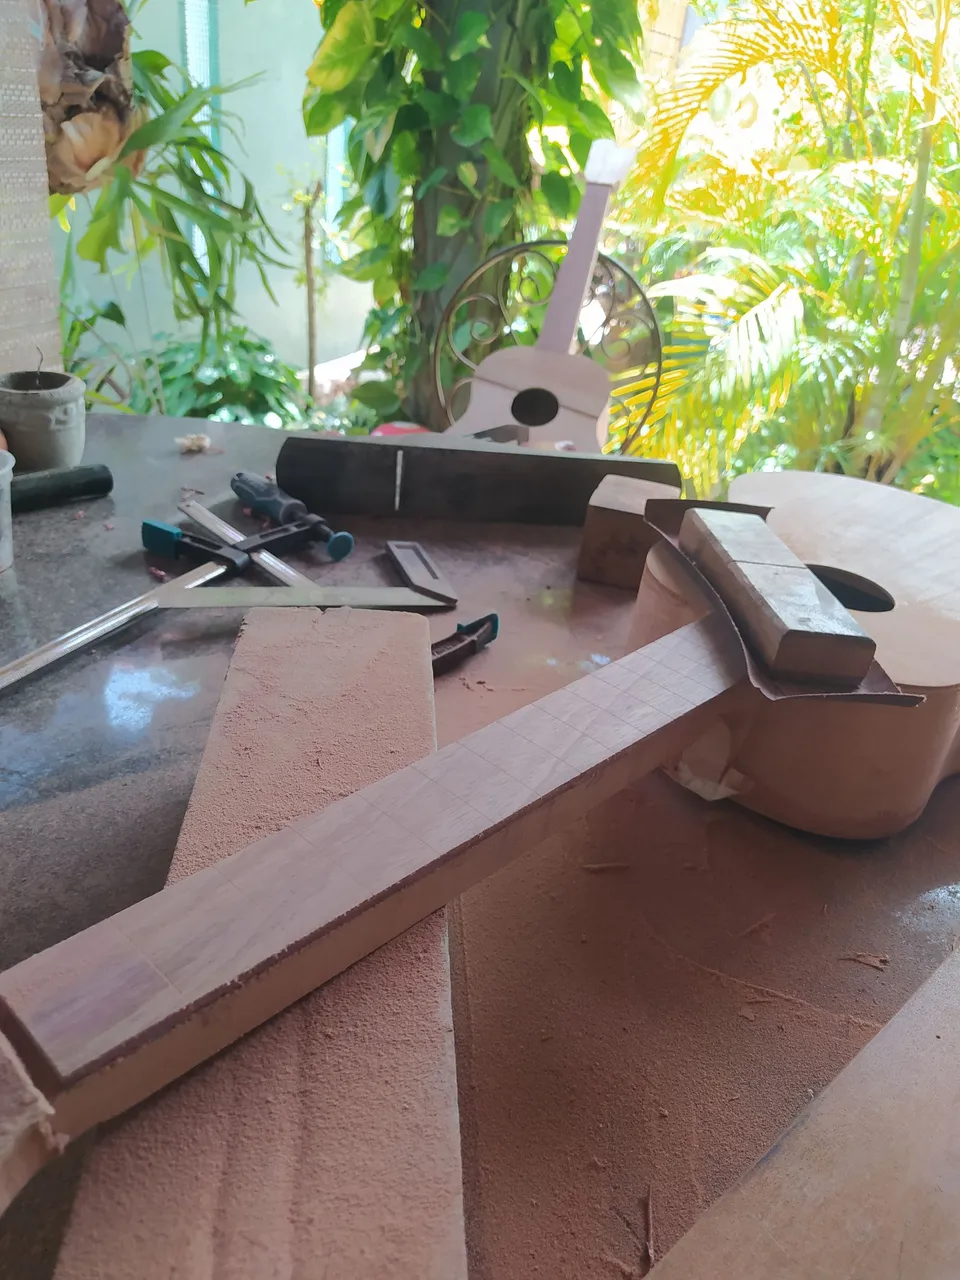
We use 80 grit sandpaper to make quick work of this. The cue here is watching for the fret slots. Once we see these are getting filled evenly with sawdust, we can check how tht fatness of going with something flat. After some work we will have an even surface.
However, we cannot even this without reducing the strumming guard a bit. Since they need to be aligned, both parts need to keep the sane height.
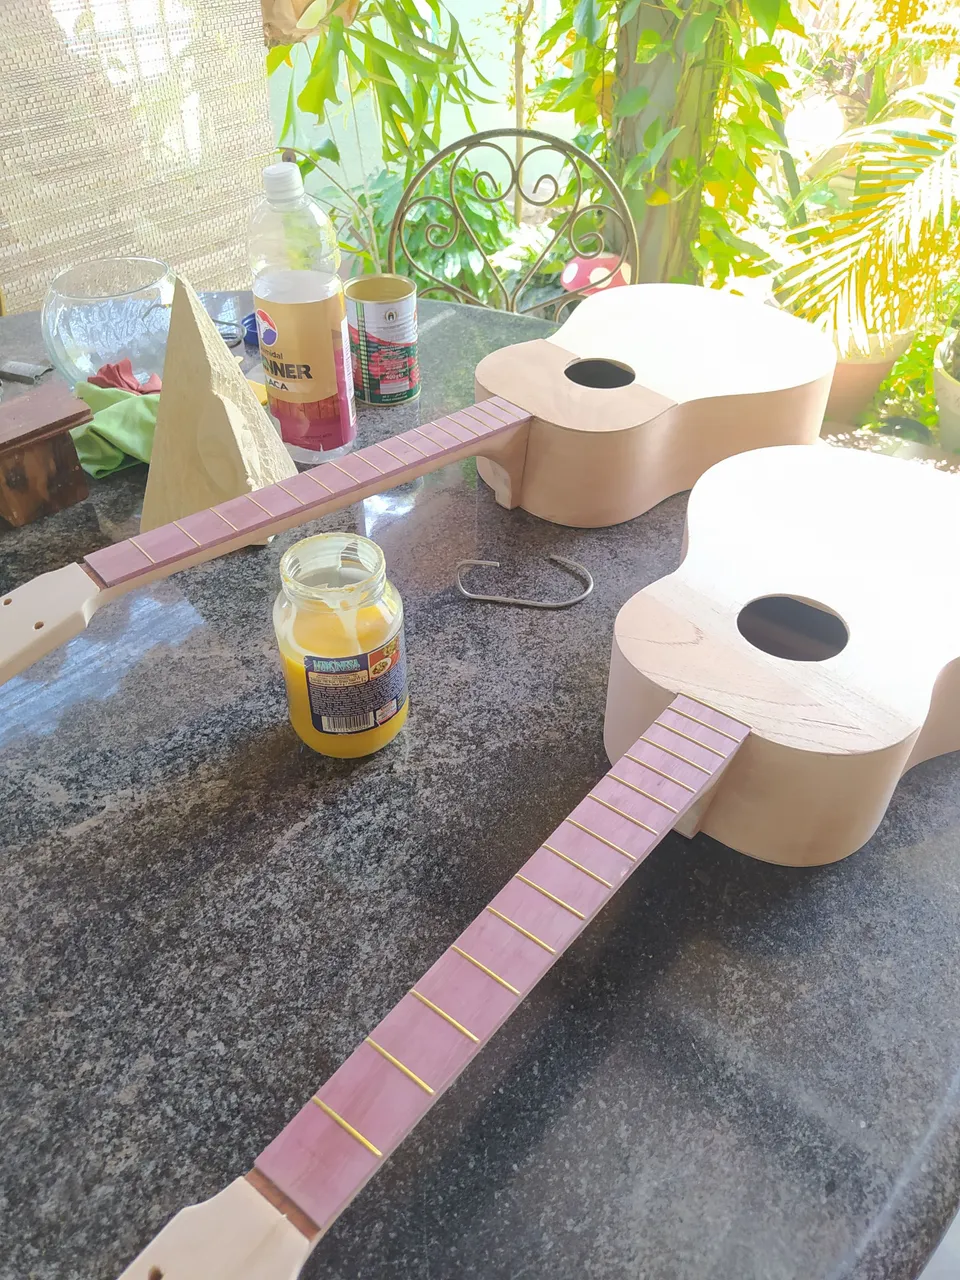
Sealing the fretboard.
When this surface is even, we apply a finishing cost of oil. This helps bring out some of the beauty of the wood and also protects it from humidity (from both the environment and the fingers of the musician). It is also important not to overdo the costs since oil penetrates wood. It could get all the way to the glue and brake the bond. So too much oil might result in an unstuck fretboard.
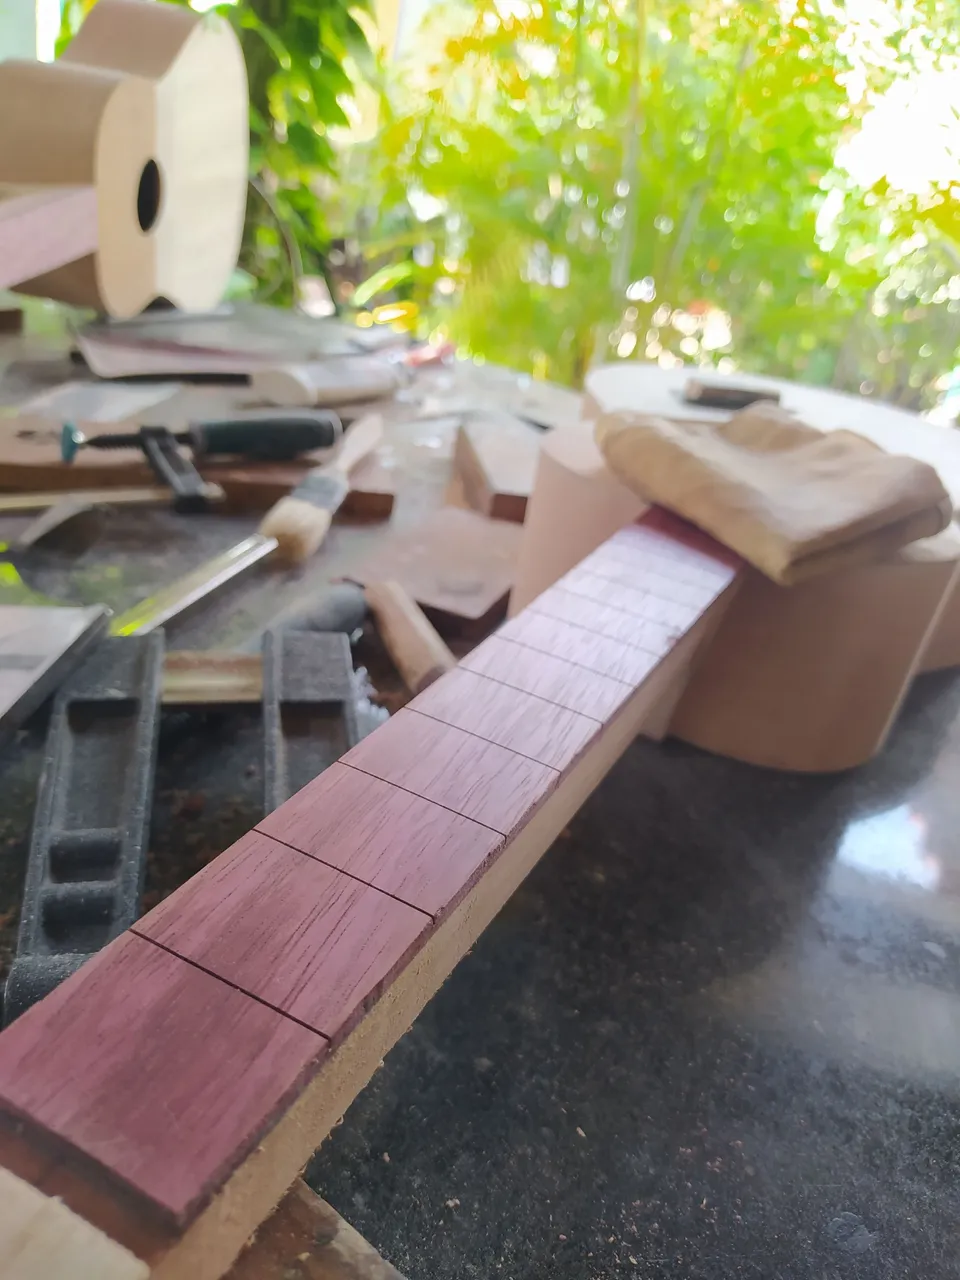
It is applied with a cloth. You need to wait an hour or more before applying another coat and before doing a new layer, you need to sand the surface to remove any dust that might be present. A 400 grit sandpaper does this job easily.
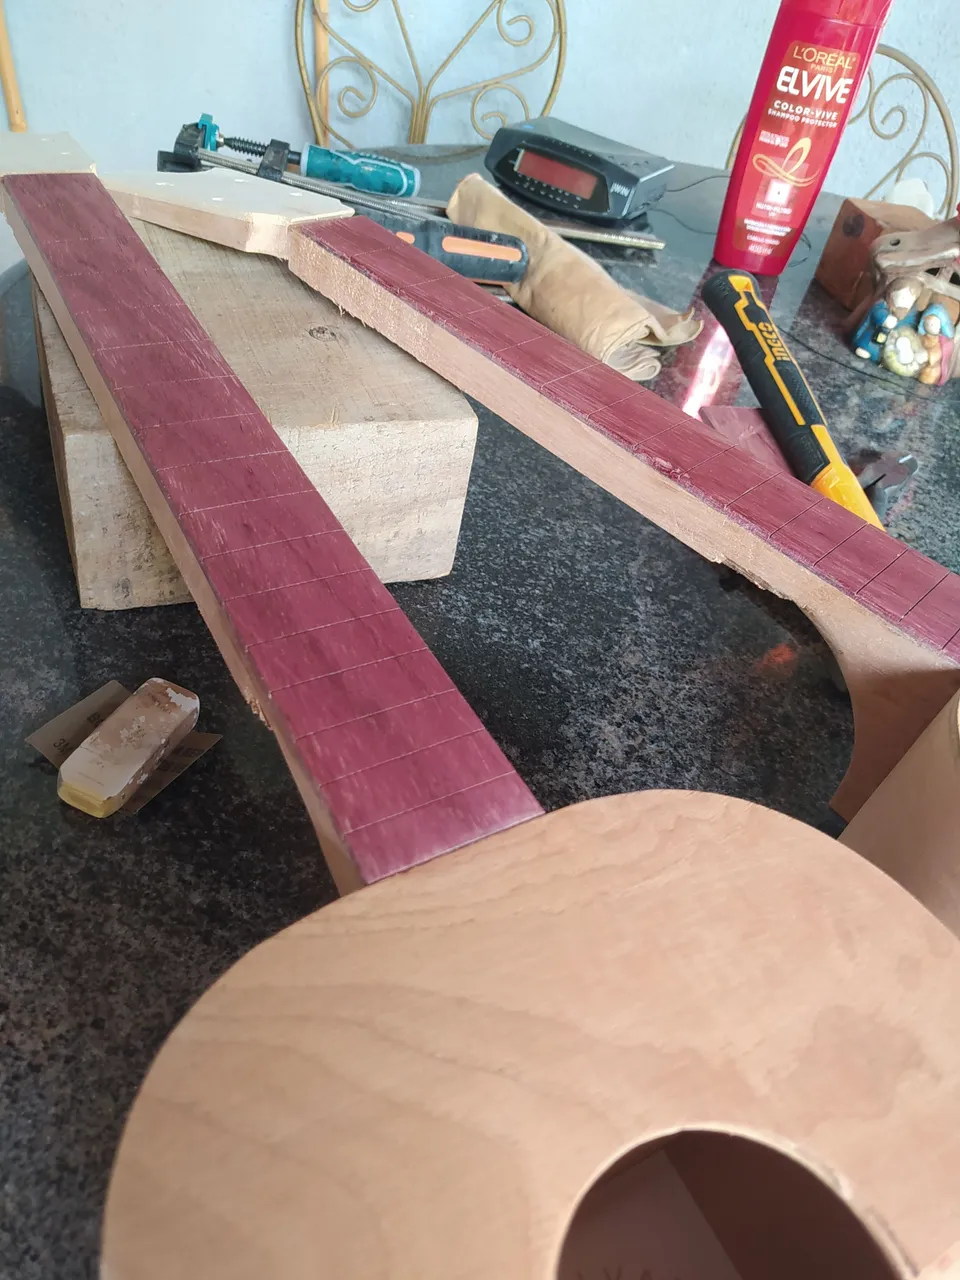
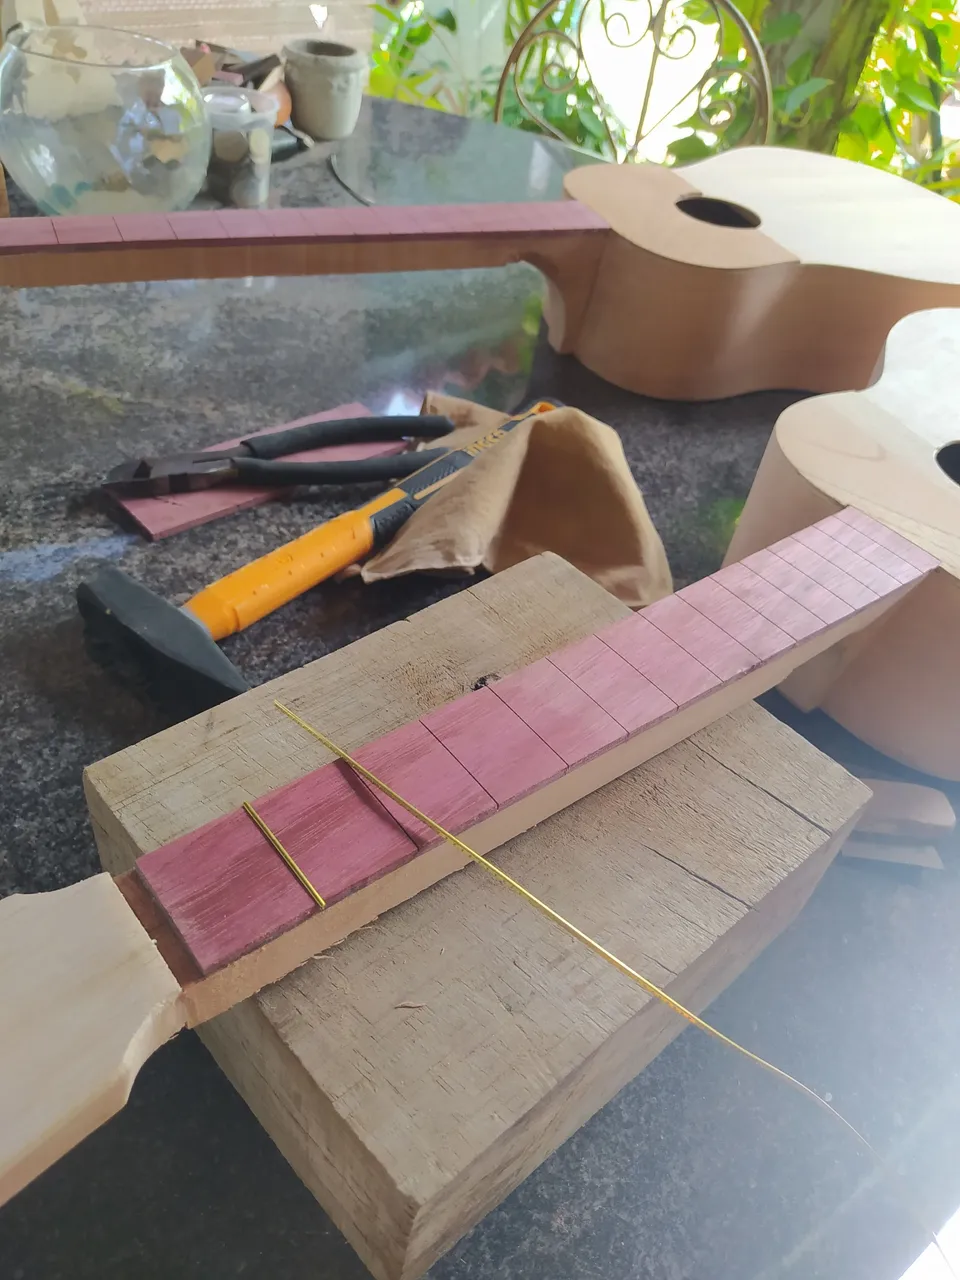
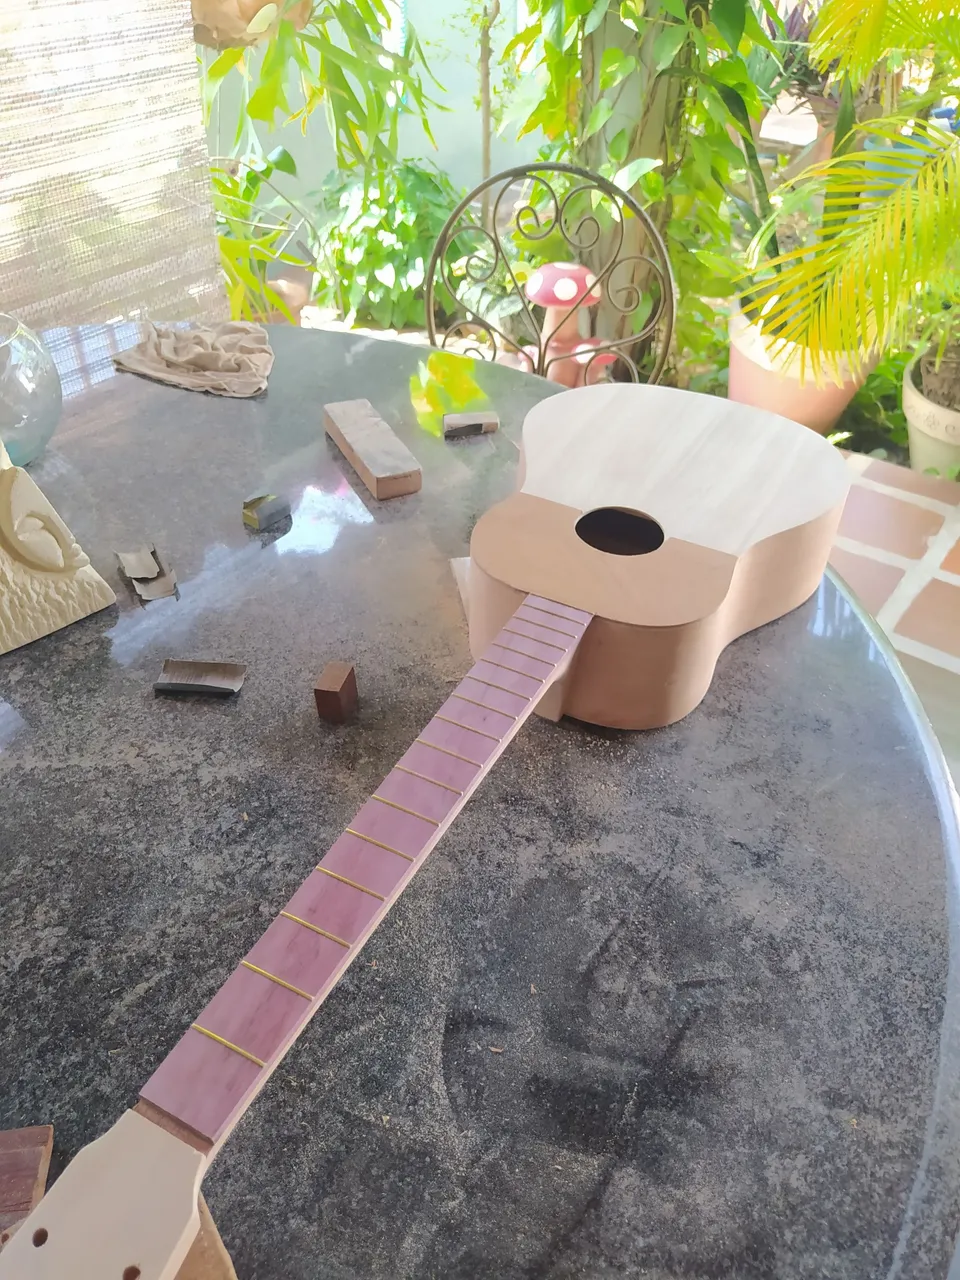
Frets
Placing fretwire is easy. Once we removed the sawdust from the slots, we can start getting the frets in place. We place its foot inside the slot and make some pressure to make sure the comb gets into the wood. After it is secured, we use a piece of wood and then tap it with a hammer to get the fret in place. Last, we cut the end and repeat the process until each slot has a fret.
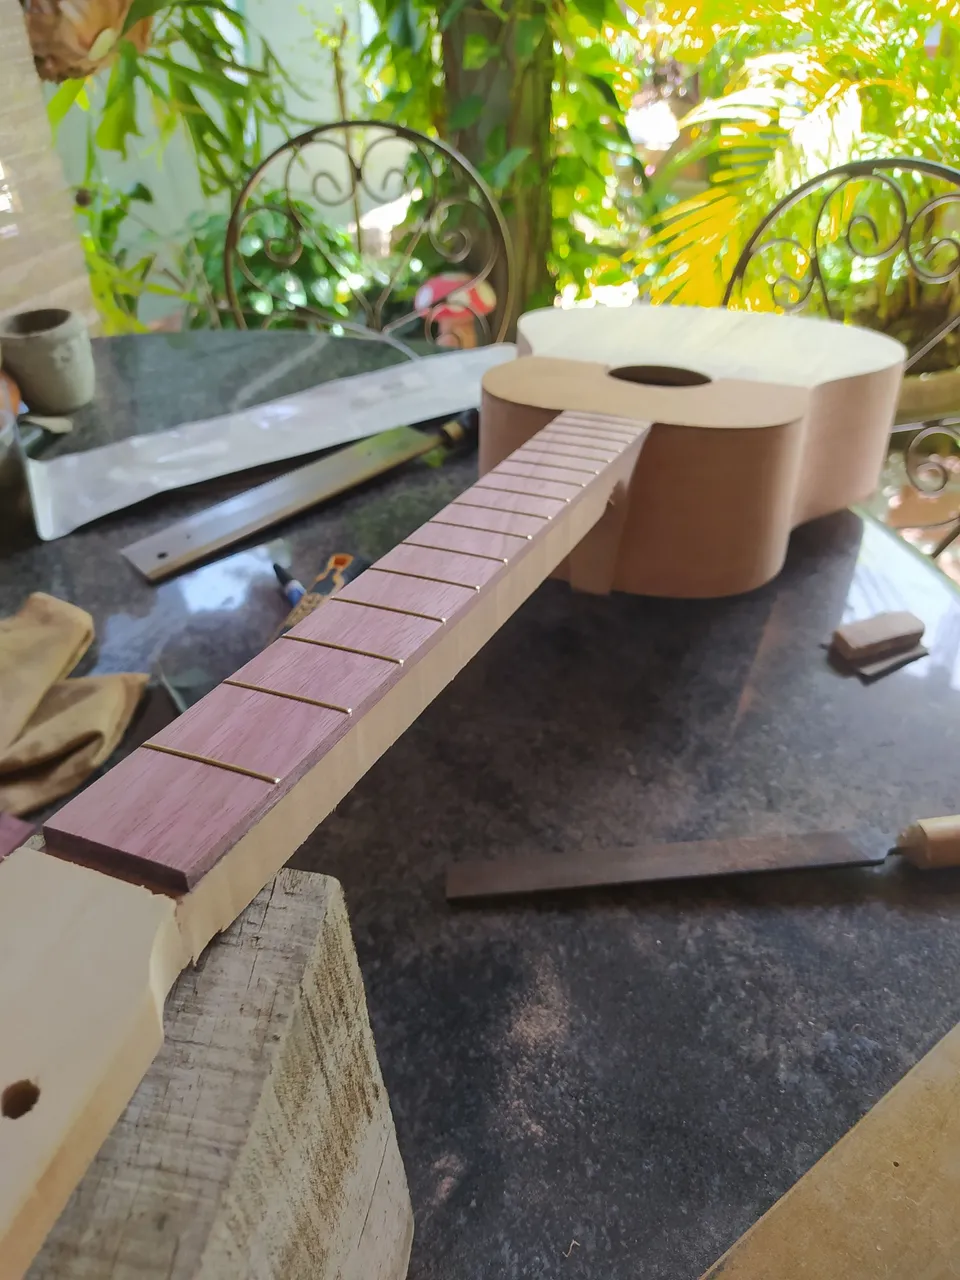
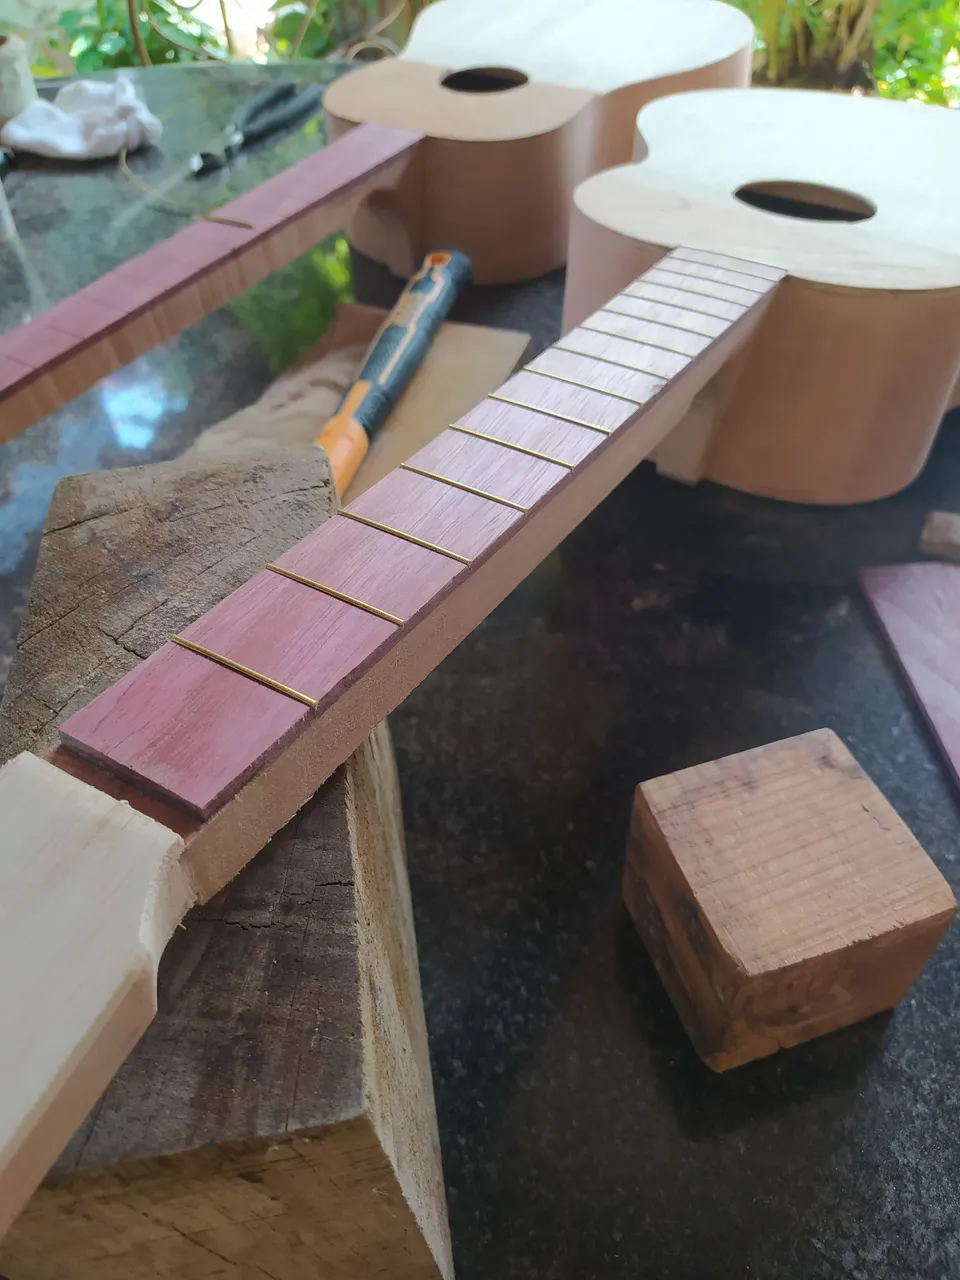
After placing then, we need to removed sharp edges and excess. We use a file for this or a sandpaper that works with metal. You know, the red or black ones, those that are also made of fabric instead of paper. Once we do this, we add a bevel to the ends of the frets for aesthetic value.
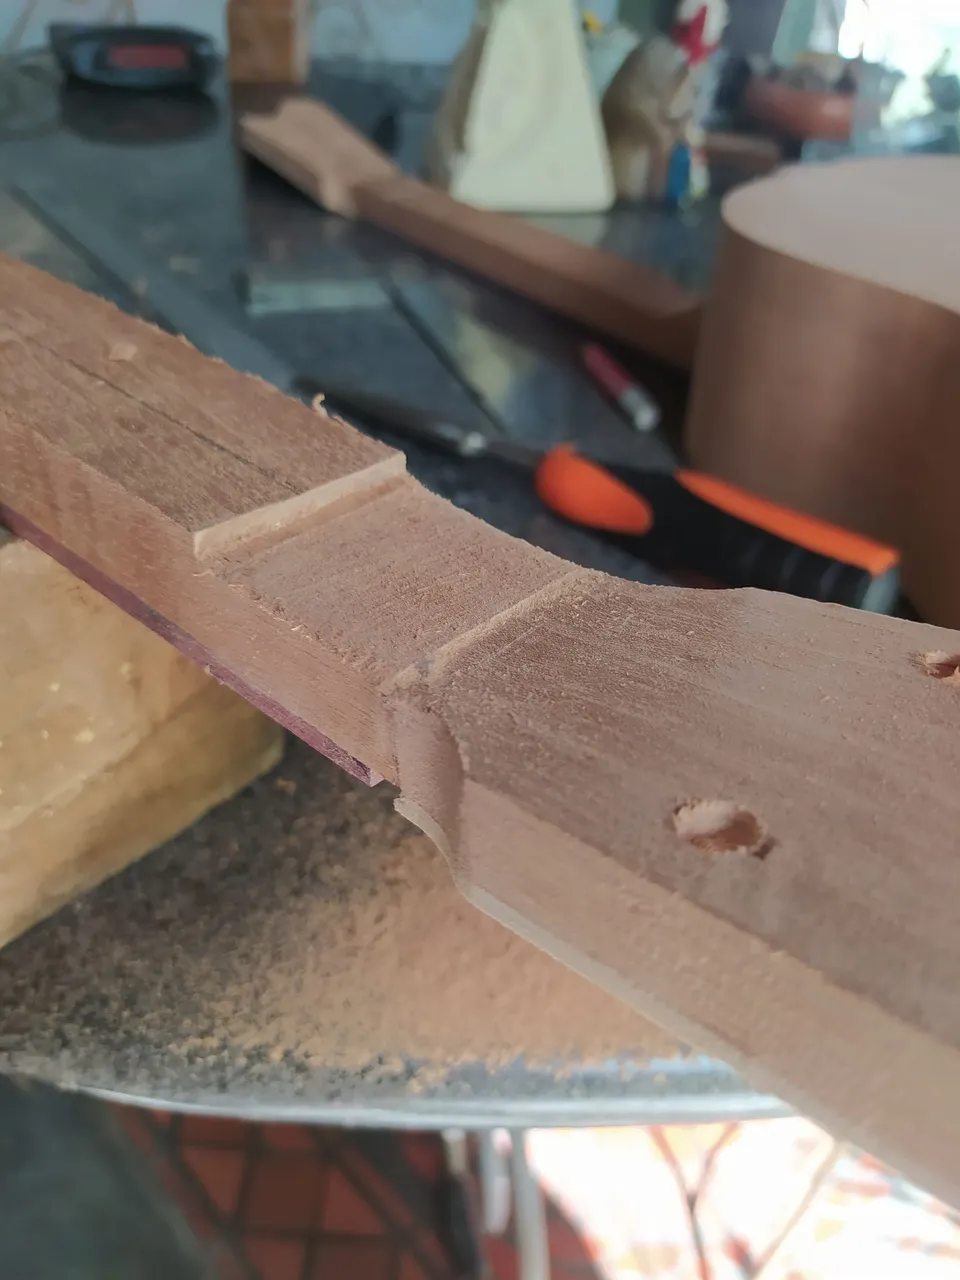
Rounding the neck
After the frets are in place we start to round the neck. The last last piece of carving for the project. It needs to be done in a way that's both comfortable and structurally strong. Many Luther's use different measures for the thickness of this part. But a rule of thumb may be better to understand it. If you don't get a request for certain design or shape, it's a good idea to make the neck for your own hands. It may vary for people since there are hands big and small.
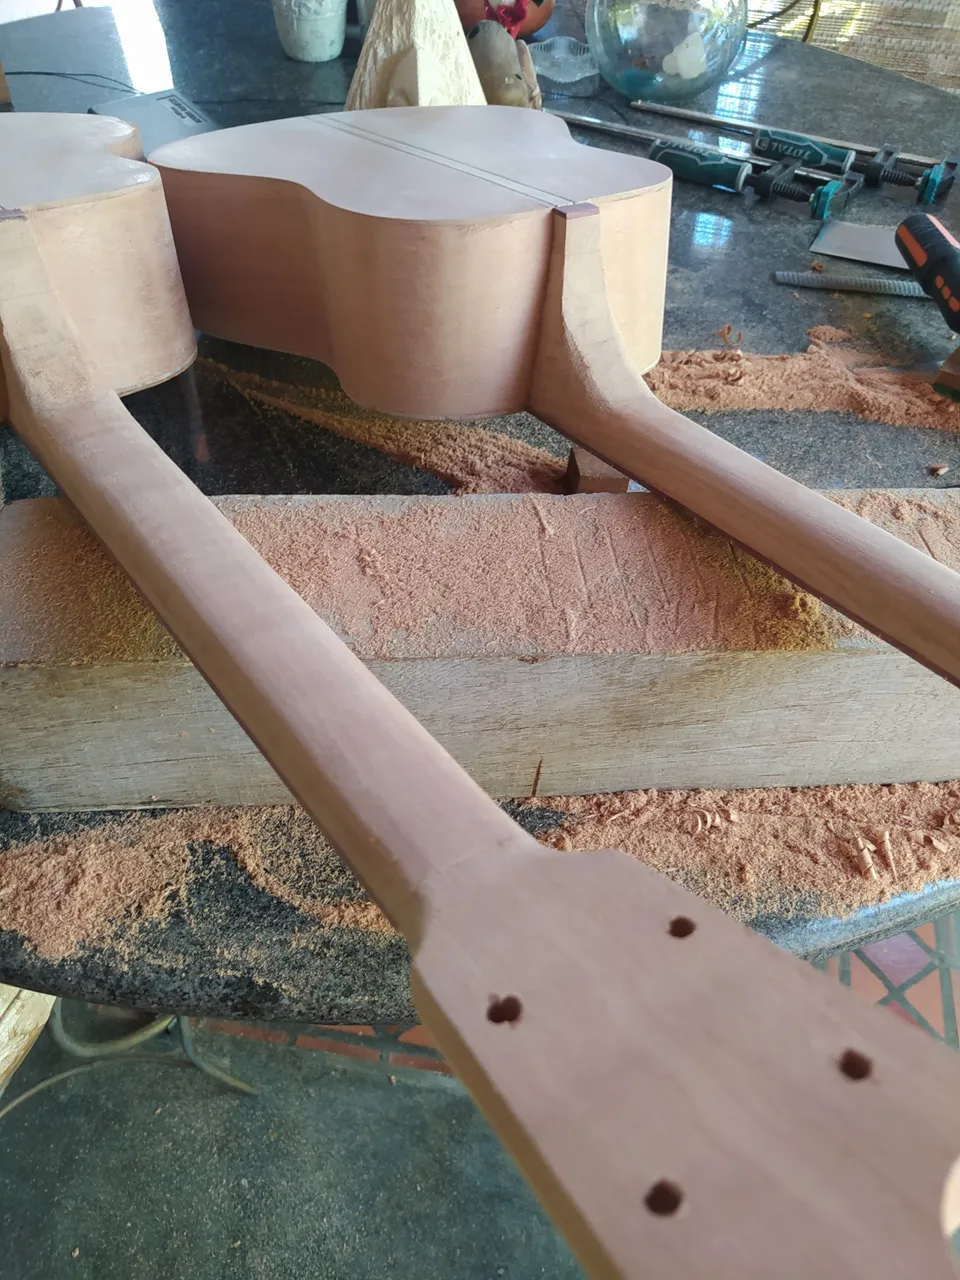
To make this easier, we need two measures of height at the joint with the head stock and then it's the heel. The matter will be the thickest point; the former, the thinnest. Once we have determined the measures (mine are 1.9mm - 2.2mm), we carve these parts to the height. Then we can start removing material from the rest trying to maintain that decline. Finally, to round it, we use a rasp to cut the corners until we have a round shape.
A whole lot for sanding.
With all these pieces in place, we move ahead to the sanding stage. We will do our best to removed any uneven places and glue marks that might be around. I said sanding but there's a lot in this. Chisels and scrapers play their in making the instrument ready for its finish.
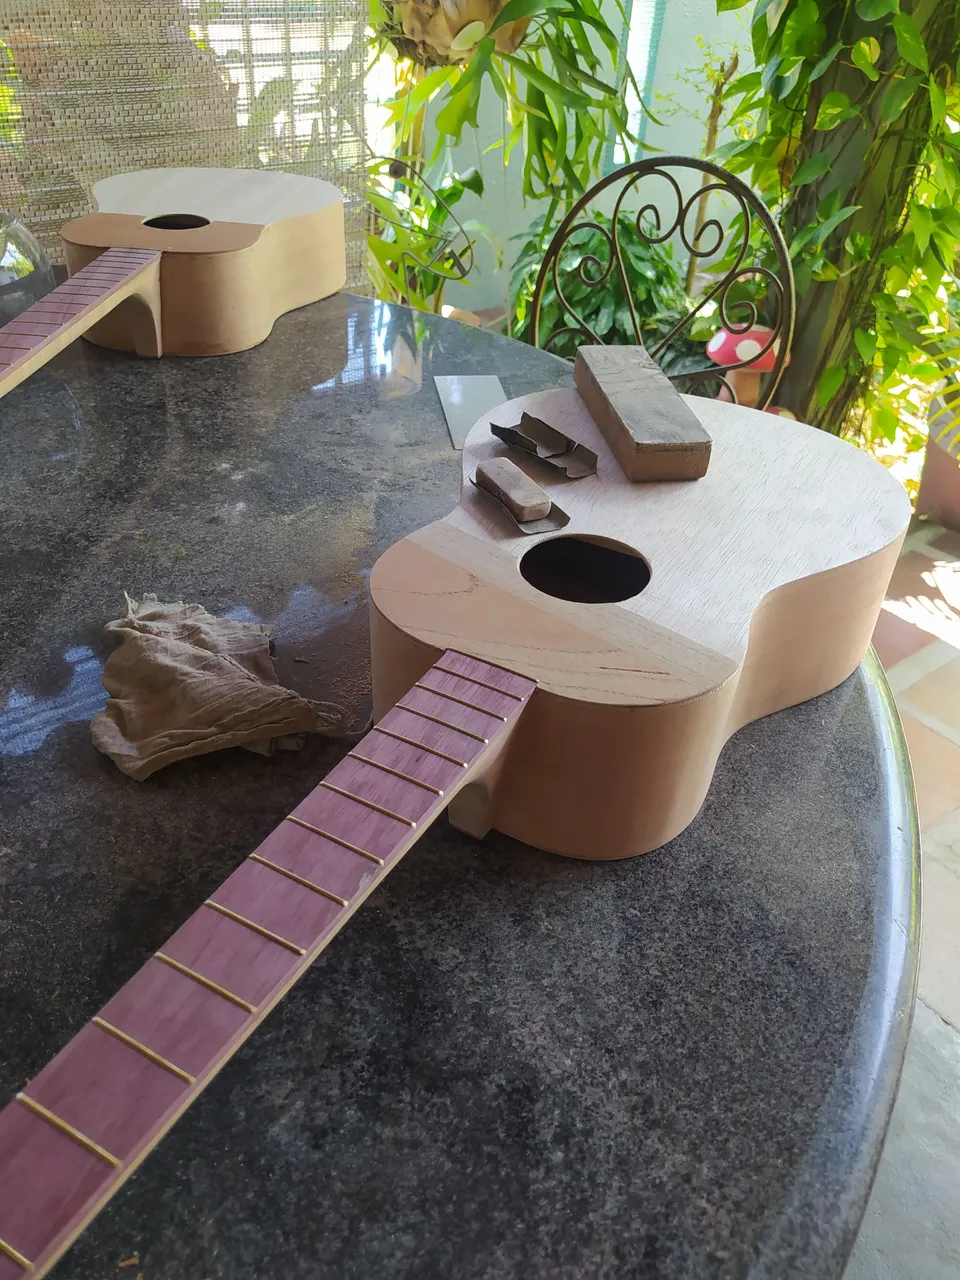
We go ahead and sand using different grits of sandpaper paper from 100 to 360. This will leave a smooth surface and saves of some sealant.
--
Sealing the grain
This is perhaps the most repetitive process of all the project. It implies days of work and using a lot your sight and touch. We need to fill all the pores in the wood. This will leave a smooth surface to apply the finish. There's many materials to do this but I stick with sealant because it's the most common around here. Before applying it, it needs to be diluted in thinner. So using a mask is needed to prevent getting sick from the fumes.

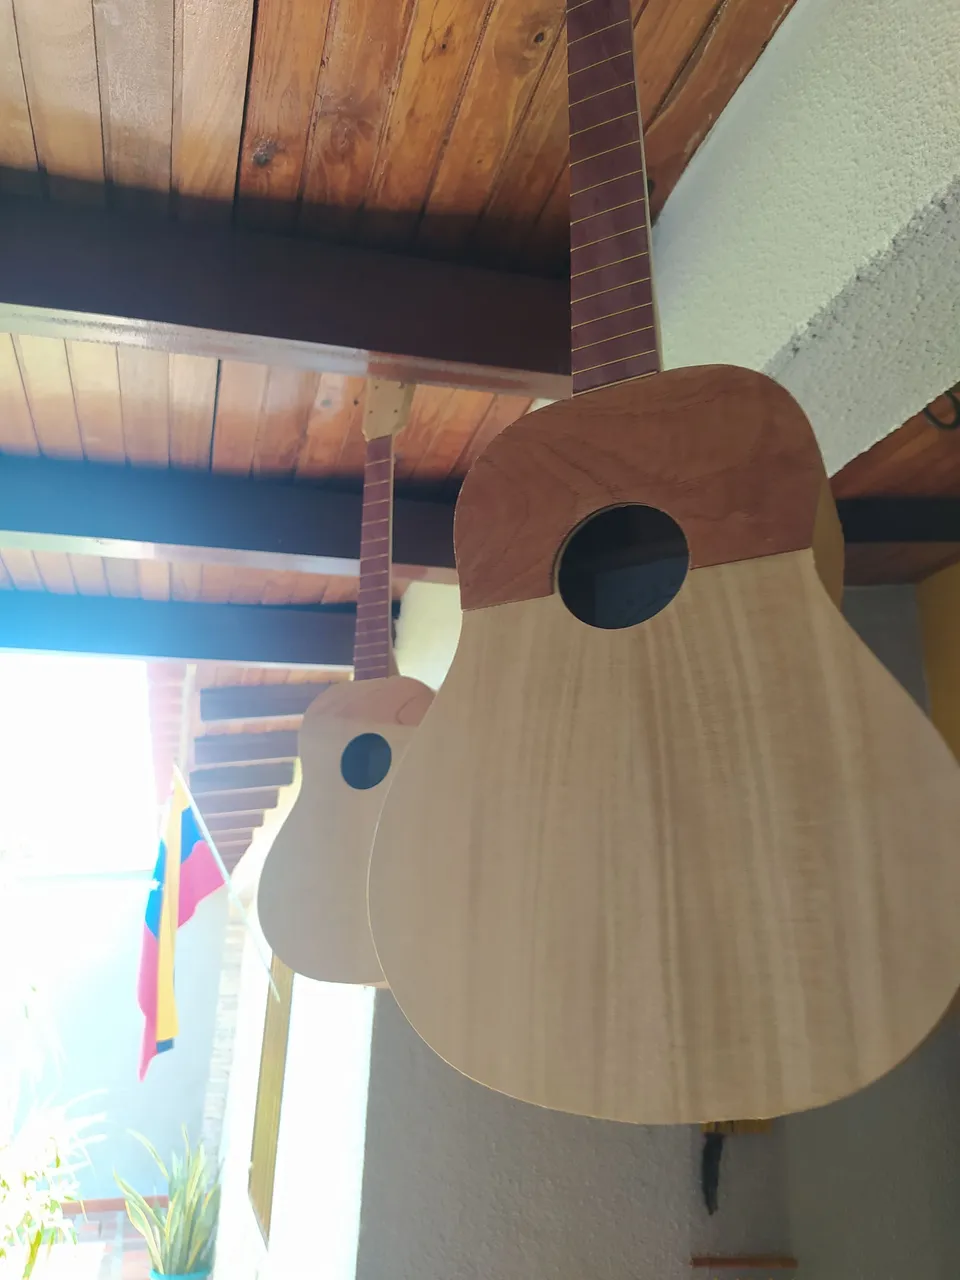
The process is simple. Apply a coat of sealant with a spatula all over the instrument except for the fretboard. Let it dry for one hour, sand it and repeat this. It takes as many hands of sealant as they are needed. This process doesn't mess with the sound of the instrument.
It seems one can outdoor oneself if there's no distractions. Theses instruments haven't been made in one week but we're assembled in one. So with pieces ready all the work gets easier. Stay tuned for the conclusion of this project that will come in due time. I hope you enjoy these showcase of my work as much as I enjoy doing it. Have a great day!